What's inside
As an Amazon Associate I earn from qualifying purchases. This post may contain affiliate links at no extra cost to you.
Our Top Picks


The short answer
A marking knife usually makes the more accurate line for a cut guided by a chisel, saw, or shoulder plane. Its thin edge scores a precise boundary and can help prevent wood fibers from tearing. A mechanical pencil is faster, easier to see from a distance, and accurate enough for many rough layouts, drilling marks, and cuts made to the waste side of a line.
Neither tool makes a layout accurate by itself. A steady square or marking gauge, a sharp knife, a fine pencil lead, and a clear decision about which side of the line is waste matter just as much. For most shops, the practical choice is to keep both.
As an Amazon Associate we earn from qualifying purchases at no extra cost to you.


What each tool does to the wood
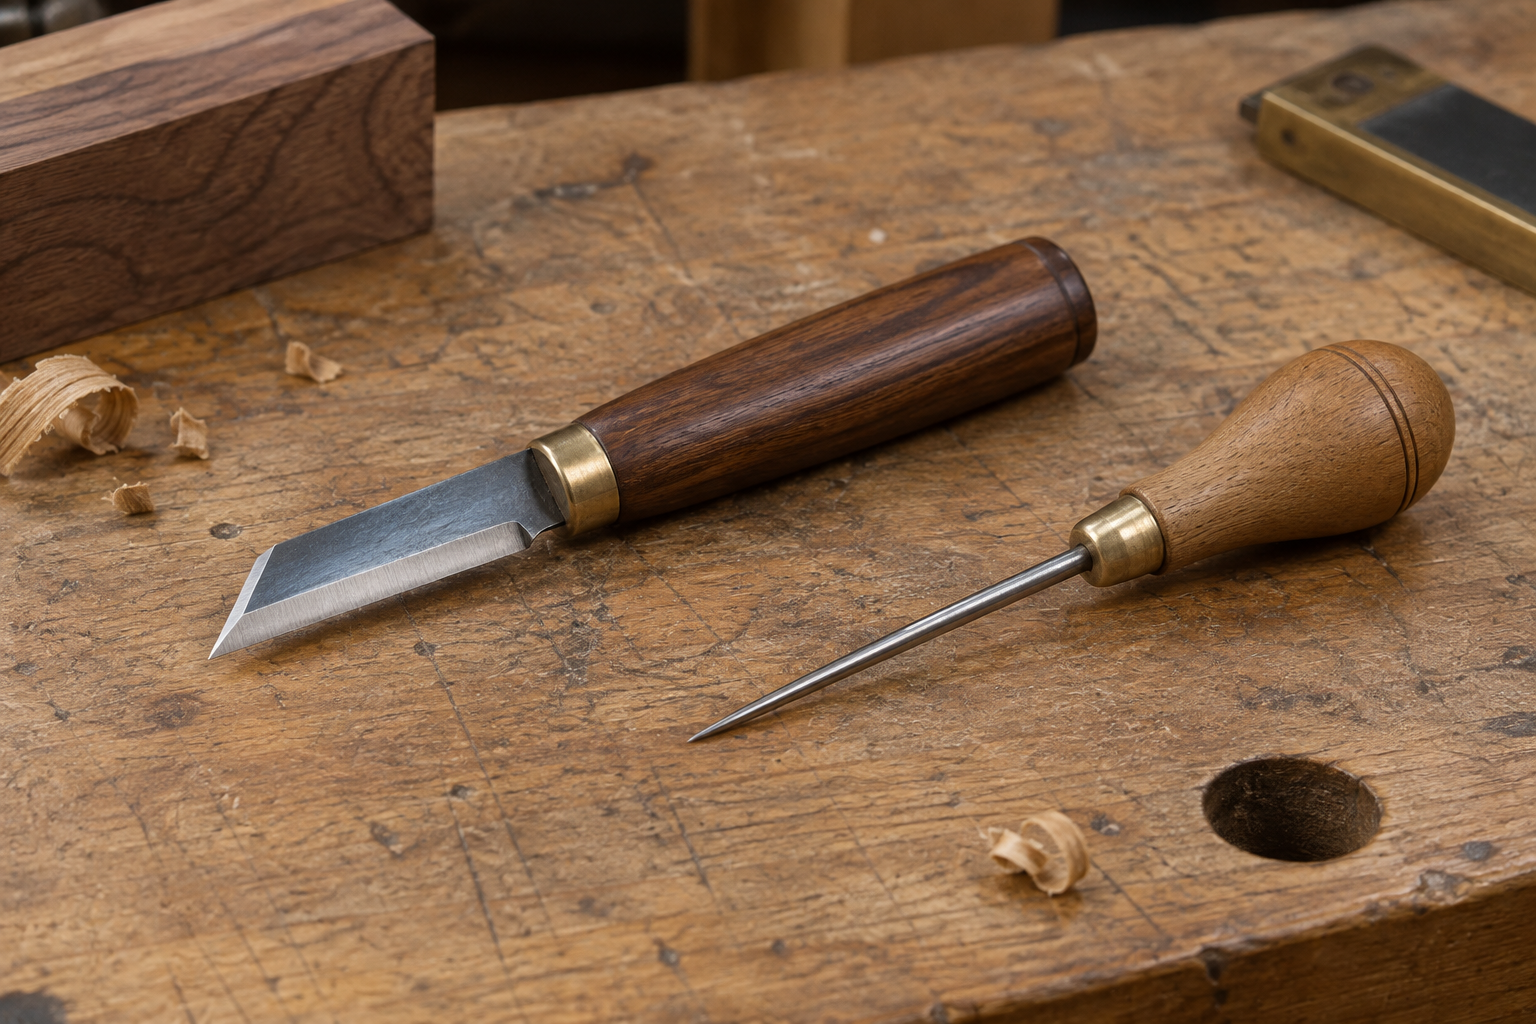
A marking knife cuts a shallow groove into the surface. A knife with a fine, straight edge can leave a line close to the thickness of a pencil line’s center, and the groove gives a chisel or saw a physical boundary to register against. On cross-grain cuts, the score also severs surface fibers before the main cut reaches them.
A mechanical pencil deposits graphite rather than cutting the wood. Its line is visible and quick to draw, but its width depends on the lead, pressure, and angle. A typical 0.5 mm lead is 0.5 mm in diameter; on pale wood, the visible mark can be wider than that because graphite spreads or smudges. A 0.3 mm lead can make a finer line, but it breaks more readily under pressure.
Which is more accurate in practice?
For a tight-fitting joint, the knife tends to win. The groove provides a crisp reference for paring to a shoulder, and a knife registered against a square or gauge can mark repeated parts consistently. It is especially useful for dovetails, tenons, hinge gains, and other work where the cut needs to land exactly at a boundary.
But a knife can also create a false sense of precision. If it leans during the stroke, the bevel pushes the cut off the intended line. A heavy second pass can widen the mark, and a dull or curved blade can follow the grain instead of the layout edge. Use a light first pass, check the line, then deepen it only if needed.
A pencil is often the better choice when the line is only a guide, such as marking a board to rough length before a saw cut. It is easy to see, easy to erase, and less likely to split a thin or delicate surface. For a pencil layout, use a sharp point, hold it consistently against the rule or square, and cut on the waste side rather than trying to split a thick graphite line.
Marking knife vs mechanical pencil
| Factor | Marking knife | Mechanical pencil |
|---|---|---|
| Line quality | Very fine scored line; good physical reference | Visible graphite line; width varies with lead and pressure |
| Best work | Joinery, chisel work, precise shoulders | Rough sizing, drilling locations, general layout |
| Speed | Slower, especially if the edge needs checking | Fast and convenient |
| Common failure | Bevel drift, torn grain, over-wide score | Smudging, thick marks, broken lead |
| Visibility | Can be hard to see on dark or figured wood | Usually easy to see on light wood; graphite can disappear on dark stock |
| Surface effect | Leaves a groove that may remain visible | Leaves graphite that can often be erased |
Choose by task, not by habit
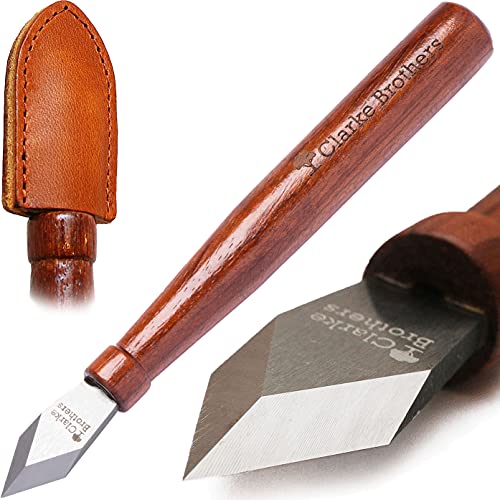
Reach for a knife when the layout line will locate a chisel, when a joint must close cleanly, or when tear-out at a shoulder would spoil the work. A woodworking marking knife is a sensible purchase if you regularly do fine hand-tool joinery. You do not need an elaborate design; a comfortable handle and a fine, controllable edge are more important than appearance.
Choose a pencil for rough cuts, marking stock for later machining, labeling dimensions, and work where the line will not determine a visible joint. A 0.5 mm mechanical pencil is inexpensive and suits general layout. If you routinely mark fine joinery with graphite, a 0.3 mm pencil can reduce line width, but it still does not create the same cut edge as a knife.
Wood color matters. Graphite can be faint on dark walnut, while a knife score may be difficult to see on busy grain. For dark stock, consider a light-colored marking pencil or another suitable visible marker, and test it on an offcut. Avoid making a deep knife cut where the surface will remain exposed: the groove can catch finish or show as a dark line.
Technique matters more than the tool
First, establish the reference face and edge, then keep the square or gauge registered to them. A marking tool cannot correct a square that slips or a board with an unreliable reference edge. For repeated parts, set a marking gauge once and check the first mark against the drawing before laying out the rest.
With a knife, hold the blade so its flat side bears against the square or gauge fence. Make one light pass rather than forcing a deep cut. With a bevel-edged knife, keep the bevel on the waste side where possible; otherwise, the bevel can push the blade away from the reference. For a pencil, keep the point sharp and maintain the same lean against the guide. Either way, mark the waste clearly—small waste-side ticks are useful when a full line could be confusing.
Before cutting, inspect the layout under good light and confirm the measurement from the correct face. A line can be beautifully thin and still be in the wrong place. For close joinery, leave a whisker of waste and pare to the line rather than trying to make the saw cut land perfectly on it.
What should you buy?
If you mostly build shelves, shop fixtures, or simple outdoor projects, start with a mechanical pencil and a reliable square. The cheaper option is fine when the layout is a guide and the cut can be cleaned up afterward. There is little benefit in scoring every length cut that will be hidden or trimmed flush.
If you make fitted joints by hand, add a marking knife. It improves the reference for paring and helps control cross-grain cuts, but it will not compensate for poor measuring or an unstable guide. Keep it sharp, store it safely, and test its direction of cut on scrap before marking a finished face. In a working shop, the best setup is not knife versus pencil: use the pencil for quick, visible layout and the knife where a narrow, cut-in boundary earns its extra care.