What's inside
As an Amazon Associate I earn from qualifying purchases. This post may contain affiliate links at no extra cost to you.
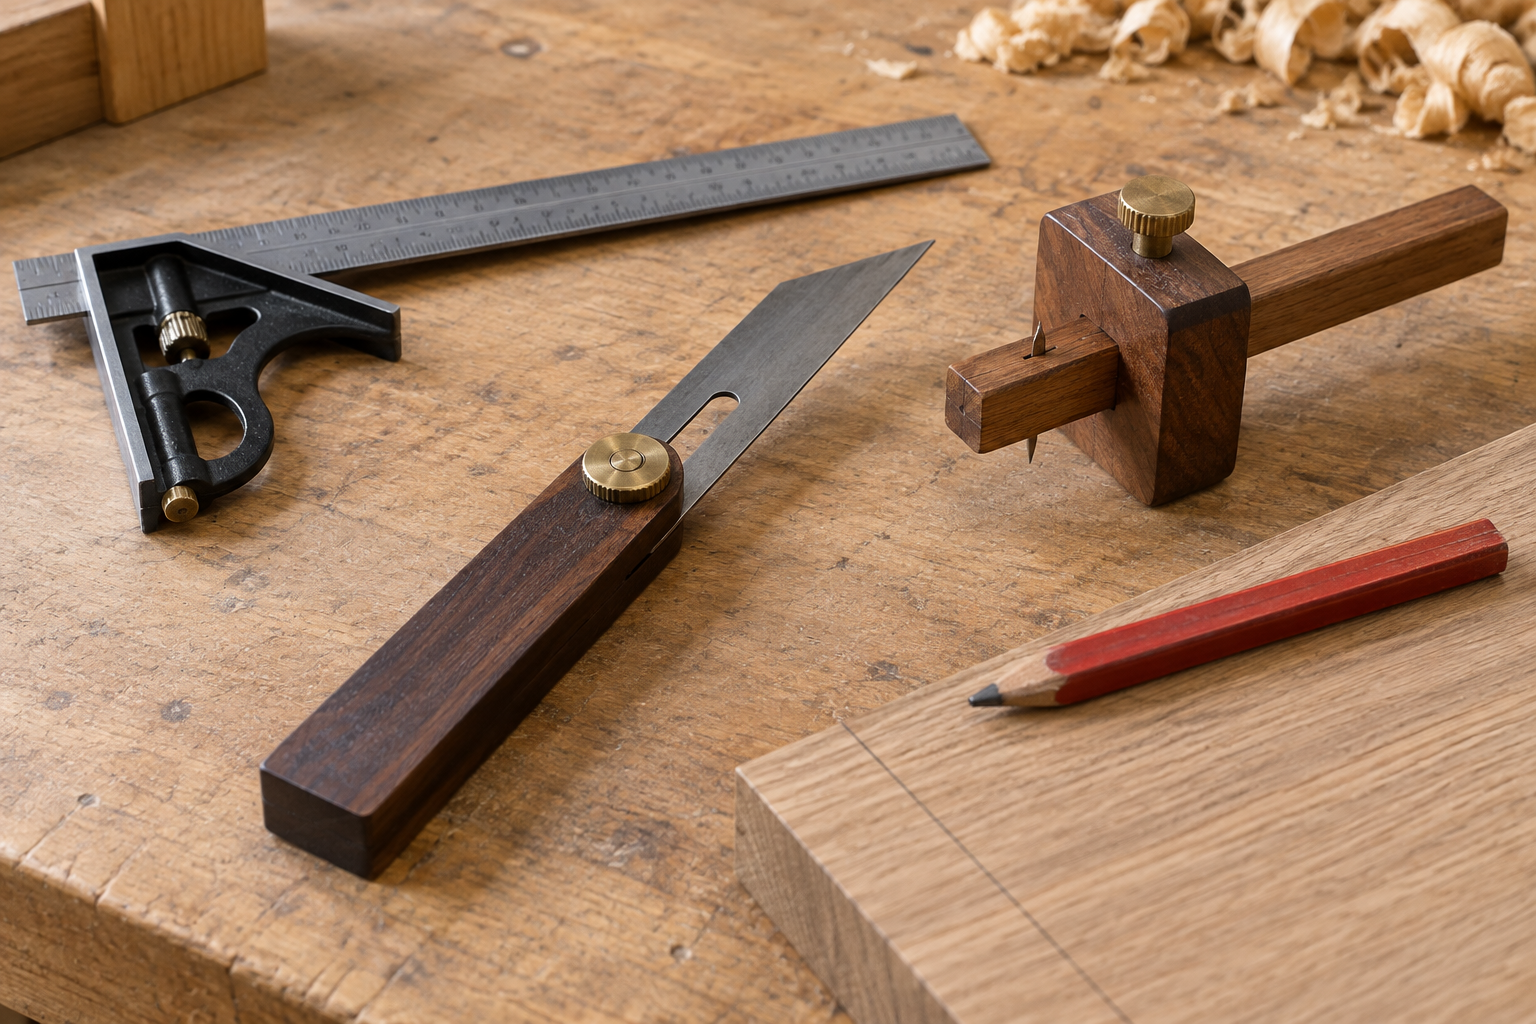
For laying out dovetails, a marking knife and a combination square do different jobs. A marking knife makes the sharper, more exact line. A combination square makes it easier to place that line at a consistent distance from the board’s edge. The most accurate setup uses both, but if you are choosing only one, the better option depends on whether you are marking tails, pins, or a simple baseline.
As an Amazon Associate we earn from qualifying purchases at no extra cost to you.


Our Top Picks



The short answer
Use a woodworking marking knife to transfer dovetail lines and define the waste side. Use a combination square to establish a straight baseline and set repeated measurements.
A knife line is usually more accurate at the actual cut because it creates a physical groove that guides a chisel or saw. A combination square is faster and more versatile, but its pencil or scribe mark is only as accurate as the blade alignment, pressure, and edge condition. For fine hand-cut dovetails, the knife wins for precision. For general layout and occasional dovetails, a good combination square is often enough.
What each tool does
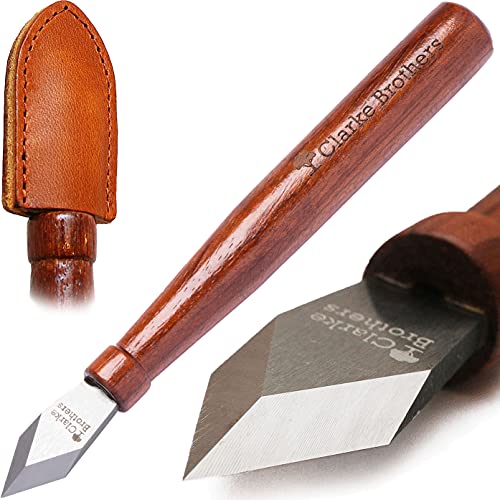
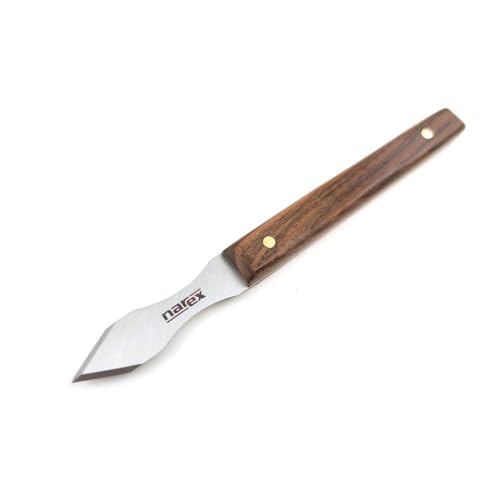
A marking knife has a thin, rigid blade designed to sever wood fibers. When you press it against a reference edge, it leaves a narrow cut rather than a broad graphite mark. That cut gives you a precise shoulder for sawing and a starting point for chopping waste.
Some knives have a single bevel. The flat side is held against the reference surface, while the bevel faces away. This matters because the bevel can push the knife slightly sideways. A double-bevel knife is more convenient for either hand, but it can be less controlled in tight layouts unless the blade is very thin.
A combination square has a graduated rule, a stock, and commonly a 90-degree and 45-degree reference face. It is excellent for marking the baseline across the end of a board and for transferring a measurement from one side to another. With a pencil, it produces a visible but relatively wide line. With a sharp scribe or knife held against the stock, it can also make a knife line, although many inexpensive squares are not ideal for that use.
Accuracy in actual dovetail work
| Task | Marking knife | Combination square |
|---|---|---|
| Baseline across the board | Very accurate, but slower | Fast and accurate with a true square |
| Transferring pins to tails | Excellent; cuts a clear witness line | Awkward and usually too bulky |
| Repeated measurements | Requires a separate gauge or ruler | Very good with a locked, readable rule |
| Visibility | Fine line, sometimes hard to see | Pencil line is easier to see but wider |
| Risk of damaging the reference edge | Can dent soft wood if pressed hard | Low with pencil; higher with a scribe |
The difference is small in rough construction but significant in dovetail joinery. A pencil line can be 0.5 to 1 millimeter wide, depending on the pencil and sharpness. If you cut on the wrong edge of that line, the resulting joint can be visibly loose or tight. A knife line may be only a few tenths of a millimeter wide, so the intended cut location is clearer.
Using a marking knife for dovetails
For hand-cut dovetails, the knife is most valuable when transferring the pins to the tail board. Clamp the boards together, hold the knife in the existing kerf or shoulder, and make a short, controlled cut. Do not try to drag the blade through the entire joint in one heavy pass. Several light passes reduce wandering and prevent the knife from splitting the end grain.
Keep the blade nearly vertical when marking a shoulder. If it leans, the groove may place the cut line in the wrong location. On end grain, a knife can follow a soft growth ring and drift. A sharp blade and light pressure help; so does making the first pass shallow before deepening it.
The main failure mode is confusing the knife line with the waste side. Mark the waste clearly with a pencil or small crosshatch. A perfect layout cut on the wrong side still produces a bad joint.
Using a combination square
A combination square is especially useful for setting the baseline that defines the depth of the tails or pins. Set the rule to the desired distance, tighten the lock, and check that the stock is seated firmly against the board’s reference edge. For many small boxes, a baseline around 6 to 12 millimeters from the end is common, but the correct depth depends on stock thickness and the look you want.
Before trusting the square, test it. Mark a line along one face, flip the square over, and place the stock against the same edge. If the second line does not meet the first exactly, the square is not true. A 0.5-millimeter error across a 100-millimeter board is enough to create a noticeable mismatch.
Cheap squares can be perfectly serviceable, but inspect the rule for burrs, a loose stock, and inaccurate graduations. A square that locks inconsistently may shift while marking. For a pencil line, use a sharp mechanical pencil or a finely sharpened woodworking pencil. For a knife line, hold the knife against the square’s stock rather than trying to force the square’s rule into the wood.
Which should you buy?
Buy the marking knife first if your main work is hand-cut dovetails, small drawers, or fine furniture. A basic knife with a rigid blade is inexpensive, and its accuracy improvement is immediate. Pair it with any reliable ruler or square you already own.
Buy the combination square first if you need one tool for general layout, crosscuts, shoulder lines, 45-degree marks, and dovetail baselines. The cheaper option is fine for occasional projects if it passes the flip test and the locking mechanism holds securely. There is no advantage in paying for a premium square that you will not keep clean, calibrated, and properly locked.
If you regularly cut dovetails, the practical setup is a square for the baseline and a knife for transferring the joint. Add a woodworking marking gauge when you need to mark parallel lines repeatedly. That combination is faster and more consistent than asking either the knife or the square to perform every layout task.
The most accurate working method
Start by flattening and squaring the board ends. Use the combination square to mark the baseline, then deepen that line lightly with the knife. Lay out the tails or pins with the knife and a bevel gauge, keeping the waste marks on the same side of every line. Saw just inside the waste, then pare back to the knife line with a sharp chisel.
That final paring step is where the knife line earns its place. It gives the chisel a precise stopping point and reduces fuzzy shoulders. The combination square establishes the geometry; the marking knife defines the boundary. For accurate dovetails, neither tool completely replaces the other.