What's inside
As an Amazon Associate I earn from qualifying purchases. This post may contain affiliate links at no extra cost to you.
Breaking down a full 4-by-8-foot sheet alone is less about cutting power than controlling a large, flexible panel. A table saw gives you repeatable rip cuts and fast production, but a track saw lets the sheet stay flat while you cut it in place. For one person working in a garage, driveway, or unfinished room, that difference usually matters more than motor size.
As an Amazon Associate we earn from qualifying purchases at no extra cost to you.


Our Top Picks


The short answer
Choose a track saw if your main job is cutting plywood, MDF, melamine, or panels into manageable pieces before they reach the bench. Choose a table saw if you regularly make repeated rips, need a reliable fence for narrow strips, or already have safe outfeed and infeed space.
For breaking down full sheets alone, I would generally buy a track saw kit with guide rail first. A table saw can do the work, but it asks you to lift and steer a floppy 60- to 90-pound sheet through the blade. That is where damaged corners, wandering cuts, and kickback begin.
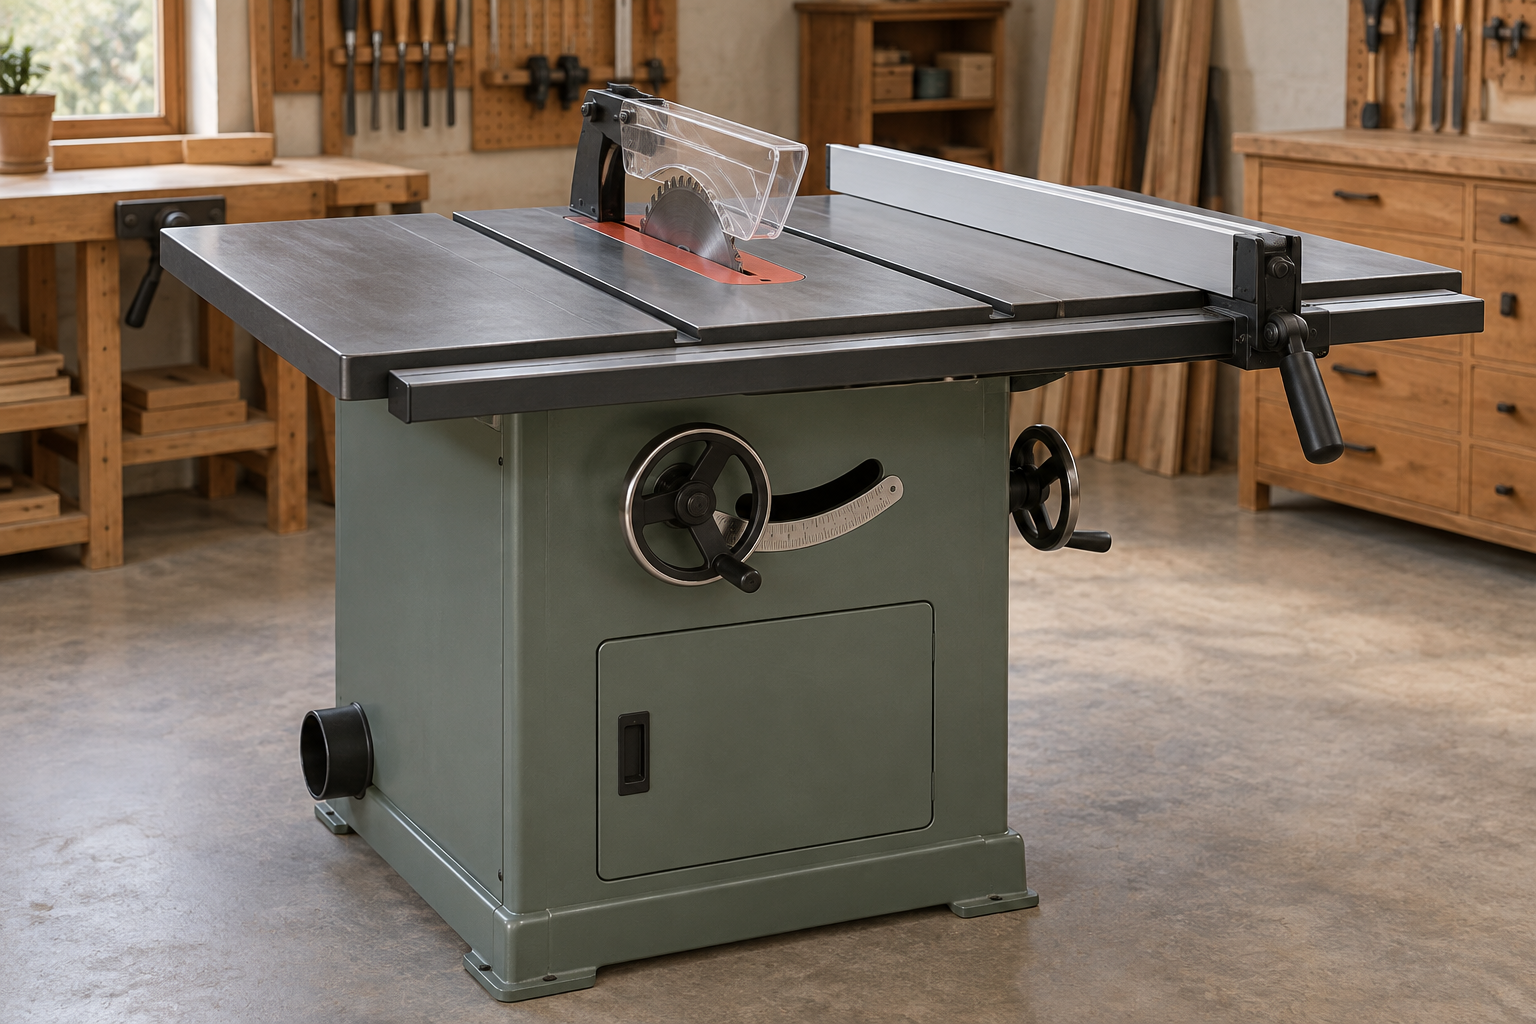
Table saw vs. track saw
| Factor | Table saw | Track saw |
|---|---|---|
| Best use | Repeatable rips, strips, joinery, production work | Breaking down full sheets and accurate crosscuts |
| Sheet handling | Requires lifting and supporting the panel | Panel stays on a support surface |
| Typical cut accuracy | Excellent after fence setup | Excellent with a properly placed rail |
| Dust control | Often mediocre without extra accessories | Usually very good with a vacuum |
| Narrow strips | Safer and more repeatable | Awkward below roughly 3 to 4 inches |
| Setup footprint | Large, plus infeed and outfeed room | Small; needs only a flat cutting surface |
| Typical limitation | Unsafe sheet handling when working alone | Rail alignment and limited repeatability |
Why a track saw is usually easier alone
A track saw cuts from the top, so the panel does not need to travel through a machine. Put the sheet on sacrificial foam insulation, mark the cut, place the rail, and make the cut. The foam supports the sheet while allowing the blade to pass slightly below it. Two-inch-thick insulation is common, but even 1-inch foam works if the blade depth is set carefully.
Use at least three support zones under a full sheet: near the front, near the middle, and near the back. The supports must be level and stable. If the panel sags across an unsupported gap, the cut can pinch the blade or change dimension as the sheet moves. For a long rip, add more support rather than relying on a single pair of sawhorses.
Most guide rails are shorter than 96 inches, so a full-length cut may require two rails and connectors. If the joint is misaligned, the saw can bump or the cut can drift. For occasional work, a 55-inch rail is enough to make an initial crosscut that turns the sheet into more manageable sections. Measure from the rail’s splinter strip, not from the rail’s edge, because the edge is not always the blade reference.
A track saw also contains dust better. With a suitable vacuum, it sends far less airborne MDF and plywood dust into the room than an open table saw. That is a practical advantage when working inside or near finished surfaces, though you still need eye and hearing protection.
Where the table saw is better
A table saw wins once the sheet is already manageable or the job requires many identical pieces. Set the fence once and you can rip a dozen cabinet sides with much less measuring. It is also the better tool for narrow rips, repeated tapers, rabbets, and other operations that depend on a fixed reference fence.
The problem is getting a full sheet onto the table without losing control. A standard table saw surface is roughly 27 inches deep, while the panel extends far beyond it. You need level infeed support behind you, outfeed support in front, and side support so the sheet does not lever against the fence. Without that support, the panel can lift, bind, or push the operator sideways.
Never use the rip fence as the only guide for a crosscut. For initial sheet breakdown, use a crosscut sled, a properly supported panel-cutting setup, or cut the panel with a track saw first. A riving knife and a functioning blade guard are not optional details. They reduce the consequences of binding and should remain installed for ordinary ripping.
Cut quality and common failure modes
Both tools can produce cabinet-quality cuts, but neither automatically fixes poor setup. A dull or incorrect blade will chip veneer, burn hardwood plywood, and push the cut off line. For plywood, a sharp 40- to 60-tooth combination or fine-finish blade is a sensible starting point. Melamine generally needs a blade designed for laminated panels to avoid chipped edges.
On a track saw, the usual errors are placing the rail on the wrong side of the mark, allowing the rail to move, and setting the blade too deep. Set depth so the teeth extend about 1/8 inch below the sheet. More blade exposure increases the chance of damage to the foam and makes the saw harder to control.
On a table saw, the common failures are pushing a bowed sheet into the blade, losing contact with the fence, and letting the offcut fall and twist. A helper can prevent some of these problems, but when working alone, a badly supported full sheet is a poor candidate for the table saw regardless of the saw’s quality.
What to buy
A basic corded track saw setup may cost less than a good jobsite table saw once you include stands, outfeed support, and a dust solution. You also need a vacuum and a cutting surface, but those are useful for many other shop tasks. If you already own a compatible circular saw, a circular saw guide rail system can be a cheaper option. It will not usually plunge as cleanly or resist splintering as well as a dedicated track saw.
For a table saw, prioritize a rigid fence, riving knife, blade guard, and stable stand over extra horsepower. A 15-amp saw is enough for ordinary 3/4-inch plywood. Spend the remaining budget on table saw outfeed support and a good blade. If you primarily build furniture or cabinets from sheet goods, a track saw plus a solid work surface is the more forgiving first purchase.
The safest one-person workflow
Place the full sheet on foam, mark the first cut, and make that cut with a track saw. Break the panel into pieces small enough to handle comfortably—often 24 to 32 inches wide—before moving to the table saw. Then use the table saw for repeatable rips and narrow parts.
This combination avoids the table saw’s worst sheet-handling problem while preserving its accuracy and speed for production cuts. If you only buy one tool for occasional full-sheet work, buy the track saw. If your work is mostly repeated narrow parts and you have the space to support large panels correctly, the table saw earns its place.