What's inside
As an Amazon Associate I earn from qualifying purchases. This post may contain affiliate links at no extra cost to you.
Blade binding is one of the most common problems when ripping long boards with a circular saw. It happens when the cut closes behind the blade, the board sags into the kerf, or the saw twists away from the cut line. The result can be a stalled motor, a scorched board, a wandering cut, or dangerous kickback.
The fix is usually not a more powerful saw. Long rips are controlled by workpiece support, cutting depth, blade choice, and the way you guide the saw. Set those correctly before upgrading tools.
Our Top Picks


Support the Board Correctly
A long board must be supported on both sides of the cut, but the support pattern matters. If the offcut is unsupported, its weight can pull the kerf closed as you approach the end. If the main piece is unsupported, it can sag and pinch the blade earlier in the cut.
Use a row of supports beneath the board, spaced roughly 16 to 24 inches apart. For an 8-foot board, four or five supports is a practical minimum. Place one support within about 12 inches of each end, then distribute the others evenly. Check that every support is at the same height; a low support can create the same pinching force as a missing support.
When cutting sheet goods or wide boards, sacrificial foam insulation is often the simplest solution. A 1 1/2- to 2-inch-thick foam sheet supports the entire panel while allowing the blade to pass below the workpiece. For narrow boards, sawhorses with straight rails or a cutting table work well.
Do not let the board hang far past a sawhorse. A long overhang acts as a lever and can rotate the board as the cut progresses. Clamp the board when practical, but avoid clamping directly across the intended kerf.
Set the Cutting Depth Properly
Set the blade so its teeth extend about 1/8 to 1/4 inch below the board. Too little depth can leave the rear teeth rubbing the material or make the saw unstable. Too much depth increases the amount of blade exposed below the board and makes binding more likely if the saw tilts.
For a typical 3/4-inch board, about 1 inch of total blade depth is usually enough. With a 2-inch-thick timber, set the saw only slightly deeper than the material rather than using its maximum setting.
Before starting, unplug the saw or remove its battery and check that the blade guard moves freely. A guard that catches on the edge of a long board can lift the saw, causing the blade to twist in the kerf.
Choose a Blade That Matches the Material
A ripping cut needs a blade that clears waste efficiently. A general-purpose blade with 24 to 40 teeth is usually a better choice for solid lumber than a fine 60-tooth finish blade. Fine blades make smooth cuts but remove less material per tooth and can feed slowly, creating heat and friction.
For plywood, melamine, or veneered panels, a 40- to 60-tooth blade reduces chipping. The trade-off is slower cutting and a greater need to keep the saw moving steadily. A dull blade is a binding risk regardless of tooth count. Signs include burning, smoke, excessive feed pressure, and a cut that drifts even when your guide is straight.
If your saw uses a thin-kerf blade, verify that it is compatible with the saw’s riving knife. The riving knife should be slightly thinner than the blade body but thicker than the kerf. A mismatched knife can drag in the cut or fail to keep the kerf open. If you need a replacement, compare the saw’s specifications before buying a compatible circular saw riving knife.
| Cutting job | Practical blade choice | Main trade-off |
|---|---|---|
| Softwood or construction lumber | 24- to 40-tooth carbide blade | Faster cutting, rougher edge |
| Hardwood | 30- to 40-tooth rip or combination blade | Good feed rate, moderate finish |
| Plywood or veneered sheet | 40- to 60-tooth finish blade | Cleaner edge, slower feed |
| Wet, resinous, or dirty lumber | Sharp carbide blade with generous gullets | Less heat, but still requires careful support |
Use a Straight Guide Instead of Freehanding
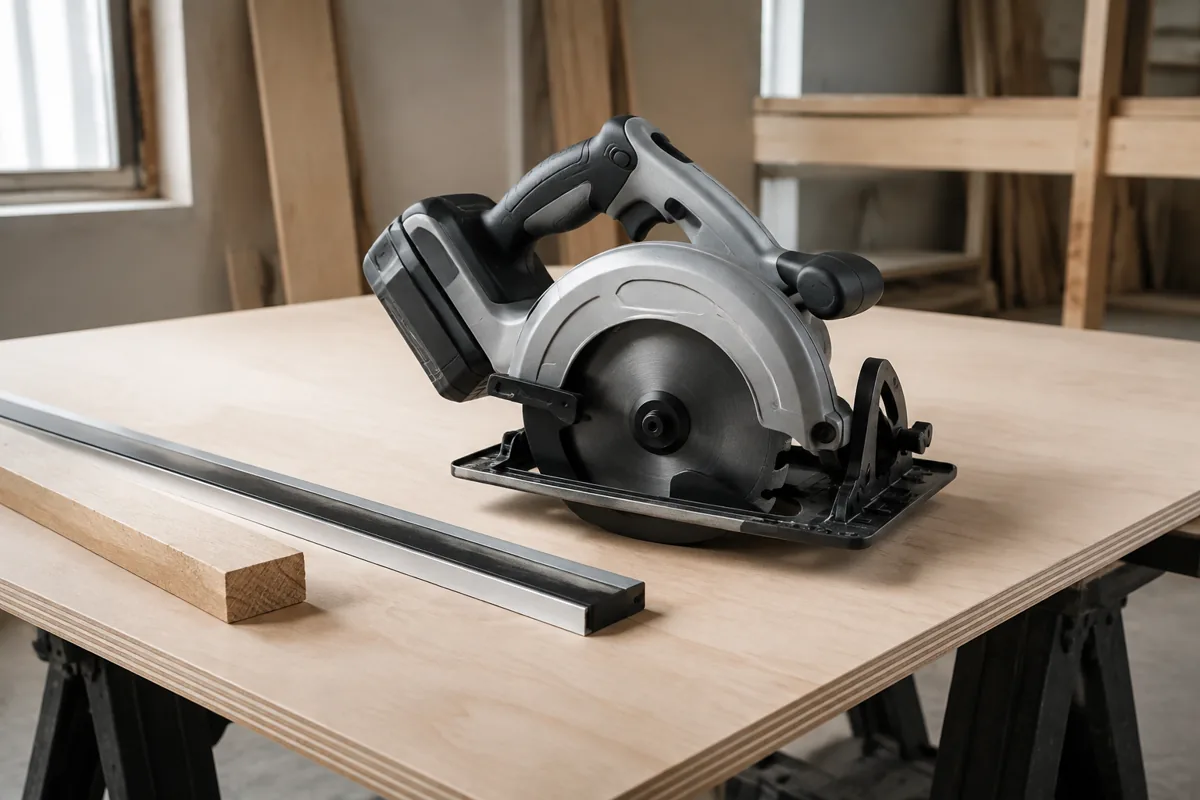
Freehand ripping forces you to make constant corrections. Each correction can twist the saw, and a twisted blade binds even when the board is properly supported. For repeatable results, clamp a straightedge or use a saw guide rail.
Measure from the saw’s base edge to the blade, then offset the guide by that amount. Make a short test cut in scrap before cutting the expensive board. A guide rail is faster for repeated work, while a straight board clamped to the workpiece is the cheaper option and is perfectly adequate for occasional projects.
For a dedicated track saw, a circular saw guide rail or straight edge reduces steering effort and helps keep the cut straight. The extra cost is difficult to justify for one or two cuts, but it pays off when ripping cabinet panels or multiple boards.
Feed the Saw Without Forcing It
Start the saw with the blade clear of the wood, then bring it smoothly into the cut. Keep the base plate flat and use both hands: one on the main handle and one on the front knob. Push at a steady rate that lets the motor maintain speed. Forcing the saw bends the blade sideways and increases heat; moving too slowly can also burn the cut.
Keep your body to the side of the saw, not directly behind it. Never pull a running saw backward through the kerf. If the motor slows sharply, stop pushing, hold the saw still, and release the trigger only after the blade has stopped. Pulling out while the blade is turning can cause the saw to climb out of the cut.
When approaching the last 12 inches, check that the offcut is still supported. If it begins to drop or close the kerf, stop and add support. Do not finish a long rip while holding the offcut by hand.
Know When a Different Tool Is Better
A circular saw is a good choice for occasional long rips, framing lumber, and rough construction cuts. A track saw with guide rail is easier to control for long, clean cuts in sheet goods, but costs more and still requires proper support.
A table saw is faster for repeated narrow rips, provided the fence is parallel to the blade and the board is supported at the outfeed. For very long or heavy boards, use an outfeed table or roller support. If the stock is bowed, twisted, or badly cupped, joint one edge first or use a different board; no saw setup can make unstable lumber behave like straight stock.
For occasional work, a sharp general-purpose blade, a clamped straightedge, and properly spaced supports are usually enough. Spend more on a guide rail or track saw when clean, repeatable long cuts are a regular part of the job—not simply because the blade bound once.