What's inside
As an Amazon Associate I earn from qualifying purchases. This post may contain affiliate links at no extra cost to you.
Our Top Picks


Best Drywall Hammers for Hanging and Finishing Panels
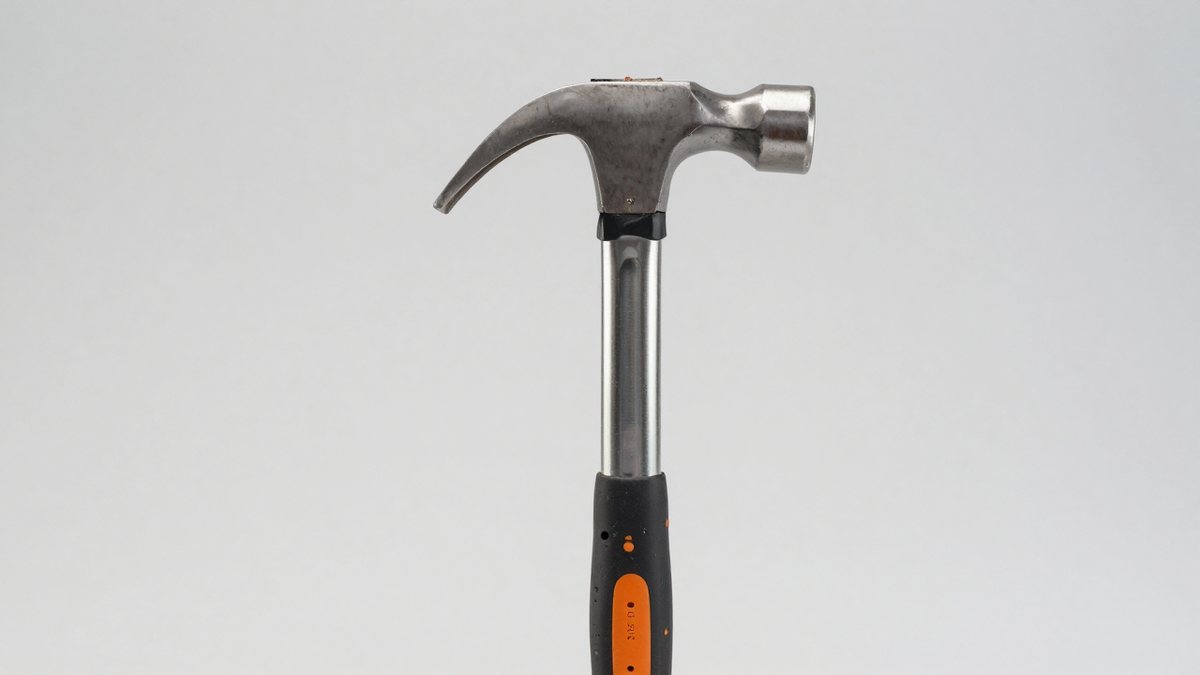
The best drywall hammer for most installers is a balanced 12- to 14-ounce model with a milled face, a sharp hatchet edge, and a handle that fits securely in the hand; choose a lighter 10-ounce hammer for delicate finish work and a heavier 16-ounce model for frequent framing and rough hanging.
A drywall hammer has two jobs: drive nails without slipping and trim or score drywall with its hatchet end. Head weight affects driving speed and fatigue, the face texture helps keep the hammer on the nail, and the hatchet edge is useful for cutting and clearing material—not a substitute for a drywall saw on detailed openings. The right choice depends on how much hanging, fitting, and finishing you actually do.
As an Amazon Associate we earn from qualifying purchases at no extra cost to you.


Quick picks by situation
| Situation | Best fit | Why | Trade-off |
|---|---|---|---|
| General renovation or occasional hanging | 12–14 oz head, milled face, 14–16 in handle | Good balance of fastening power and control | Not as quick as a heavier hammer for high-volume nailing |
| Lightweight finishing and punch-list work | 8–10 oz head, smooth or lightly textured face | Less tiring for careful, repeated taps | Requires more swings to drive nails |
| Frequent hanging or heavier framing tasks | 14–16 oz head, milled face, longer handle | More momentum for driving nails efficiently | More tiring and less forgiving in tight spaces |
| Occasional cutting and panel fitting | Hatchet end with a sharp, accessible edge | Can trim edges and notch small sections on site | Still need a utility knife or saw for clean, precise cuts |
What matters when choosing a drywall hammer
Head weight: speed versus control
Head weight is a useful starting point, but it is not the whole hammer weight. A long handle or heavier steel body can make a nominally light-head model feel slow to reposition. For a first drywall hammer, 12–14 ounces is a practical middle ground: enough mass to drive nails without requiring a hard swing, but manageable for overhead and close work.
Choose 8–10 ounces if you mainly make light taps, adjust panel edges, or work in cramped rooms. Choose 14–16 ounces if you hang regularly and have room for a full swing. A heavy hammer can drive nails faster, but it also magnifies a poor strike; beginners and occasional users often gain more from control than from extra mass.
Milled face: grip with a finish trade-off
The crosshatched face helps the hammer stay on a nail head, especially when a nail is slightly angled or access is awkward. That grip is useful during hanging, but the texture can leave a visible impression if the face strikes the paper surface. Keep the face on the nail head, not the finished panel. For delicate adjustments near exposed drywall, a smooth-faced hammer or a separate smooth striking tool offers more control.
Hatchet edge: useful, but not a universal cutter
The hatchet end can trim a protruding edge, notch a small obstruction, or break away a narrow strip after scoring. Look for an edge that is sharp enough to work but not so bulky that it makes the head awkward to place. For outlets, curved cuts, and clean openings, score with a utility knife or use a drywall saw; forcing the hammer edge through a panel can tear the face paper and leave an uneven fit.
Handle materials and balance
- Wood: Often comfortable and easy to replace, but can loosen, split, or swell with moisture. Check the head-to-handle joint periodically.
- Fiberglass: Resists moisture and typically needs less upkeep than wood. Inspect the grip and exposed shaft for damage; a cracked handle should be replaced, not taped over.
- Steel: Durable and rigid, often with a shock-reducing grip. It can transmit more vibration, and a damaged or slipping grip can make control harder.
Handle length changes the feel as much as the material does. A longer handle increases leverage and reach but is harder to swing in a closet or between studs. Hold the tool if possible: the head should feel balanced rather than pulling your wrist forward.
Representative options and specifications
These established models illustrate different choices rather than a single universal winner. Check current manufacturer specifications before buying, since configurations and availability can change.
| Model | Published head weight | Face / head style | Handle | Best suited to |
|---|---|---|---|---|
| Estwing E3-11 drywall hammer | 11 oz | Milled face, hatchet-style head | One-piece steel with grip | Users wanting a compact, sturdy all-rounder |
| Estwing E3-16C drywall hammer | 16 oz | Milled face, hatchet-style head | One-piece steel with grip | Frequent hanging and users who prefer more driving weight |
| Stiletto DH drywall hammer | 14 oz | Milled face, hatchet-style head | Hickory | Those who prefer a traditional wood handle and midweight head |
Model names and specifications are not a substitute for checking fit. Compare overall length, grip shape, and the stated head weight—not just the product title. A hammer that feels controllable at shoulder height may feel tiring overhead.
Choose by workload, not by the biggest specification
- One room or occasional repairs: Start with a 12-ounce class hammer and a comfortable handle. Avoid paying for extra mass you may not use.
- Several rooms a year: A 12–14-ounce milled-face model is a versatile choice. Prioritize a grip that stays secure when your hands are dusty.
- Daily hanging: Consider 14–16 ounces if your technique is consistent and the work involves repeated nail driving. If most panels are installed with screws, a heavier hammer may add fatigue without improving productivity.
- Mostly finishing or tight access: Favor a shorter, lighter tool and use a separate knife or saw for accurate cuts.
Also consider fastening method. Drywall screws are commonly driven with a screw gun or drill fitted with a depth-setting bit; a hammer is most relevant when the job uses drywall nails or when you need a hand tool for fitting and small adjustments. Buying a heavier hammer will not make screw installation faster.
Keep the tool accurate and safe to use
Before work, check that the head is secure and the handle has no cracks, deep chips, or loose grip. A loose head can shift during a swing; stop using the hammer until it is repaired or replaced. Keep the hatchet edge free of hardened joint compound and other buildup, and store the hammer dry to limit corrosion and handle damage.
During hanging, use controlled swings and aim for the nail rather than the panel. A milled face that misses can damage the paper, and repeated hard strikes can crush the gypsum core. If a nail starts bending, stop and correct its angle instead of trying to force it through. For work near wiring, plumbing, or concealed services, confirm what is behind the panel before cutting or driving fasteners.
Bottom line
For a dependable general-purpose choice, look for a 12–14-ounce drywall hammer with a milled face, a useful hatchet edge, and a handle that feels secure without being tiring. Go lighter for precision and confined spaces, or heavier for frequent nail driving when you can maintain control. The best match is the one that suits your fastening method and work pace—not simply the hammer with the largest head.