What's inside
As an Amazon Associate I earn from qualifying purchases. This post may contain affiliate links at no extra cost to you.
Our Top Picks


Best hammers for finishing nails: the short answer
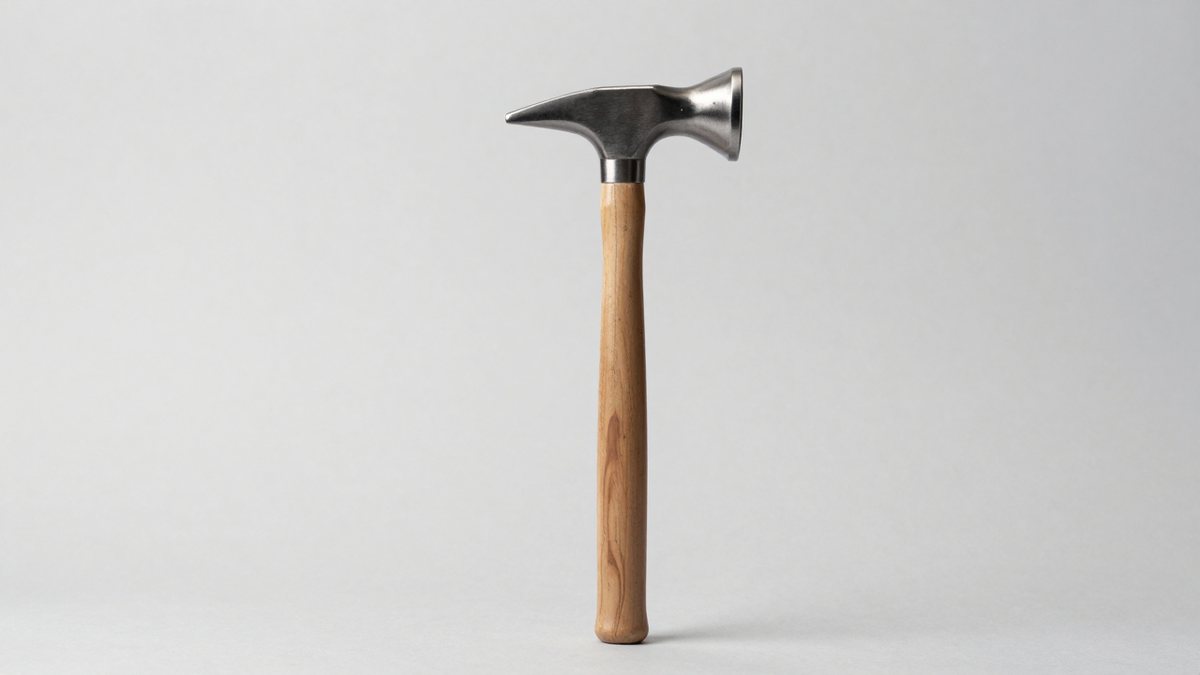
For most trim work, the best hammer for finishing nails is a 12-ounce finish hammer with a narrow, smooth face, a well-balanced head, and a handle you can control near the head for delicate strikes. Choose a lighter 8-ounce model for very small brads or fragile trim, and a 16-ounce model when you regularly drive longer finishing nails into dense wood. If the last few millimeters matter, stop short and use a nail set rather than trying to land a full-strength hammer blow beside the trim.
What matters more than the hammer’s label
- Head weight: A heavier head drives nails with fewer swings, but carries more momentum if you miss. Lighter heads make it easier to use short, controlled strokes on delicate molding.
- Face size and finish: A smaller face can help you aim at a small nail head, though it leaves less margin for error. A smooth face is preferable around finished surfaces; check the face diameter rather than relying on terms such as “finish” or “trim” alone.
- Balance: A head that feels stable through a short swing is easier to guide than one that feels unwieldy. Hold the hammer as you would during actual trim work; handle shape and grip affect how the tool feels in your hand.
- Handle control: A comfortable grip and a secure head-to-handle connection matter over repeated strikes. Wood handles can be replaced or may loosen over time; fiberglass and steel handles generally need less attention at the joint but can transmit more vibration.
Compare head weights and face sizes
The ranges below are practical buying targets, not guarantees: manufacturers’ dimensions vary, and some list the overall hammer weight while others emphasize head weight. Confirm what a product specification refers to before comparing models.
As an Amazon Associate we earn from qualifying purchases at no extra cost to you.


| Hammer type | Typical head weight | Typical face diameter | Best suited to | Main trade-off |
|---|---|---|---|---|
| Light trim or tack hammer | 8 oz | About 3/4–7/8 in | Small brads, delicate molding, occasional touch-up | May need more swings for longer nails |
| General-purpose finish hammer | 12 oz | About 7/8–1 in | Most interior finishing nails and routine trim installation | Requires care near narrow or easily marked trim |
| Heavier finish hammer | 16 oz | About 1–1 1/8 in | Longer nails, denser stock, frequent carpentry use | More momentum makes an off-center strike more damaging |
Face dimensions are approximate buying ranges, not a standard shared by every manufacturer. A smooth face is usually the safer choice for visible trim; a textured or milled face can grip nail heads better but may leave marks if it contacts the work.
Choose by the job, not just the nail
| Your situation | A sensible choice | Why |
|---|---|---|
| New to hand-nailing; working on painted or thin trim | 8–12 oz, smooth face, compact head | Lower swing momentum gives you more opportunity to correct your aim. |
| Occasional household repairs and mixed trim work | About 12 oz, smooth face, medium-length handle | A versatile balance of driving ability and control. |
| Frequent installation or longer finishing nails | About 16 oz, with a grip and balance comfortable to you | More mass can reduce the number of swings, but demands careful placement. |
| Working in a tight corner or beside glass | Compact, light hammer—or a brad nailer if appropriate | Restricted swing room increases the risk of a glancing blow; a hammer alone may not be the best tool. |
Among established options, Estwing’s 12-ounce E16C is a compact curved-claw hammer with a one-piece steel construction; consider it if you want a durable, familiar style, but assess its grip and transmitted vibration for your own comfort. Vaughan offers traditional wood-handled finish-hammer options; a wood handle may appeal if you prefer its feel and the possibility of replacement, but inspect the head joint periodically. These are examples of tool styles, not a claim that either is the right fit for every user. Check current model specifications, since product details can change.
How to drive a finishing nail without denting the trim
- Check the nail and trim. Match nail length and gauge to the trim and backing material. Test your approach on an offcut when possible, especially with brittle or thin molding.
- Start the nail securely. Hold it near the tip and use a few very light taps to establish it. Once it stands on its own, move your fingers clear before striking again.
- Use a short, controlled swing. Grip closer to the head for more control, and aim the hammer face squarely at the nail head. A glancing strike can bend the nail or send the head into the trim.
- Stop before the nail is flush. Leave the head slightly proud, then use a nail set sized to the nail head to sink it below the surface. This avoids bringing the hammer face close to the trim at the most damage-prone stage.
- Fill and finish. Fill the small recess with a suitable filler, then sand or touch up as appropriate for the finish. On stained wood, test filler and touch-up products on a hidden area first.
Ownership details that affect your choice
A hammer can remain serviceable for years, but the grip and head joint deserve attention. On wood-handled models, look for cracks, looseness, or movement between handle and head; stop using a hammer that has a loose head. Replace a worn or slippery grip when the design allows it, and keep striking faces clean and free of oil. Do not use a finish hammer as a pry bar or strike hardened metal with it unless the manufacturer specifically permits that use.
The common mistake is choosing the heaviest hammer that feels efficient on a bench, then using the same full swing on narrow trim. A smaller hammer does not guarantee a clean result: poor alignment and excessive force can still dent the work. For visible surfaces, careful setup, a square strike, and a nail set usually matter more than shaving one swing off the job.
Bottom line
For a single all-around purchase, start with a smooth-faced 12-ounce finish hammer that feels steady in your hand. Move down toward 8 ounces when delicate trim and precise control are the priority; move up toward 16 ounces when longer nails and repeated driving are common. Whichever weight you choose, finish the nail with a nail set—not the hammer face—when the trim surface must stay clean.