What's inside
As an Amazon Associate I earn from qualifying purchases. This post may contain affiliate links at no extra cost to you.
A marking knife and a wheel marking gauge can both define a crisp shoulder line, but they do it differently. The knife is a hand-guided edge for laying out a specific line. The gauge sets a distance from an edge and repeats that distance along the work. For one-off joinery, the knife often gives you more control; for repeatable shoulders, the gauge is usually faster and more consistent.
As an Amazon Associate we earn from qualifying purchases at no extra cost to you.


Our Top Picks



What “clean” means at the shoulder
A clean shoulder line is narrow, continuous, and square to the reference face. It should be easy to see without tearing fibers, and it should give a chisel or saw a definite boundary. A deep groove is not automatically a better line: too much pressure can bruise the wood or leave a trench that remains visible after assembly.
Wood species and grain matter. Straight-grained maple or cherry can take a fine knife line cleanly. Open-pored oak may show a dark, ragged-looking cut if the tool catches across the grain. On any species, a dull edge, a loose fence, or measuring from a rough edge can spoil the result regardless of tool type.
How the tools make the line
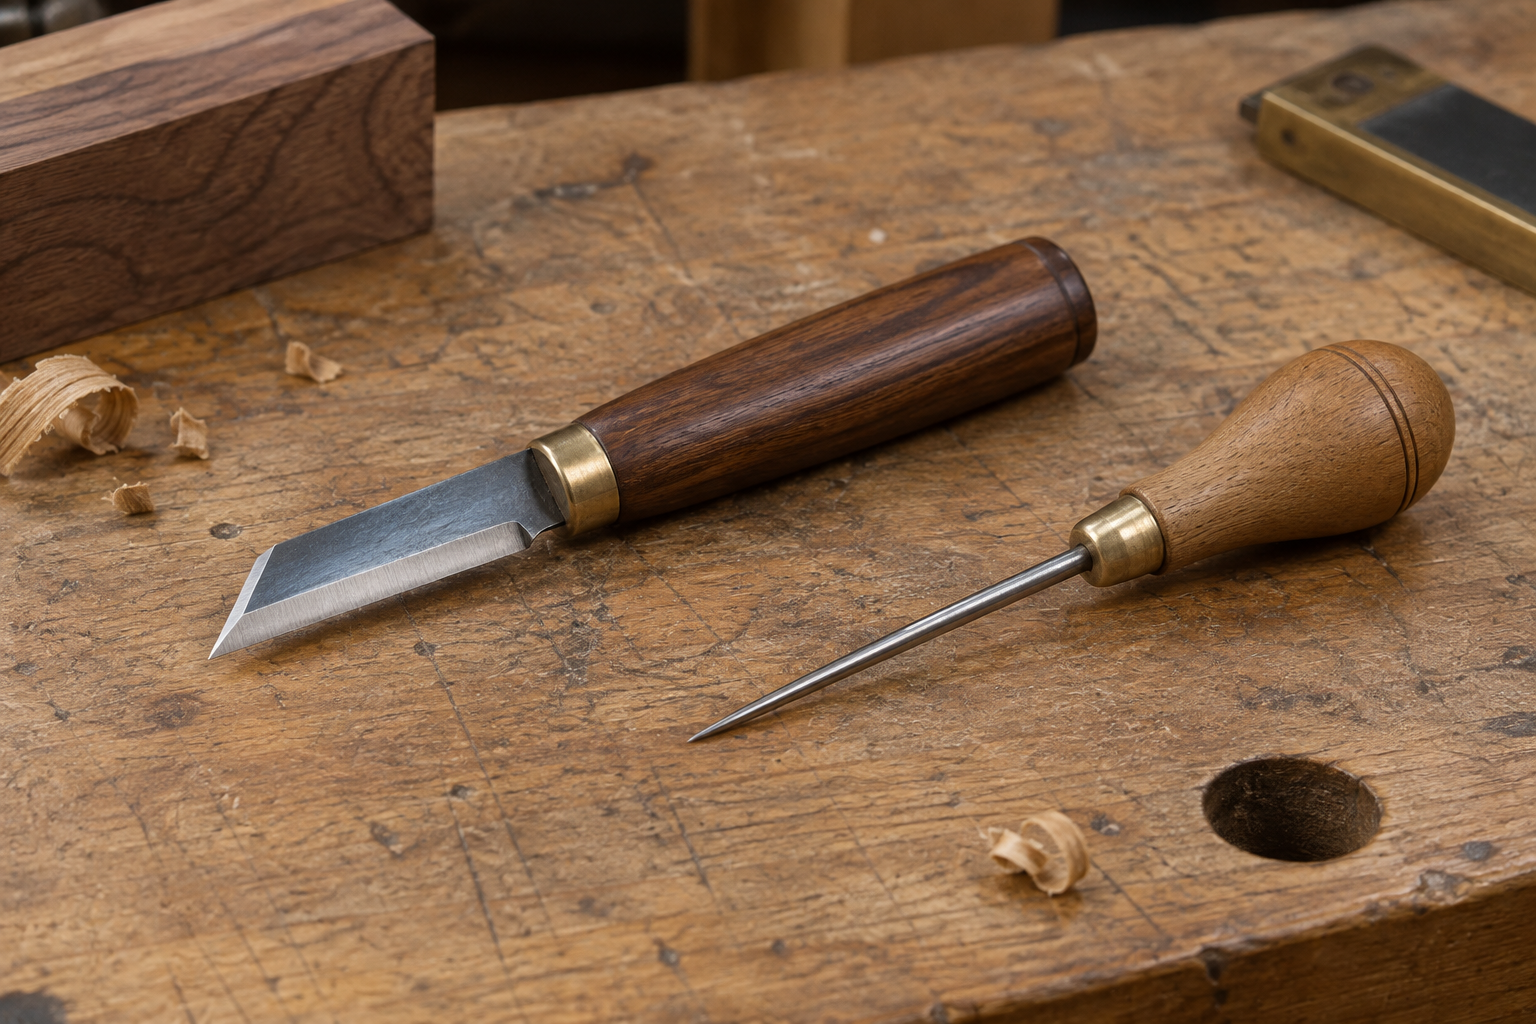
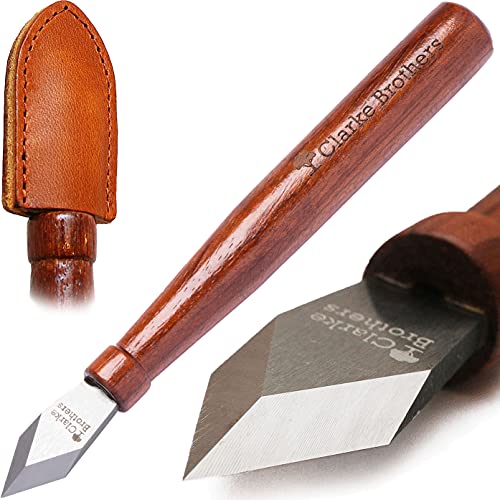
A marking knife has a short, sharp blade. You hold a square, template, or other guide against the work and draw the blade along it, typically with one or two light passes. The bevel’s orientation affects where the blade tracks, so test the setup on scrap before marking an important joint. A knife is especially useful for transferring a tenon shoulder from a square or marking a mortise boundary.
A wheel marking gauge has a fence that rides against a reference edge and a small circular cutter set at a chosen projection. Slide the fence along the board and the cutter scores a line at that distance. A wheel’s cutting action tends to sever fibers cleanly, and the fence makes it straightforward to repeat the same measurement. It does not replace a square when you need a line across the face at a specific location.
At a glance
| Factor | Marking knife | Wheel marking gauge |
|---|---|---|
| Best use | One-off layout against a square or template | Repeated lines set from a reference edge |
| Shoulder accuracy | High with a stable guide and careful control | High when the fence stays registered and locked |
| Speed on repeated parts | Slower; each line needs a separate guide setup | Faster; set once, then mark each piece |
| Main failure mode | Blade wanders or cuts on the wrong side of the guide | Fence slips, or the reference edge is inconsistent |
| Best fit | Flexible layout and fine detail | Repeatable shoulder or tenon layout |
Which produces the cleaner shoulder?
For a shoulder located from an edge, a well-adjusted wheel gauge usually wins on consistency. Set it once, keep the fence pressed firmly against the same reference face, and each part gets a line at the same offset. That is valuable when making several tenons or marking a batch of rails. A gauge with a sharp wheel and a rigid lock is more important than extra features; if the cutter wobbles or the fence shifts, the line can double or vary in depth.
For a shoulder located from a layout mark, a marking knife often wins on control. It can follow a square exactly, including a line across the face and down an edge, without requiring the distance to be referenced from the board’s edge. This is useful for a single joint, an irregular workpiece, or a layout where the shoulder position has already been established with a rule or story stick. The trade-off is that the guide must be held firmly, and a knife can skate if the first pass is too heavy.
Neither tool guarantees a clean cut if the stock is poorly prepared. A gauge references its fence to an edge, so a wavy or splintered edge makes the shoulder line wander. A knife guided by a square can still produce a crooked line if the square moves. Joint one edge first when repeatable gauge measurements matter, and use a light initial pass before deepening the score.
What to buy
If most of your work involves repeatable joinery, choose a wheel gauge with a comfortable fence, a secure adjustment, and a replaceable or sharpenable cutter. A wheel marking gauge is a practical first choice for tenon shoulders and parallel layout lines. Check that the fence does not rock and that the wheel runs without side play.
If you mainly need to transfer lines from a square, mark small parts, or work from varied reference points, a woodworking marking knife is more versatile. A simple, sharp knife is enough; paying more does not compensate for a blunt edge or an unstable guide. If you already own a sharp utility knife, it can handle rough layout, but a dedicated marking knife is easier to control for fine work.
There is no need to buy both immediately. The cheaper option is fine when your work is occasional and your layout method is consistent: use a knife and square for a few one-off shoulders, or a basic gauge for repeated measurements from a straight edge. Buy the other tool when you repeatedly hit its limitation, not because one is universally “more accurate.”
A reliable marking method
First, choose and identify the reference face and edge. For a gauge, set the cutter to the shoulder distance, lock it, and test the setting on scrap. Hold the fence tight to the edge and pull the tool in one controlled pass. For a knife, place the square on the reference face, check its contact, and make a light cut; deepen it with a second pass only if needed.
Inspect the line before cutting. It should be continuous, not doubled, and close to the intended position. When chopping a shoulder, keep the chisel’s waste-side bevel against the score and remove material in small cuts. A clean score gives the chisel a boundary; forcing the tool past that boundary can still tear fibers or widen the shoulder. The practical winner is the tool that matches your reference: the gauge for repeated offsets, the knife for guided, individual layout.