What's inside
As an Amazon Associate I earn from qualifying purchases. This post may contain affiliate links at no extra cost to you.
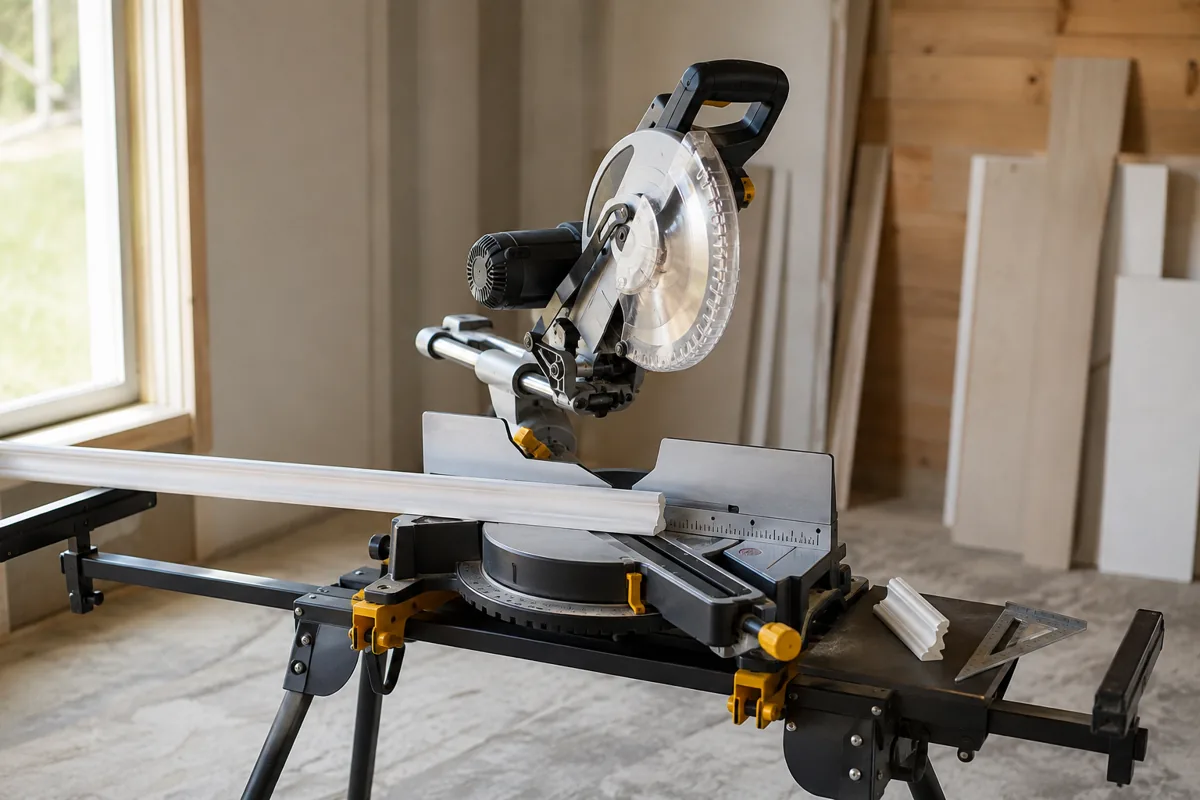
Long boards are awkward on a miter saw because the saw table is small and the material acts like a lever. A 10-foot board can sag several inches beyond the saw, lift off the fence, or shift as the blade exits. The result may be a poor cut, a pinched blade, or a board that kicks sideways. Good support keeps the work level with the saw table, holds it against the fence, and leaves both hands available to control the cut.
Our Top Picks
 POWERTEC Portable Miter Saw Stand w/ Quick-release Mounting1PK49 x 16.25 x 8.25 inchesCheck on Amazon

Why Long Boards Need Support
A miter saw supports only the area immediately around its base. Most portable saws have a table roughly 20 to 30 inches wide, while common boards are 6, 8, 10, or 12 feet long. If the offcut or the longer section hangs unsupported, its weight can rotate the board around the saw table.
That movement causes several problems:
- The board may no longer sit flat against the fence, producing an inaccurate angle.
- The cut can close on the back of the blade and cause burning or kickback.
- The board may rise as the blade cuts through, leaving a rough or incomplete cut.
- The offcut can fall before the blade has stopped, pulling the workpiece or damaging the cut edge.
As a practical rule, support long stock whenever more than about 2 feet extends beyond either side of the saw. Softer, wider, or heavier boards may need support sooner. The supports should be level with the saw table, not merely close to it.
The Best Ways to Support Long Boards
The right choice depends on how often you use the saw, how much space you have, and whether you need repeatable lengths. These are the main options.
| Support type | Best for | Advantages | Limitations |
|---|---|---|---|
| Folding saw horses with a straight board | Occasional DIY work | Low cost, easy to store, stable when set up correctly | Needs careful height adjustment; no built-in measuring system |
| Roller stand | Long boards and sheet goods | Quick setup and low friction for feeding stock | Can let narrow boards wander; rollers must be level |
| Dedicated miter saw stand | Frequent cutting and jobsite work | Folding extensions, stops, and better portability | More expensive and often heavier |
| Fixed workbench or outfeed table | Workshop use | Most rigid and stable; useful for repeated work | Consumes permanent floor space and may interfere with bevel cuts |
For occasional cuts, folding saw horses and a straight 2×4 or plywood panel are usually enough. You do not need a specialized stand if the supports are solid and their tops match the height of the miter saw table.
Using Sawhorses and a Sacrificial Support Board
Place one support on each side of the saw, as close to the saw as practical without obstructing the base or fence. For an 8-foot board, supports about 2 to 3 feet from the saw on each side usually work well. For 12-foot material, move them farther out or add a third support.
Bridge the horses with a straight board, plywood strip, or pair of rails. Check the surface with a long level or straightedge. The support should be flush with, or up to about 1/16 inch below, the saw table. If it is higher, the board can rock on the saw. If it is substantially lower, the board can sag into the cut.
A sacrificial top is useful because the saw blade can pass slightly below the workpiece. Use a straight piece of 3/4-inch plywood or a clean 2×4, and clamp it securely to the horses if the setup can shift. Avoid loose supports that slide when the board is pushed against the fence.
Do not assume matching saw-horse heights are enough. Floors are often uneven, and folding legs can settle under load. Put the board on the support, press down near the intended cut, and check that it remains flat against the fence. Adjust with shims rather than forcing the material down with your hand during the cut.
When Roller Stands Make Sense
A roller stand is convenient when you regularly cut long trim, framing lumber, or boards from a lumber rack. Set the roller just below the saw table so the stock rests on the saw, not on a high point. A roller that is even 1/8 inch too high can tilt the board away from the fence.
Rollers are best for feeding straight stock into position, but they are not always ideal for holding a narrow board during the cut. The board can roll sideways, particularly when the blade is lowered. A wide-top support or a dedicated stand with a flat material platform gives better lateral control.
Use two or more stands for very long material. One stand near the saw controls height; a second farther away prevents the board from twisting. Check that each roller spins freely. A seized roller behaves like a bump and can move the workpiece unexpectedly.
Dedicated Miter Saw Stands
If you cut trim or framing lumber weekly, a miter saw stand with extensions is easier to live with than repeated improvised setups. Look for extensions that support at least 8-foot stock, adjustable legs, solid saw mounts, and a stop system that can be positioned without tools.
Built-in material stops are valuable for repeated crosscuts. They save time and improve consistency, but they are not a substitute for supporting the board. A stop at one end can cause a long board to pivot if the opposite end is hanging free.
Before buying, check the stand’s rated load and extension length. A stand may support a 12-foot board in theory but still flex when cutting heavy hardwood or laminated countertop material. Folding stands are convenient, though their hinges and telescoping tubes introduce more movement than a fixed bench.
A Safe Cutting Procedure
Mark the cut and place the board with the waste side positioned so it cannot fall into the blade path. Press the board firmly against the fence, but keep your hand at least 6 inches from the blade and outside the marked no-hand area on the saw. For wide stock, use a clamp rather than reaching over the table.
Start the saw with the blade clear of the material. Lower it smoothly, without forcing the motor. Keep the head down after the cut until the blade has stopped, especially when a short offcut is likely to drop. Never support a falling offcut with your free hand while the blade is spinning.
For boards longer than about 10 feet, consider making the cut on the ground with a properly supported cutting station if the stand flexes. The cheaper setup is fine when it stays level, does not move, and gives the workpiece a stable surface on both sides of the blade. Stability matters more than the price or appearance of the support.
Common Setup Mistakes
Do not use a single roller stand for a long, flexible board, balance the board on loose scraps, or place supports so high that the workpiece lifts from the saw table. Avoid clamping across a moving miter saw’s travel path, and check that long material cannot strike a wall, vehicle, or person as the saw head swings.
Finally, test the setup with the saw unplugged. Move the board through the full cut, swing the saw to the intended angle, and check for collisions. This takes less than a minute and catches most support problems before the blade does.