What's inside
As an Amazon Associate I earn from qualifying purchases. This post may contain affiliate links at no extra cost to you.
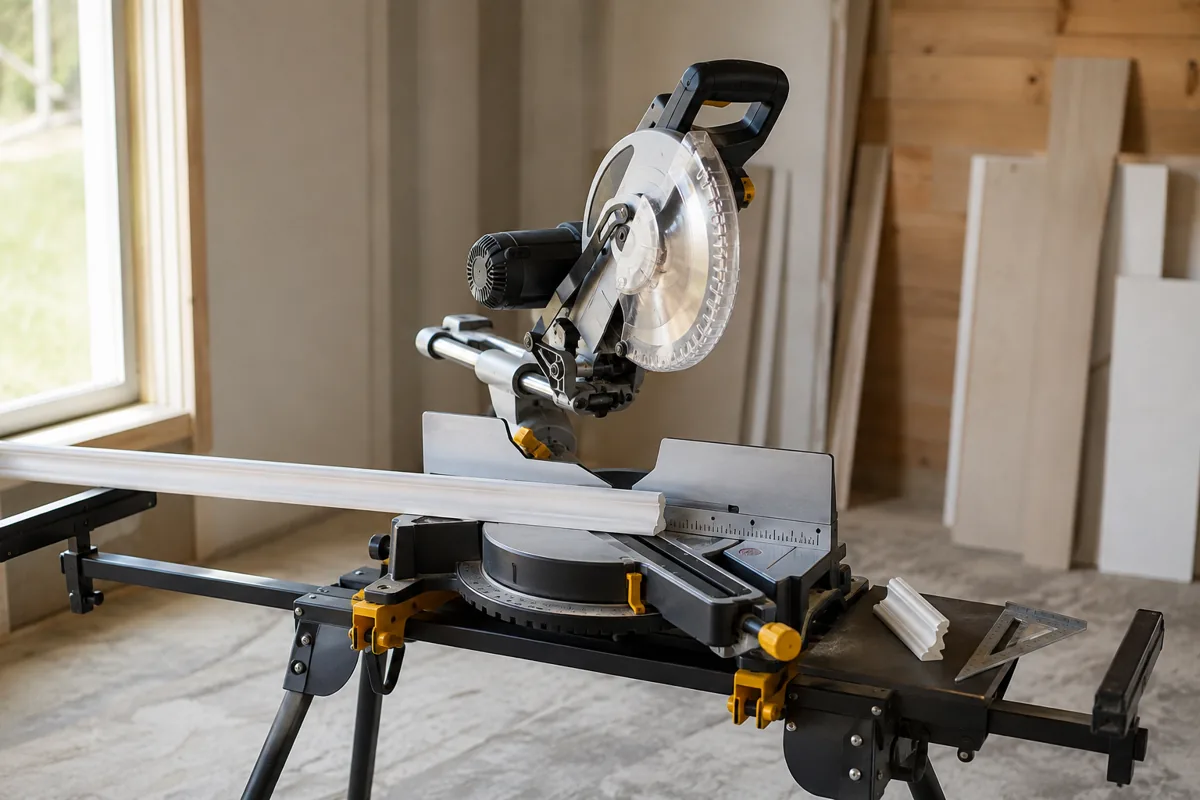
A sliding miter saw can make accurate compound cuts, but only if its reference surfaces and stops agree with each other. A saw that is 1 degree out of square may look acceptable on a crosscut and still leave a visible gap when cutting crown molding. Calibration is not difficult, but it must be done in the right order: table, fence, bevel, miter stops, then test cuts.
Our Top Picks

What You Need Before Calibrating
Work on a stable bench with the saw bolted down or clamped firmly. Remove the blade guard only if the manufacturer’s instructions specifically allow it; normally, you can perform these checks with the blade installed and unplugged. Use a reliable 6- to 12-inch combination square, a machinist’s square if available, a straightedge, a bevel gauge, and a tape measure.
A cheap square can undermine the whole job. Check it by drawing a line along a straight edge, flipping the square over, and drawing a second line against the same edge. If the lines do not coincide, replace the square. For repeatable setup, a machinist square set is usually a better buy than relying on a loose combination square.
Use a sharp blade with the correct tooth count for the material. A damaged or dirty blade can deflect during the test and make a properly adjusted saw appear inaccurate.
Level the Saw Table and Extensions
Start with the saw unplugged and the blade raised. Lay a straightedge across the main table and both sides of the extension supports. The table should be flat enough that a straightedge does not rock or show a gap larger than roughly 0.5 mm (about 1/64 inch). A small deviation may be harmless, but a sag where long stock rests can change the angle of a cut.
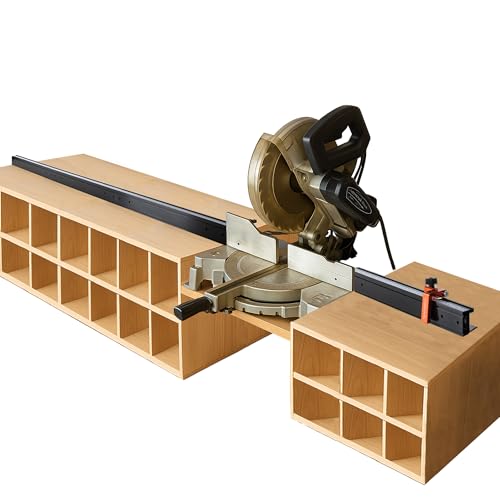
Adjust or shim the extension wings until they are flush with the saw table. If the extensions sit high, the workpiece may tilt toward the blade. If they sit low, long boards can dip and produce an angle that changes from one cut to the next. This is a common failure mode on portable saw stands and improvised workbenches.
Square the Fence to the Blade
Lower the blade and rotate it by hand to place one tooth at the front of the blade near the table. Do not measure against the tooth’s angled face. Instead, use the flat plate behind the teeth or place the square against the blade body, avoiding the gullets and carbide tips.
Hold the square against the fence and blade. The square should touch both without forcing the blade sideways. Check at the front and rear of the blade. If the gap is wider at one end, loosen the fence bolts, adjust the fence, and retighten gradually while rechecking. On a two-piece fence, align each half independently, then verify that the joint does not create a step.
Some saws use a fence with a slight relief near the blade. That is acceptable if the fence is straight where the workpiece contacts it. The goal is a consistent 90-degree relationship between the fence and blade, not necessarily contact across every inch of the fence.
Set the Zero-Degree Miter Stop
Move the miter table to its marked zero position and engage the detent. Do not assume the printed scale is accurate. With the saw square to the fence, make a test cut through a straight piece of scrap at least 6 inches wide. Flip one half over and bring the two cut faces together. This is the “flip test.”
If the joint forms a V-shaped gap, the miter is not truly 90 degrees. A gap at the front means one adjustment direction; a gap at the back means the opposite. Make small corrections to the stop or detent plate, then repeat the cut. This test is more useful than measuring one cut with a square because it doubles the error: a 0.5-degree mistake becomes roughly a 1-degree visible mismatch across the joined pieces.
Calibrate the Bevel Mechanism
Return the miter setting to zero and check the blade at the 0-degree bevel position. Place the square on the table and against the blade. If the blade is not perpendicular, adjust the bevel stop or the manufacturer’s 0-degree stop screw. Many saws have separate stops for left and right bevel positions, so check both if the saw tilts in both directions.
After adjustment, tilt the saw to 45 degrees and verify it with a bevel gauge or a digital angle gauge. The 45-degree scale is often less precise than the zero stop. For compound cuts, a one-degree bevel error is especially damaging because it changes both the mating angle and the visible face of the molding.
| Check | Useful target | Typical symptom when wrong |
|---|---|---|
| Fence to blade | 90 degrees | Crosscuts are not square; gaps appear along the joint |
| Zero-degree miter | 90-degree crosscut | Two flipped halves form a V or bow-shaped gap |
| Zero-degree bevel | 90 degrees to the table | Cut face leans; trim will not sit flat |
| 45-degree bevel | 45 degrees, verified independently | Compound joints show uneven reveals |
Verify Sliding Action and Rail Alignment
Pull the saw head toward you and push it through its full travel. It should move smoothly without side-to-side wobble. Lock the head at several points along the rails and check whether the blade remains square to the fence. If the blade changes angle as it slides, the rails may be misaligned, loose, contaminated, or worn.
Clean sawdust from the rails according to the manual. Do not automatically apply oil; some sliding systems require dry surfaces, and oil can attract abrasive dust. If the head has measurable play after tightening the approved adjustments, calibration may not hold. A non-sliding saw can be more accurate for short stock, while a well-built slider offers capacity but adds another source of flex.
Make a Compound-Cut Test
Use four identical scrap blocks, preferably the same width and thickness as the real material. For a simple 45-degree compound test, set the miter and bevel to the required angles, mark the waste side clearly, and support the stock firmly against the fence. Keep your hands at least 6 inches from the blade path, and allow the blade to stop before raising the head.
Assemble the test pieces without forcing them together. Look for gaps at the front and back of each joint. A gap that changes from one end to the other usually points to a bevel error or stock that is not sitting flat. A gap that repeats around the entire assembly usually indicates the miter setting. If only one corner fails, check the piece for a bowed edge, inconsistent thickness, or a shifted stop.
When a Cheaper Saw Is Enough
A basic 10-inch slider can be perfectly adequate for framing, shelving, and occasional trim if you verify it before important work. Spend more for a saw with a rigid fence, low-play rails, accessible micro-adjustments, and a dependable bevel lock when you regularly install crown molding, build furniture, or cut wide hardwood parts.
For trim work, a 12-inch fine-finish miter saw blade can improve cut quality, but it will not correct a misaligned saw. If you need repeatable length, add a miter saw stop block system rather than measuring every piece by hand. Recheck calibration whenever the saw is moved, the blade is changed, or a cut begins producing unexplained gaps.