What's inside
As an Amazon Associate I earn from qualifying purchases. This post may contain affiliate links at no extra cost to you.
When several pieces need the same length, the fastest method is not to read the tape faster. It is to set up one reliable reference, make each mark the same way, and check the first cut before repeating it. A small reading error can compound into a batch of parts that are all wrong in the same direction.
Our Top Picks
 Milwaukee 48-22-0325 Compact Wide Blade Magnetic Tape Measures7.6 m300 x 1 x 0 inches1 poundsCheck on Amazon

Set up the tape before measuring
Use a tape long enough to span the work without stretching it across a gap. For ordinary trim, shelving, or framing, a 25-foot tape is a practical size; a compact 12- to 16-foot tape is easier to handle for short pieces. A wider blade usually stands out farther before it bends, which helps when measuring alone, but it adds bulk. If your cuts are short and the tape is supported, a cheaper, narrower tape is often fine.
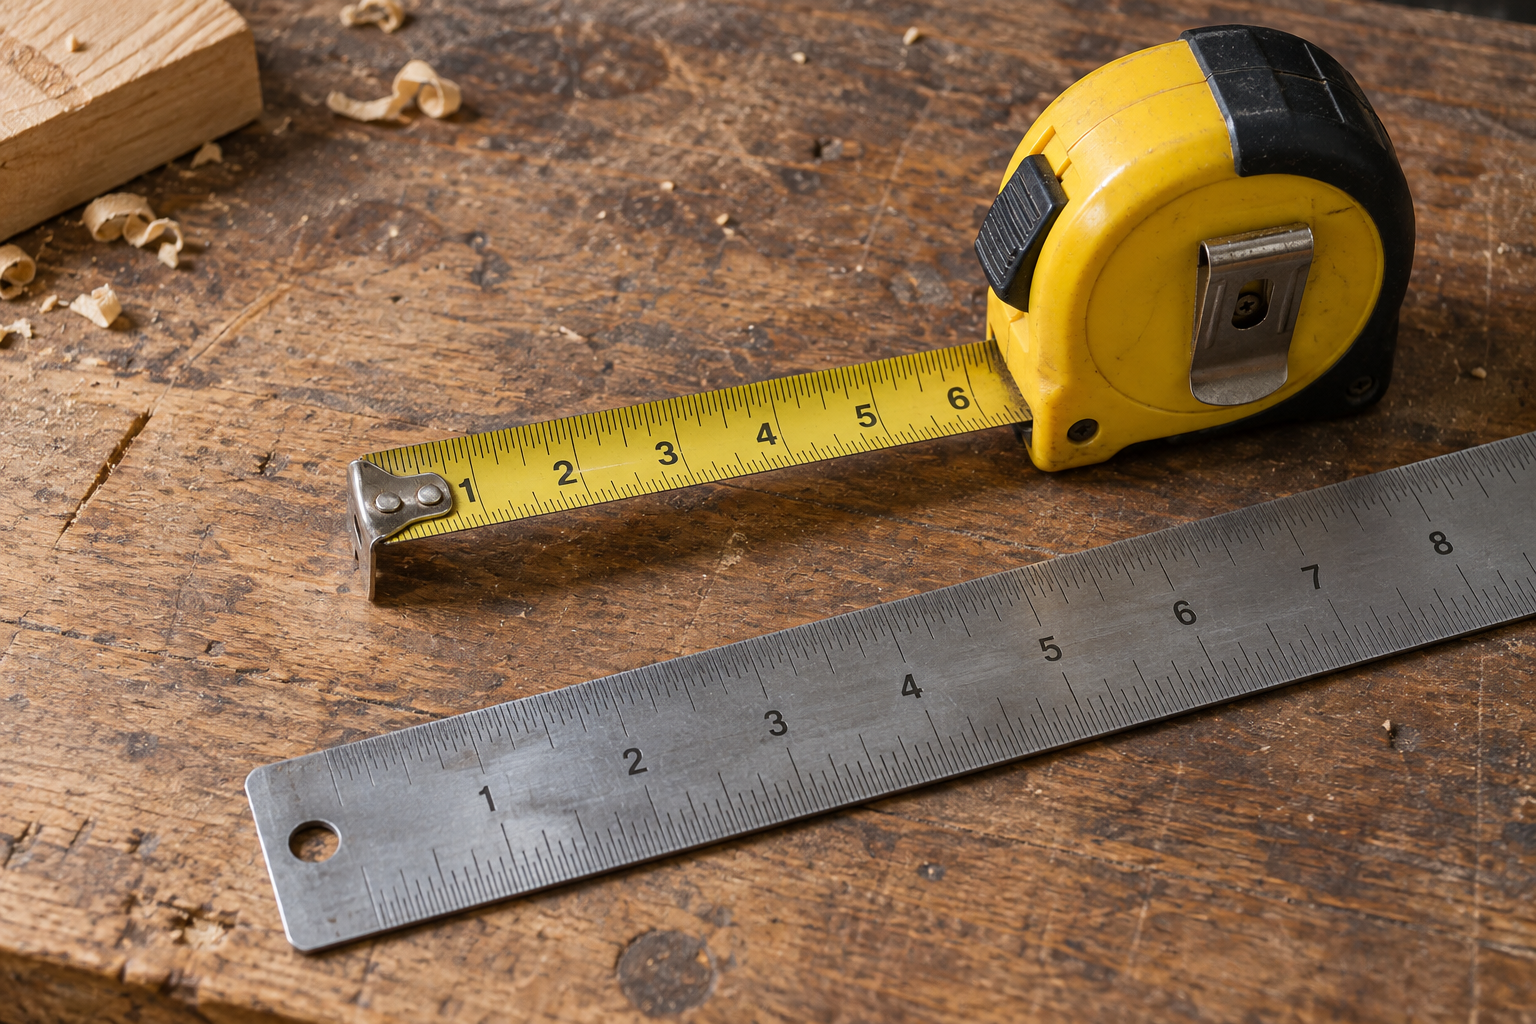
Check that the hook at the end moves slightly. That movement compensates for the hook’s thickness: it pulls out when hooked over an edge and pushes in when pressed against a surface. If it is bent, loose enough to shift sideways, or packed with debris, measurements can vary. For repeated work, compare the tape against a known ruler or another dependable tape over 12 inches. Replace it if the readings disagree or the blade is damaged.
Support the blade along the work when possible. A bowed or drooping tape is harder to read and can give a longer measurement than a straight one. Keep the blade flat, look directly down at the mark to avoid parallax, and avoid measuring around a curved edge unless the job specifically requires it.
Read inches and fractions quickly
The longest marks show whole inches. Between them, the common subdivisions are halves, quarters, eighths, and sixteenths. On a tape divided into sixteenths, count the short marks from the nearest whole inch: the first is 1/16, the second 1/8, the fourth 1/4, and the eighth 1/2. For example, the sixth small mark after 12 inches is 12 3/8 inches.
For speed, read the whole inch first, then identify the fraction rather than counting every line from zero. Fractions reduce: 2/16 is 1/8, 4/16 is 1/4, and 8/16 is 1/2. If the drawing calls for eighths, round to an eighth only when the fit allows it. Do not casually round a precise cabinet or joinery measurement; a 1/16-inch change can matter when several parts must fit together.
Some tapes print larger numbers at feet or mark them in color. Treat those as reminders, not a substitute for checking the inch count. At 6 feet 4 1/2 inches, for instance, record the full measurement clearly rather than writing “4 1/2” and later forgetting which foot it belongs to.
Mark repeated cuts consistently
First decide whether every piece is measured from its own end or whether you will transfer a reference from a stop block. For a handful of pieces, measure each one separately and mark the cut line. For a larger batch of identical lengths, a stop block on a miter saw or a repeatable fence setup is usually faster and less prone to reading errors. Measure and verify the setup before feeding the batch; never hold a short offcut between the blade and a stop where it can bind.
Use the same measuring method for every piece. Hook the tape on the same end, pull it snug without bowing the blade, and mark the same edge of the measurement line. A sharp pencil is useful for rough carpentry; a marking knife or fine pencil line is better when the cut must land accurately. Mark a small V with its point at the intended dimension, then draw the cut line with a square. This makes the target clear even if the pencil line has some width.
For multiple cuts, write each length beside its mark if pieces differ. Keep the tape’s end at the same reference edge each time, and do not measure one piece from a factory end and another from a rough or damaged end without accounting for it. On long stock, have a helper support the far end or use a stable support. A blade that sags can shift the reading by more than the tolerance of a close-fitting part.
Tools that help with repeat measurements
The tape measure is usually sufficient for marking. Other tools become worthwhile when the batch is large, the material is awkward, or the cuts must match closely. A stop block avoids rereading a tape for every identical cut; a square makes the line perpendicular; and a fine marker makes the target easier to see. Choose based on the job, not on the assumption that more accessories always mean greater accuracy.
| Tool or method | Best use | Trade-off |
|---|---|---|
| Basic tape measure | Small batches and mixed lengths | Low cost, but each piece must be read and marked |
| Wide-blade tape | Longer spans measured by one person | Stands out farther, but is bulkier and often costs more |
| Framing or combination square | Turning a measurement into a straight crosscut line | Improves marking consistency; does not set the length by itself |
| Stop block | Many identical cuts on a saw setup | Fast and repeatable, but must be positioned and secured accurately |
If you need a replacement, compare a wide-blade 25-foot tape measure with a basic compact tape. The wide blade is useful when you regularly measure alone across several feet; for short stock on a bench, the compact option is often cheaper and easier to carry.
A 12-inch combination square can help transfer a measurement into a square line. If your work is rough framing, a pencil and an ordinary speed square may be enough. For repeated identical cuts, a miter-saw stop block can save time, but only if it is securely fixed and the offcut has room to clear the blade.
Check the first cut before batching
Before cutting a full set, mark and cut one piece. Measure the finished part from the same reference edge used for the layout, then test its fit. If it is wrong, determine whether the error came from reading the fraction, the thickness of the pencil line, a saw setup, or measuring from the wrong end. Correct the cause before repeating the cut.
For a saw cut, place the blade on the waste side of the line, not through the finished dimension, unless your process accounts for the blade’s kerf. A typical circular-saw kerf is around 1/8 inch, but blade and setup vary. When cutting several pieces, orient them consistently and check the first two finished lengths against each other. Identical errors are easier to spot as a pair than by trusting a stack of unverified parts.
Avoid the errors that waste a batch
Do not read a tape from an angle, let its hook catch on a splinter, or assume every small line represents the same fraction on every tape. Confirm the scale markings if the tape is metric-and-imperial or unusually printed. Keep pencil marks thin, label different lengths, and pause if the blade retracts before you record the number. These habits take seconds and are cheaper than recutting a full set.