What's inside
As an Amazon Associate I earn from qualifying purchases. This post may contain affiliate links at no extra cost to you.
Our Top Picks
 IRWIN VISE-GRIP Long Nose Pliers with Wire Cutter89.57 x 10.43 x 0.87 inches0.5 poundsCheck on Amazon
 Amazon Basics Extra Long Reach Needle Nose Pliers3 Count (Pack Of 1)12.69 x 3.01 x 4.12 inchesCheck on Amazon

What matters when bending small connectors
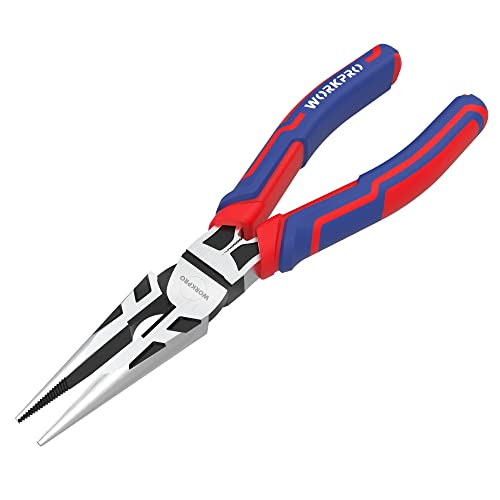
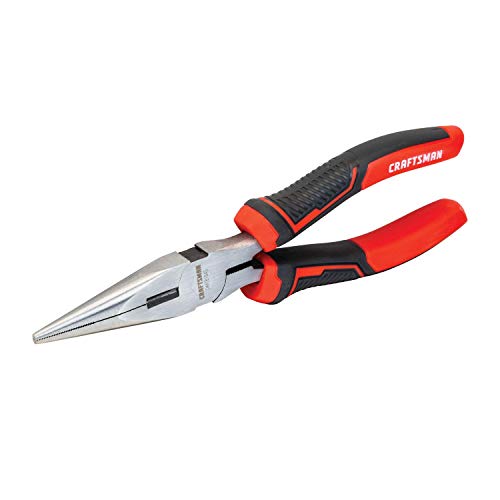
Needle-nose pliers are useful for positioning small electrical terminals, but they are not a substitute for the correct crimper. Use pliers to make a minor adjustment to a connector’s shape or position—not to form the crimp that secures a wire. A crushed barrel or damaged contact can make a connection unreliable even if it looks tidy.
For this work, prioritize narrow, accurately aligned jaws, a smooth hinge and a grip that lets you control pressure. Long jaws reach into crowded spaces, but they flex more under load. For small connectors, a 5- to 6-inch tool is often easier to control than an 8-inch pair. If you regularly work on live equipment, stop: ordinary pliers are not insulated tools. De-energize the circuit and verify it is safe before handling conductors.
As an Amazon Associate we earn from qualifying purchases at no extra cost to you.



Needle-nose pliers compared
| Type | Best use | Trade-off |
|---|---|---|
| Standard, 5- to 6-inch | General handling and light bending | Versatile, but tips may be too broad for tight spaces |
| Long-reach, 6- to 8-inch | Accessing recessed connectors | Reach improves; tip control and stiffness usually decline |
| Fine-tip precision | Very small contacts and delicate adjustments | Excellent access, but tips can bend or chip if forced |
| Angled needle-nose | Working around obstructions | Useful angle, but less direct leverage for straight bends |
A quality standard pair is the sensible first purchase for occasional connector work. Consider 5-inch needle-nose pliers if you want compact control for bench or panel work. For deeper access, compare them with long-reach needle-nose pliers, but avoid using their extended tips as a lever.
Jaw shape and finish
Look for jaws that meet evenly along their working length. Hold the closed tool up to a light: a large gap or obvious misalignment makes it harder to grip a tiny tab without slipping. Serrations hold round wire well, but they can mark a plated contact. Smooth jaws are gentler on delicate surfaces, though they may slip on a smooth part. If the connector finish matters, grip a non-contact area or use a smooth-jaw tool rather than squeezing the mating surface.
Tip width matters more than overall length when the connector is small. Fine tips reach between adjacent features, but are not designed for heavy bending. For a sturdy tab, apply force closer to the jaw pivot, where the jaws are stronger. If the tip twists, spreads or slips, stop and change tools or support the connector better.
Choosing the right pair
For a home tool kit, a basic 5- to 6-inch pair is usually enough. A cheaper pair is fine for occasional light adjustments if the jaws align, the hinge moves without wobble and the handles do not twist under modest hand pressure. Pay more when you need consistent alignment, frequent use or a better return on precision. Do not assume a higher price makes a tool safe for electrical work: only tools specifically rated and marked for the relevant voltage should be considered for energized tasks, and connector bending is best done with power off.
If you work on miniature contacts often, a dedicated precision set can be more useful than one oversized long-nose tool. Browse smooth-jaw precision pliers for delicate parts. For routine electrical repairs, a proper terminal crimper is the better buy than trying to make pliers perform two jobs.
How to make a controlled bend
First confirm the connector is not carrying power and identify which part may be adjusted. Support the connector close to the bend so force does not travel into the wire, insulation or board-mounted contact. Grip the tab near its base, then make a small bend—roughly 5 to 10 degrees at a time—and check the fit. Several small corrections are safer than one large twist.
Do not bend a contact back and forth repeatedly. Metal work-hardens; a tab that has been corrected several times may crack, loosen or lose spring tension. Stop if the plating flakes, the barrel deforms, the metal turns white at the bend, or the connector no longer springs back as expected. Replace a damaged terminal rather than relying on a visual check alone.
Check the result and maintain the tool
After adjustment, inspect the connector under good light. Look for cracks, burrs, flattened contact areas and a loose wire barrel. Confirm the terminal seats correctly and that the mating contact engages without force. If the wire needs to be secured, use the specified crimping tool and the correct terminal for the wire gauge; needle-nose pliers cannot produce a dependable crimp.
Keep the jaws clean and dry, and wipe away residue that could transfer to contacts. A hinge that develops play or jaws that no longer meet accurately are signs to retire the pliers from precision work. For this task, control and alignment matter more than maximum leverage: choose the shortest tool that reaches comfortably, and let the connector—not the pliers—set the limit on force.