What's inside
As an Amazon Associate I earn from qualifying purchases. This post may contain affiliate links at no extra cost to you.
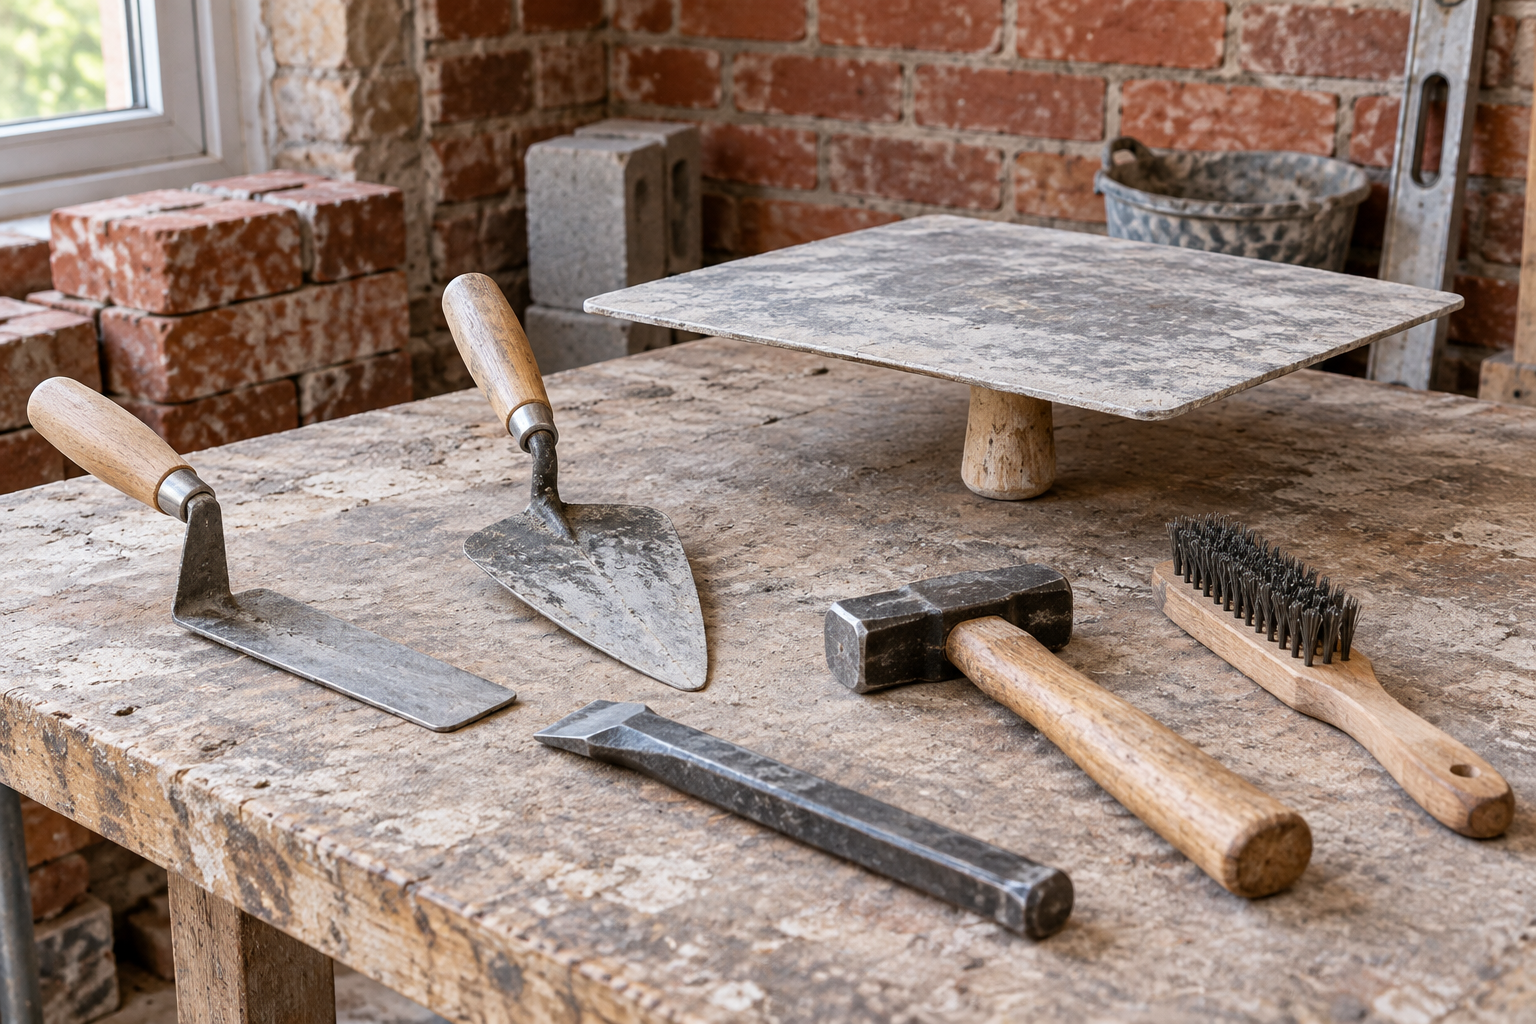
Removing old mortar from brick joints is a controlled demolition job, not a brute-force chiseling contest. The best masonry chisel is usually a narrow plugging chisel used with a light lump hammer. It lets you clear the joint while keeping the brick edges intact. A wide brick bolster can speed up removal in open areas, but it is easier to drive into the brick and cause damage.
For most repointing work, buy a 10-inch brick plugging chisel with a blade around 1/2 to 5/8 inch wide. That size fits typical mortar joints and gives you enough control to work in short sections. Pair it with a 1- to 2-pound club hammer rather than a full-size sledgehammer.
As an Amazon Associate we earn from qualifying purchases at no extra cost to you.


Our Top Picks


The best chisel type for mortar removal
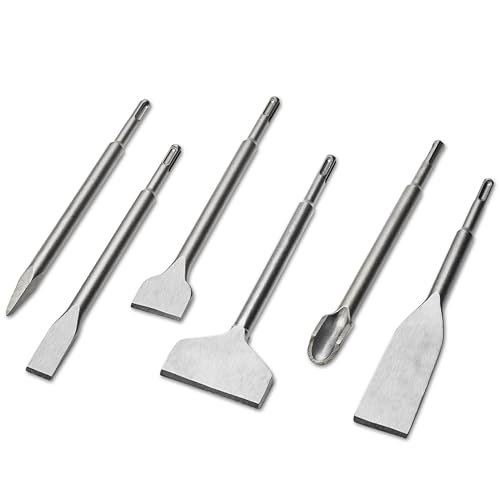
A plugging chisel has a long, relatively narrow blade and is designed for cutting channels in masonry. Its narrow tip can be placed in the center of a mortar joint, where the surrounding brick offers some protection from a glancing blow. It is the best all-around choice for removing mortar from brick joints by hand.
A cold chisel can work, especially on hard cement mortar, but its cutting edge is often too narrow for efficient joint cleaning. It is useful for breaking stubborn spots after the bulk of the mortar is gone. A brick bolster has a blade several inches wide and is better for splitting bricks, chasing large channels, or removing loose mortar from broad areas. It is not my first choice for fine work on an exposed brick wall.
| Chisel type | Best use | Main advantage | Main risk |
|---|---|---|---|
| Plugging chisel, 1/2–5/8 inch | Most brick-joint mortar removal | Good control and useful joint width | Slow if the mortar is extremely hard |
| Cold chisel, 1/4–3/8 inch | Small hard spots and narrow joints | Concentrates impact well | Can dig into brick if angled poorly |
| Brick bolster, 2–3 inches | Loose mortar and larger demolition areas | Removes material quickly | Easy to chip brick faces and corners |
| Pneumatic mortar chisel | Large walls or very hard joints | Much faster than hand work | Higher risk of overcutting and brick damage |
What to look for when buying
Choose a forged steel chisel with a hardened cutting end and a substantial striking head. Avoid very thin utility chisels intended for light metalwork. The blade should be straight, with no visible twist, deep grinding marks, or mushrooming around the striking end.
A hand guard is worthwhile if you are new to the job or expect awkward overhead work. It keeps a miss from landing on your fingers, although it does not replace gloves and eye protection. Some chisels have a reinforced strike cap or a broad impact head. These are preferable to chisels with a sharp, mushroomed head that can shed metal under repeated hammer blows.
For ordinary soft lime mortar, a basic plugging chisel costing roughly $10 to $20 is generally enough. Spending more may get better heat treatment and a more comfortable grip, but it will not make unsuitable technique safe. If the joint is packed with hard Portland-cement mortar, a stronger chisel and a second tool may save time, but the brick itself may already be at risk.
A brick plugging chisel set can be a sensible buy when joint widths vary. Look for pieces between about 1/4 and 3/4 inch wide rather than a large set filled with general-purpose chisels you will not use.
How to remove mortar without damaging brick
Start by testing a small, inconspicuous section. Hold the chisel nearly parallel to the wall, with the cutting edge aimed into the mortar rather than the brick. Tap lightly and deepen the cut in stages. Do not begin by striking as hard as possible; a heavy blow can send the chisel through the joint and into the arris, or outside corner, of the brick.
For repointing, remove mortar to a depth of approximately 3/4 to 1 inch, or at least twice the height of the joint. The exact depth depends on the condition of the existing material. Stop when you reach sound, firmly bonded mortar. Chasing every last stain or hard grain from the joint is unnecessary and increases the chance of damage.
Work along the horizontal bed joints first, then the vertical head joints. Keep the chisel moving rather than repeatedly attacking one spot. On a long wall, remove mortar in sections of about 2 to 3 square feet so you can monitor the brick and avoid leaving an unstable area open for too long.
When the mortar is too hard for controlled hand removal, consider a pneumatic masonry chisel or an oscillating tool with a mortar-removal blade. These options are faster, but they remove material aggressively and create more dust. A small rotary hammer in chipping mode can work on large jobs, but it is easy to widen joints or fracture old brick.
Common failures and how to avoid them
The most common mistake is using a wide bolster too early. Its broad edge can catch the brick face, especially on soft handmade brick, leaving chips that cannot be repaired invisibly. Another mistake is using a cold chisel with a blunt or mushroomed tip. It bounces, slips, and transfers impact into the surrounding brick instead of cutting the mortar.
Do not use a grinder on historic or soft brick unless you have a very steady hand and effective dust control. A grinder can cut neat lines, but it also produces silica dust and can widen the joint in seconds. If you do use power equipment, wear a properly fitted respirator rated for silica, eye protection, hearing protection, and use vacuum extraction where possible.
Finally, do not force a chisel into a joint that is actually brick-hard. If the mortar will not yield to moderate taps, reassess the material and the wall. Very hard modern mortar against softer old brick can cause spalling even when the tool is used correctly. In that situation, the cheaper hand chisel is fine for loose sections, but a slower, more controlled method is better than simply increasing hammer weight.
For most homeowners and restoration jobs, the practical choice is a quality 1/2- to 5/8-inch plugging chisel, a 1- to 2-pound club hammer, and patience. A masonry chisel and club hammer kit is enough for small repairs; upgrade to pneumatic equipment only when the wall size or mortar hardness genuinely justifies the extra risk and dust.