What's inside
As an Amazon Associate I earn from qualifying purchases. This post may contain affiliate links at no extra cost to you.
The best brake bleeders depend on how often you service vehicles: choose a pressure bleeder for fast, repeatable one-person work, a vacuum bleeder for versatility and low cost, or a gravity bleeder for the simplest occasional job.
As an Amazon Associate we earn from qualifying purchases at no extra cost to you.

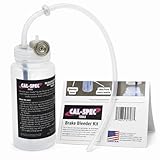
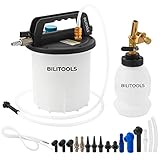
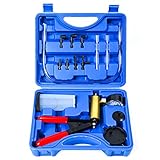
Our Top Picks

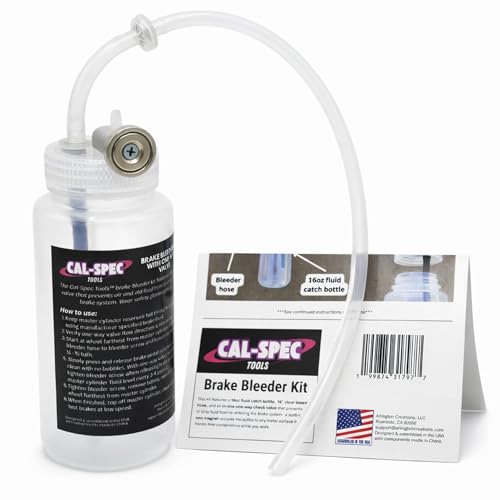
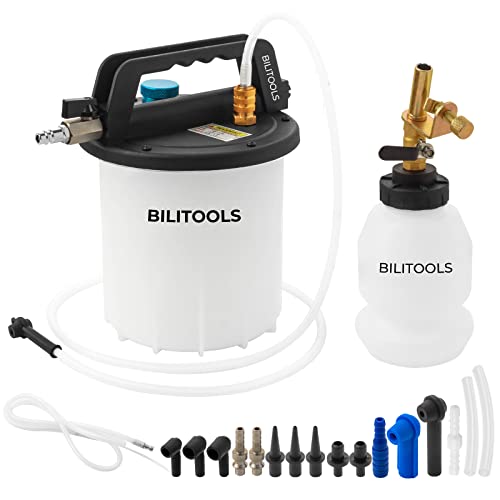
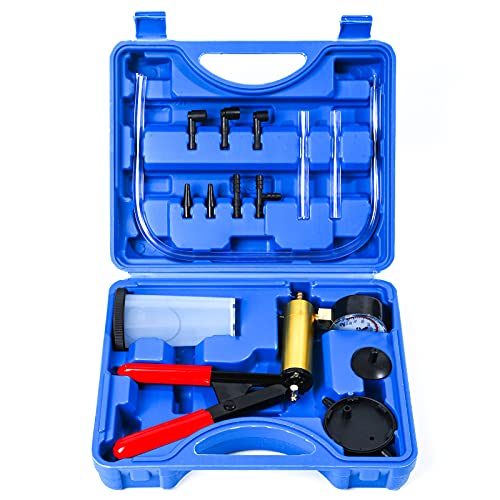
Quick picks by situation
| Situation | Best choice | Why | Main compromise |
|---|---|---|---|
| One or two brake jobs per year | Gravity bleeder or basic hand vacuum pump | Lowest purchase cost and little storage space | Slower, and gravity bleeding needs more supervision |
| DIY work on several vehicles | Pressure bleeder with 1–2 L reservoir | One-person operation and consistent fluid delivery | Cap fit and pressure control matter |
| Shop or frequent maintenance | Heavy-duty pressure bleeder with interchangeable adapters | Faster setup across different master cylinders | Higher cost and more cleaning after use |
| Diagnosing a soft pedal | Vacuum pump plus pressure or gravity confirmation | Helps identify air leaks, trapped air, and fluid-flow problems | Vacuum readings can be misleading if fittings leak |
| Vehicle with difficult access to the bleeder screw | Vacuum bleeder with a long hose | Allows the operator to remain near the wheel while watching the hose | Loose hose connections can draw air bubbles |
Vacuum, pressure, and gravity bleeding compared
Vacuum bleeders: flexible and inexpensive
A vacuum bleeder pulls fluid through the caliper or wheel-cylinder bleeder screw. A hand-operated pump such as the Mityvac MV6830 is useful for basic diagnosis and brake bleeding, while an electric or pneumatic vacuum unit can reduce pumping on repeated jobs. Typical hand-pump kits cost about $25 to $70; more substantial powered units commonly range from roughly $100 to $300.
The main advantage is compatibility. The tool usually connects to the bleeder screw with a small rubber or silicone hose, so it does not require a vehicle-specific master-cylinder cap. A transparent hose lets you watch for old fluid and bubbles. Vacuum tools can also be used for some clutch hydraulics, fluid transfer, and actuator testing.
The weakness is air leakage. If the hose does not grip the bleeder screw tightly, the pump pulls air around the outside of the screw. The stream may look bubbly even after the hydraulic system is free of air. A vacuum bleeder can also pull fluid rapidly from a small reservoir if the operator fails to check the master-cylinder level.
Pressure bleeders: the best all-round shop method
A pressure bleeder forces fresh fluid from a sealed reservoir into the master cylinder. Motive Products pressure bleeders, including its 0100 universal-style unit, are common examples of this design. Many consumer units hold about 1 to 2 litres, while larger shop equipment may hold 5 litres or more. General market pricing is approximately $70 to $150 for a DIY pressure bleeder and $200 to $600 or more for heavy-duty equipment with broader adapter coverage.
Pressure bleeding is usually the best choice for one-person operation. Fill the reservoir, attach the correct cap, pump to a moderate pressure, and open each bleeder screw in the vehicle manufacturer’s recommended sequence. The operator can work at the wheel without repeatedly returning to the driver’s seat or master-cylinder reservoir.
Pressure is not a substitute for correct technique. Excessive pressure can expose a weak master-cylinder seal, leak, hose, or adapter. Start around 10 psi and increase only if the equipment and vehicle instructions permit it. Never assume that a universal cap is sealed merely because it feels tight; a slow leak can introduce air or spill brake fluid.
Gravity bleeding: slow but hard to overcomplicate
Gravity bleeding uses a hose and catch bottle while the bleeder screw remains open. Fluid gradually moves from the master-cylinder reservoir to the wheel. It needs no pump, pressure vessel, or special master-cylinder adapter, making it attractive for a simple fluid change or a careful first attempt.
Its disadvantages are speed and control. A nearly empty reservoir can let air enter the master cylinder, and a very slow drip may not remove trapped air efficiently. Gravity bleeding is also less convenient when the vehicle has long hydraulic lines, a replacement master cylinder, ABS components, or a manufacturer-specified bleeding procedure.
Specifications that matter more than the headline design
| Feature | DIY vacuum kit | DIY pressure bleeder | Gravity setup | Why it matters |
|---|---|---|---|---|
| Typical reservoir capacity | Usually no fluid reservoir; catch bottle 0.25–0.75 L | 1–2 L | 0.25–0.75 L catch bottle | Determines how often you refill or empty the system |
| Typical hose inside diameter | About 3–5 mm | About 6–10 mm fluid hose | About 3–5 mm | Must grip the bleeder nipple without kinking |
| Useful hose length | 0.6–1.5 m | 1–2 m | 0.5–1 m | Longer hoses improve visibility and access but can sag and trap bubbles |
| Typical working pressure | Hand-generated vacuum | 10–20 psi for many automotive applications | Atmospheric pressure | Pressure should stay within the vehicle and tool instructions |
| One-person operation | Usually yes | Yes | Possible, but requires frequent reservoir checks | Defines how much time is spent moving between wheel and reservoir |
| Adapter dependence | Low at the master cylinder; hose fit is critical | High; cap must match the reservoir | None | Important for households with several vehicle makes |
Reservoir size and hose fit: the practical trade-offs
A 1-litre pressure reservoir is adequate for many single-vehicle fluid flushes if the master-cylinder reservoir is topped up first and the lines are not unusually long. A 2-litre unit gives more margin and reduces the chance of drawing air, but it is heavier when full. Brake fluid weighs approximately 1 kilogram per litre, so a 2-litre tool containing fluid can easily exceed 3 kg after adding the container and pump.
Large capacity is not automatically better. Brake fluid absorbs moisture from the air, and fluid left in a pressure bleeder becomes a cleaning and disposal problem. For a home user servicing two cars annually, a 1-litre unit may be easier to empty and store. A shop doing several flushes in one day benefits from 2 to 5 litres, provided the reservoir is cleaned and dried between fluid types.
For vacuum and gravity tools, the hose should fit over the bleeder nipple—not merely touch its end. Measure the nipple if necessary, and keep two or three hose sizes available. A hose that is too loose permits air entry; one that is too tight can split when pushed over a corroded nipple. Clear silicone or polyurethane hose makes the fluid stream visible, but brake fluid can soften some plastics, so replace tubing that becomes cloudy, swollen, sticky, or cracked.
How to use a pressure bleeder without creating new problems
-
Confirm the correct brake-fluid specification and bleeding sequence in the vehicle service information. Do not mix fluids unless the manufacturer permits it.
-
Remove old fluid from the master-cylinder reservoir with a dedicated syringe or suction tool, leaving enough fluid to avoid exposing the ports. Fill with fresh fluid.
-
Choose the adapter that fully covers the reservoir opening. Inspect its seal, then secure it without distorting the plastic reservoir.
-
Pressurize gradually to about 10 psi unless the vehicle or equipment instructions specify another limit. Check the adapter and hose for leaks before opening a bleeder screw.
-
Attach a clear hose to the first bleeder screw and place its free end in a stable catch bottle. Open the screw only enough to obtain a steady flow.
-
Close the screw when the fluid is clean and bubble-free, then repeat according to the recommended sequence. Watch the pressure gauge and refill the tool before it runs dry.
-
Release pressure before removing the adapter. Set the fluid level correctly, reinstall the reservoir cap, and test the pedal with the engine off and then as specified by the service procedure.
If the pedal remains soft, do not simply keep bleeding indefinitely. Check for external leaks, flexible hoses that expand, seized or incorrectly adjusted components, and air trapped in an ABS hydraulic unit. Some vehicles require a scan-tool-assisted ABS bleed. A qualified technician is the safer choice when the pedal does not become firm or the brake warning light remains on.
Ownership costs and durability
The parts that wear first are usually hose ends, rubber adapter seals, pump cup seals, and the bleeder-screw connection—not the main container. Replacement tubing is inexpensive, but proprietary caps and seals can cost more and may determine whether a pressure bleeder remains useful across different vehicles.
After every job, flush residual brake fluid from the hose and wipe the adapter. Do not return used fluid to the tool’s clean reservoir. Store the pressure vessel empty, with the cap loosened if the manufacturer recommends it, and keep the pump away from spilled fluid. Brake fluid damages many painted surfaces, so place absorbent material around the master cylinder and rinse accidental spills with plenty of water where appropriate.
For a simple cost comparison, a $100 pressure bleeder used ten times costs about $10 per job before fluid and replacement seals. A $35 vacuum kit used twice costs $17.50 per job, but it may become the better value if it also serves clutch bleeding and fluid-transfer work. The best brake bleeders are therefore the ones whose adapter coverage, hose quality, and maintenance requirements match your actual service frequency—not merely the tool with the largest reservoir.
Final buying recommendation
Buy a pressure bleeder with a 1–2 litre reservoir, a readable gauge, a shutoff valve, and replaceable seals if you regularly service your own vehicles. Choose a vacuum kit when low cost, portability, and multi-purpose use matter more than speed. Choose gravity bleeding for occasional maintenance when you can supervise the reservoir continuously. Whichever design you select, prioritize a dependable hose connection and compatible adapters: those details have more effect on a clean, bubble-free bleed than the pump mechanism alone.