What's inside
As an Amazon Associate I earn from qualifying purchases. This post may contain affiliate links at no extra cost to you.
Drilling tile is less about force and more about control. The tile itself is hard and brittle, while the material behind it may be soft drywall, cement board, wood, or masonry. A sharp bit, low speed, steady pressure, and accurate placement matter more than buying the most powerful drill.
Our Top Picks
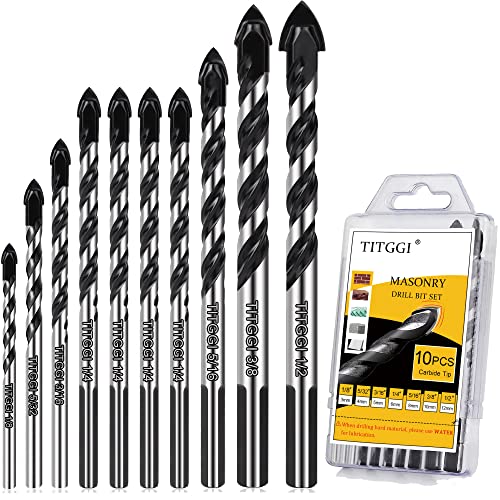
 DYRECELVE 12-Piece Masonry Drill Bit Set and Concrete5.51 x 2.95 x 0.64 inches0.45 PoundsCheck on Amazon
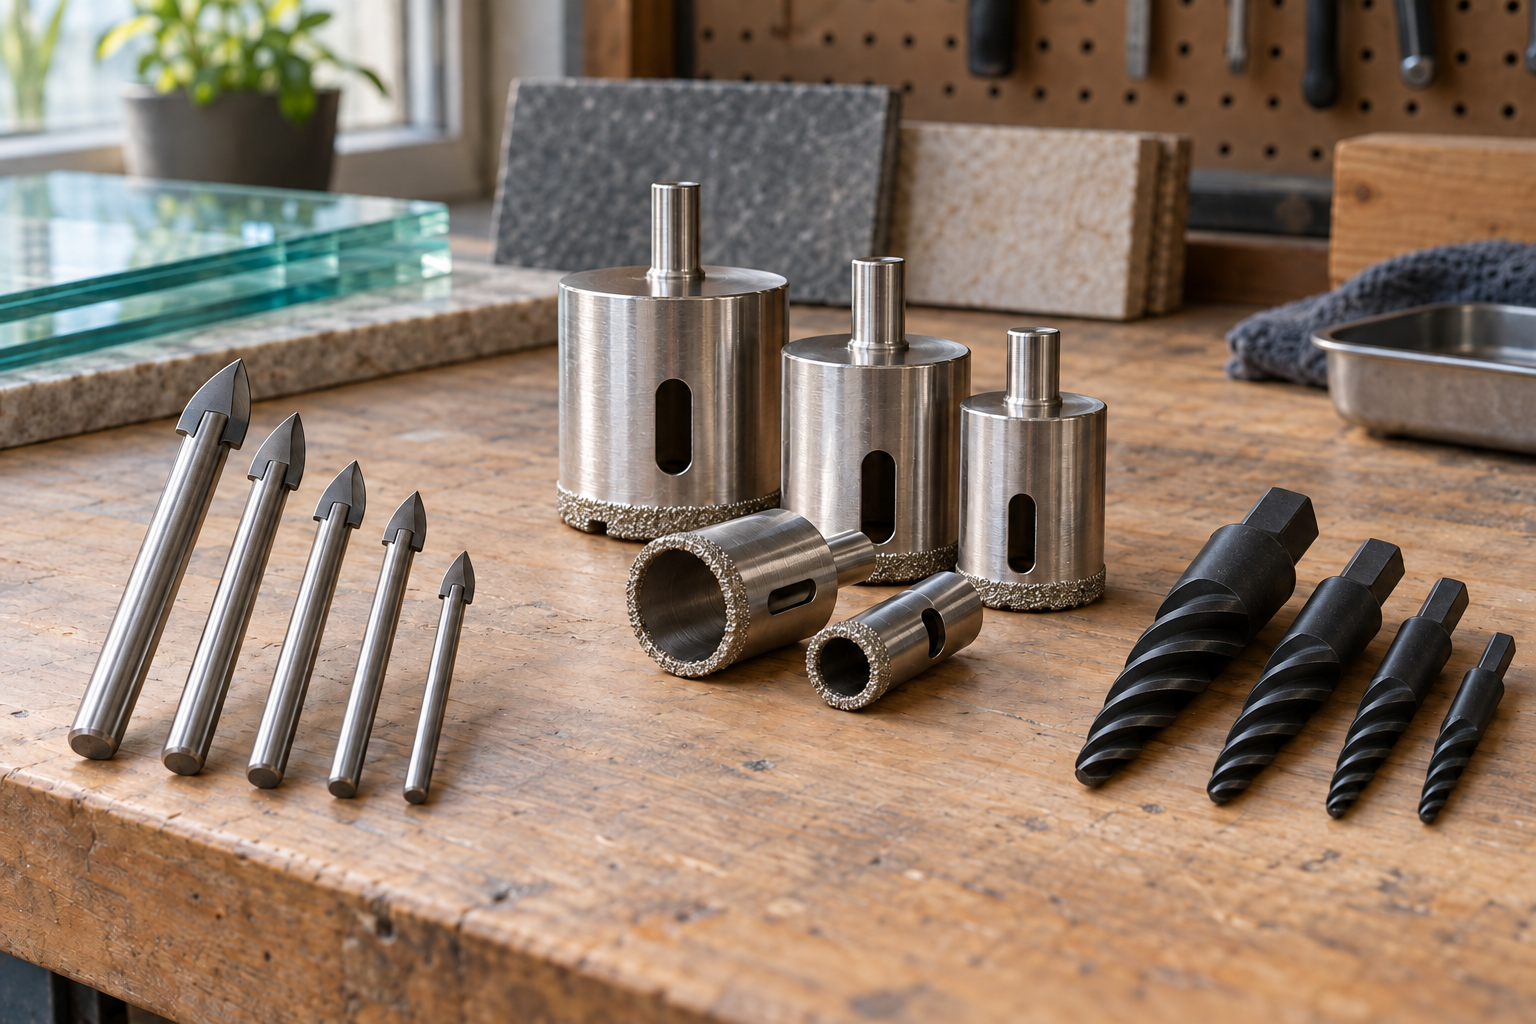
Choose the Right Bit for the Tile
Do not start with a standard twist bit. It will skate across glazed tile, heat up quickly, and may leave a chipped or oversized hole. Match the bit to the tile and hole size.
| Tile or hole type | Best accessory | Advantages | Limitations |
|---|---|---|---|
| Ceramic wall tile, small holes | Carbide-tipped tile bit | Inexpensive and adequate for occasional holes | Slower and more prone to wandering; wears quickly on hard tile |
| Porcelain or very hard tile | Diamond-grit hole saw or diamond tile bit | Cuts hard material cleanly with less chipping | Costs more and needs cooling |
| Large holes for plumbing or valves | Diamond hole saw | Produces a consistent circular opening | Expensive in uncommon sizes; slow if used dry |
| Tile plus concrete or brick behind it | Tile bit first, masonry bit second | Reduces damage to the tile and uses the correct bit for each layer | Requires changing bits after penetrating the tile |
For occasional holes in ordinary ceramic tile, a carbide-tipped tile bit set is usually the sensible low-cost choice. If you are drilling porcelain, glass tile, or more than a few holes, spend more on diamond-grit tile hole saws. Cheap carbide bits can work on porcelain, but they are slow and often lose their edge after only a few holes.
Check the Location Before Drilling
Confirm that the hole is not over a water pipe, electrical cable, or heating line. A stud finder can help, but it is not reliable through every tile assembly. Look at plumbing access from the other side where possible, and use the planned fixture position to avoid grout lines unless the design requires otherwise.
Drilling near an edge or corner is risky because the tile has less support. Keep the hole at least 1 inch from an unsupported edge when the layout allows. If a hole must be close to an edge, use very light pressure and support the tile from behind; replacing the tile may be safer than forcing the cut.
Mark and Secure the Starting Point
Measure twice. Mark the center with a pencil or fine marker, then place a small square of painter’s tape over the mark. The tape gives the bit slightly more grip and makes the mark easier to see on glossy tile. It does not make an unsafe drilling location safe.
For larger holes, use a drilling guide or a scrap of plywood with a hole matching the saw. Hold the guide firmly against the surface, or clamp it if the tile assembly permits. A guide is especially useful with a diamond hole saw, which can skate until its rim creates a groove.
Never hold a loose piece of tile in your hand while drilling it. Clamp it between wood scraps or lay it on a firm, flat surface with cardboard underneath. Unsupported tile can crack from vibration even when the bit is correct.
Drill the Tile Slowly
Set the drill to its lowest useful speed and turn off hammer mode. Hammer action belongs only after the bit has completely passed through the tile, and only when the backing material is masonry and the bit is rated for hammer drilling.
Start the hole with the drill held perpendicular to the surface. Use light, steady pressure. The bit should cut, not grind under heavy force. If it squeals, turns blue, or produces a strong burning smell, stop and let it cool. Excess heat is a common cause of glaze failure and cracks.
For a carbide bit, dip the tip in water every few seconds or have someone apply a small amount of water around the cut. Keep water away from the drill’s motor, battery contacts, switches, and extension-cord connections. Do not use water where it can run into an energized electrical box.
Diamond bits generally last longer and cut cleaner when cooled. For a small diamond bit, a spray bottle or damp sponge may be enough. For a hole saw, drill for roughly 5 to 10 seconds, then pause to cool and clear dust. Do not push hard enough to stall the drill; that pressure can fracture the tile around the rim.
Finish the Hole Without Blowout
As soon as the bit breaks through the tile, reduce pressure. The final fraction of an inch is where the bit can grab the backing or punch out a chip on the back of the tile. If possible, stop when the tip has just penetrated, then finish from the opposite side or use a smaller pilot opening followed by the full-size bit.
Once through the tile, inspect the backing. Switch to a masonry drill bit set for brick or concrete, or a standard bit for wood. Do not keep using a diamond hole saw against thick concrete unless its instructions specifically allow it. The tile-cutting bit is not automatically the right tool for the substrate.
For wall anchors, size the hole to the anchor manufacturer’s specification, not merely to the screw diameter. A hole that is 1/16 inch too large can let an anchor spin or pull out. Vacuum dust from the hole, insert the anchor carefully, and tighten the screw only until the fixture is secure. Over-tightening can crack tile later, even if drilling went perfectly.
Common Reasons Tile Cracks
- Hammer mode was used on the tile: impact pulses can fracture brittle ceramic and porcelain.
- The bit wandered: starting without tape or a guide lets the cutting edge strike at an angle.
- Too much pressure was applied: forcing the bit creates heat and stress rather than faster cutting.
- The tile was poorly supported: hollow spots and loose tiles flex under the bit.
- The wrong bit was used: twist bits and wood spade bits tend to skate, chip, or overheat.
- The hole was placed too close to an edge: there is not enough tile surrounding the opening to resist cracking.
If you only need one or two small holes in soft ceramic, the cheaper carbide option is fine when used patiently. Diamond is the better buy for porcelain, repeated work, large holes, or a visible installation where replacing one cracked tile would cost more than the accessory. A cordless drill is convenient, but a corded drill gives consistent speed for long cuts; either works if you can control the speed and keep the bit cool.