What's inside
As an Amazon Associate I earn from qualifying purchases. This post may contain affiliate links at no extra cost to you.
Choose the right hole saw
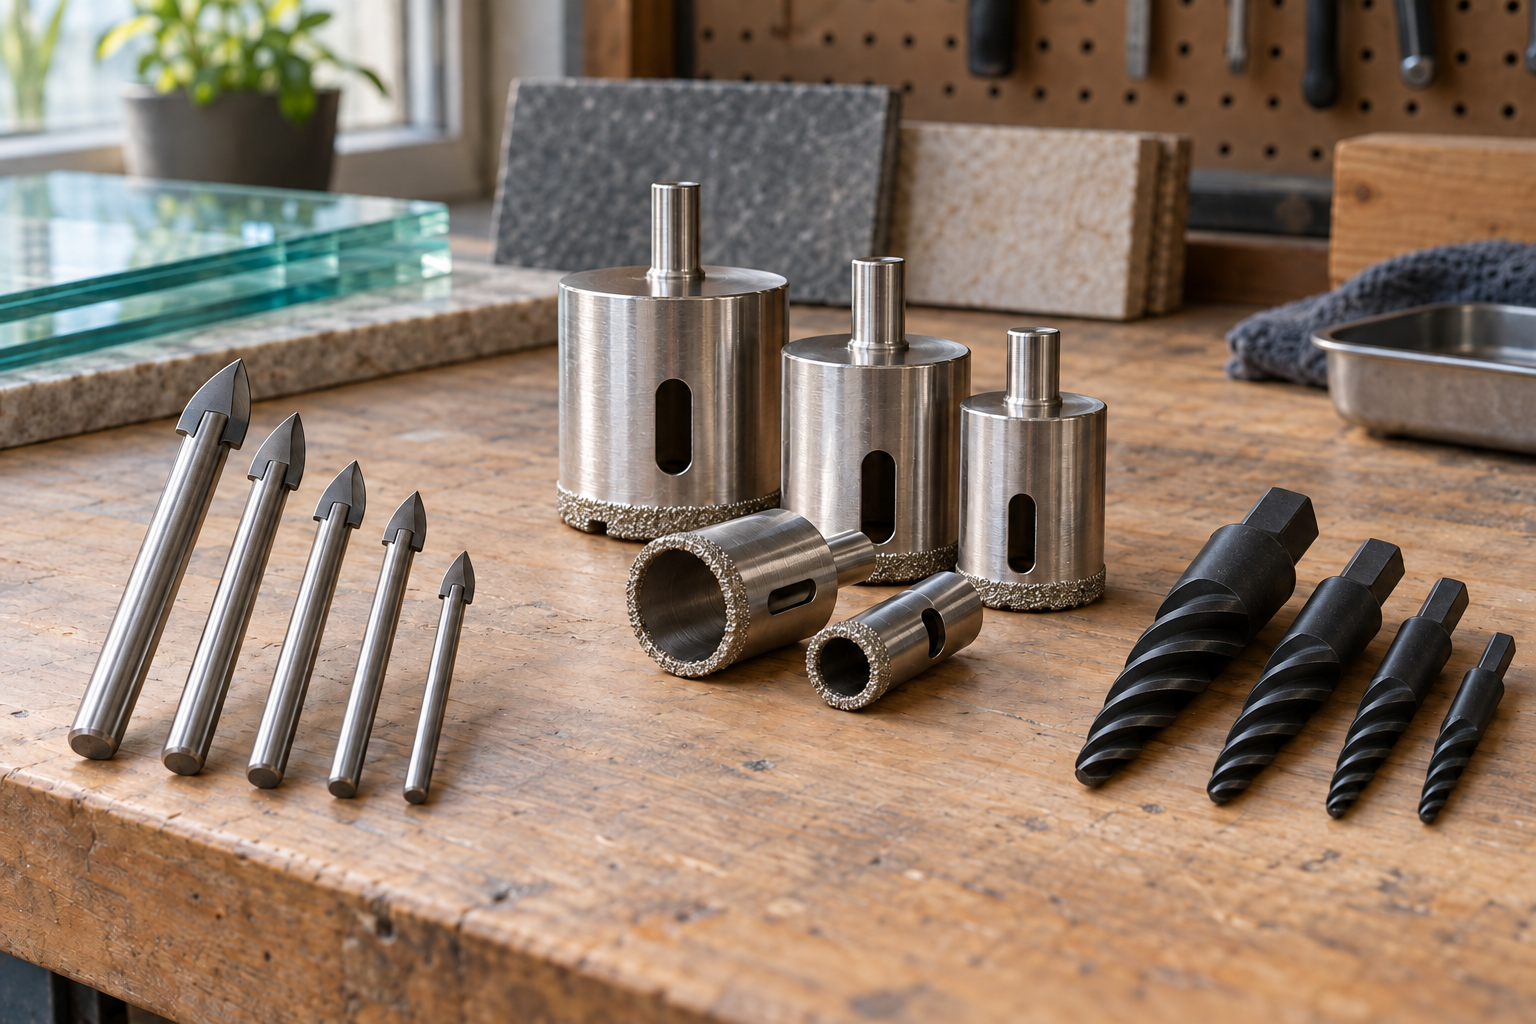
A diamond hole saw cuts tile by grinding away the material with an abrasive rim. It is a good choice for openings too large for a regular drill bit, such as holes for plumbing, shower fittings, or an electrical box. Unlike a toothed hole saw, it does not cut a neat plug free; expect dust and a round core that may need to be broken out.
Measure the fitting itself, not just the pipe. A pipe may need clearance for a sleeve or escutcheon, while a tight-fitting anchor may call for a closer match. Check the fitting instructions, then choose a saw whose stated cutting diameter gives the needed clearance. Common tile-hole saw sizes run from about 6 mm to 100 mm, but do not assume every size is stocked in every style.
For an occasional hole in ceramic wall tile, an inexpensive carbide-grit or diamond-grit hole saw can be adequate. Diamond usually cuts faster and lasts longer, particularly in harder tile, but costs more. For porcelain or repeated holes, choose a diamond saw specifically rated for porcelain; an inexpensive tile saw can wear quickly or stall. Compare diamond hole saws for tile and porcelain by cutting diameter, depth, and whether they require water.
What to buy—and what to skip
The drill matters as much as the saw. A variable-speed drill gives better control than an impact driver, which can deliver abrupt torque and crack tile. A corded drill is fine if it has a slow speed setting; a cordless drill is easier to handle overhead. Avoid hammer mode. If you do not already own a variable-speed drill, compare variable-speed cordless drills with a low-speed range and a clutch you can set conservatively.
| Setup | Best for | Trade-off |
|---|---|---|
| Basic diamond hole saw, water by hand | One or two accessible holes in ceramic | Lowest cost; needs careful cooling and control |
| Diamond saw with guide or template | Slippery tile or several matching holes | Costs more; the guide must be held securely |
| Wet-cutting diamond system | Repeated holes, hard porcelain, or larger diameters | Cleaner cutting and better cooling, but more setup and water control |
A guide is useful because a round saw can skate across glossy glaze before it bites. A simple template with a matching opening can do the job; a purpose-made guide is more convenient for repeat work. A cheap hole saw is reasonable for one hole in soft ceramic if you can keep it cool and maintain a steady hand. It is a false economy if you need several holes in dense porcelain.
Prepare the tile and work area
Wear eye protection and a suitable dust mask, and keep water away from the drill’s vents, battery contacts, and extension connections. If the tile is already on the wall, check what is behind the drilling point. Avoid hidden pipes and wiring, and do not drill through a waterproofing layer casually; a hole through a finished shower wall needs an appropriate seal around the penetration.
Mark the center with a pencil or fine marker. Masking tape can make the mark easier to see, but it does not reliably stop the saw from wandering. Clamp a loose tile flat on a stable backing board, with support directly beneath the drilling area. Do not hold a loose tile in your hand while drilling. For a wall, use a guide or template and brace yourself so the drill cannot jump if the rim catches.
If the hole must be close to a tile edge, reconsider the placement. As a practical target, leave at least 15–20 mm of tile between the hole edge and the tile edge when the layout allows. Less material means a greater chance of cracking, especially in porcelain or a tile with a cutout nearby.
Drill the hole
Fit the saw securely in the chuck and set the drill to its lowest gear with hammer mode off. Start at a modest speed, roughly 300–600 rpm for a small hand-held saw, and use light, steady pressure. The exact useful speed depends on the saw diameter and its instructions: larger saws generally need slower speeds. If the manufacturer specifies a limit, follow it rather than relying on a general rule.
On a horizontal surface, keep the cutting rim wet with a small, steady supply of water. A sponge or spray bottle can work for a single hole if you pause often, but do not flood the area or let water run into the drill. For a wall, use a damp sponge around the cutting area or a purpose-made water-feed guide; do not pour water over an overhead or vertical drill. Some saws are designed for dry use, so check the packaging before adding water.
Hold the saw at a slight angle to establish a shallow crescent-shaped groove, then gradually bring it upright once the rim has started tracking. Keep the drill square to the tile while cutting the full circle. Ease pressure if the tool slows, the saw gets hot, or the cut begins to chatter. A gritty, steady sound is normal; sharp squealing, smoking, or a rapidly heating rim is a sign to stop and cool it. Do not force the cut—excess pressure can chip the glaze, overheat the diamonds, or crack the tile.
When the saw breaks through, reduce pressure. If the tile is on a wall, stop as soon as the tile is penetrated rather than continuing blindly into the substrate or services behind it. Pull the saw straight back, switch off the drill, and let the tool cool before touching the rim. Remove the core carefully; it may be hot or sharp at its edges.
Common problems and fixes
If the saw wanders, stop before the groove becomes a crescent across the tile. Reposition with a guide, or start again only if the new hole can be covered by the fitting. A center punch can crack ceramic glaze, so do not use one to mark the starting point. If the saw stops cutting, check for clogged grit, inadequate cooling, excessive pressure, or a worn rim. A slow cut through one hole can be normal; a glazed, rounded cutting edge or repeated overheating suggests the saw is spent.
Small glaze chips at the rim are often hidden by the fixture, but a crack spreading beyond the intended opening is not. Stop if you see one. On a loose tile, check that the backing support has not shifted. On installed tile, a sudden change in resistance can mean the saw has reached the substrate; proceed cautiously and use the appropriate bit for that material rather than grinding the tile-rated rim against it.
Finish and check the cut
Wipe away slurry with a damp cloth and check the opening for cracks before fitting the fixture. If there is a sharp edge, lightly dress it with a diamond hand pad; do not enlarge the hole by levering against the tile. Confirm the fitting covers the opening and that the pipe or sleeve has the intended clearance. For a one-off hole in ordinary ceramic, patience and a basic saw are usually enough. For dense porcelain, multiple holes, or a cut that must be exact and chip-free, a guided wet-cutting setup is the safer, more consistent purchase.