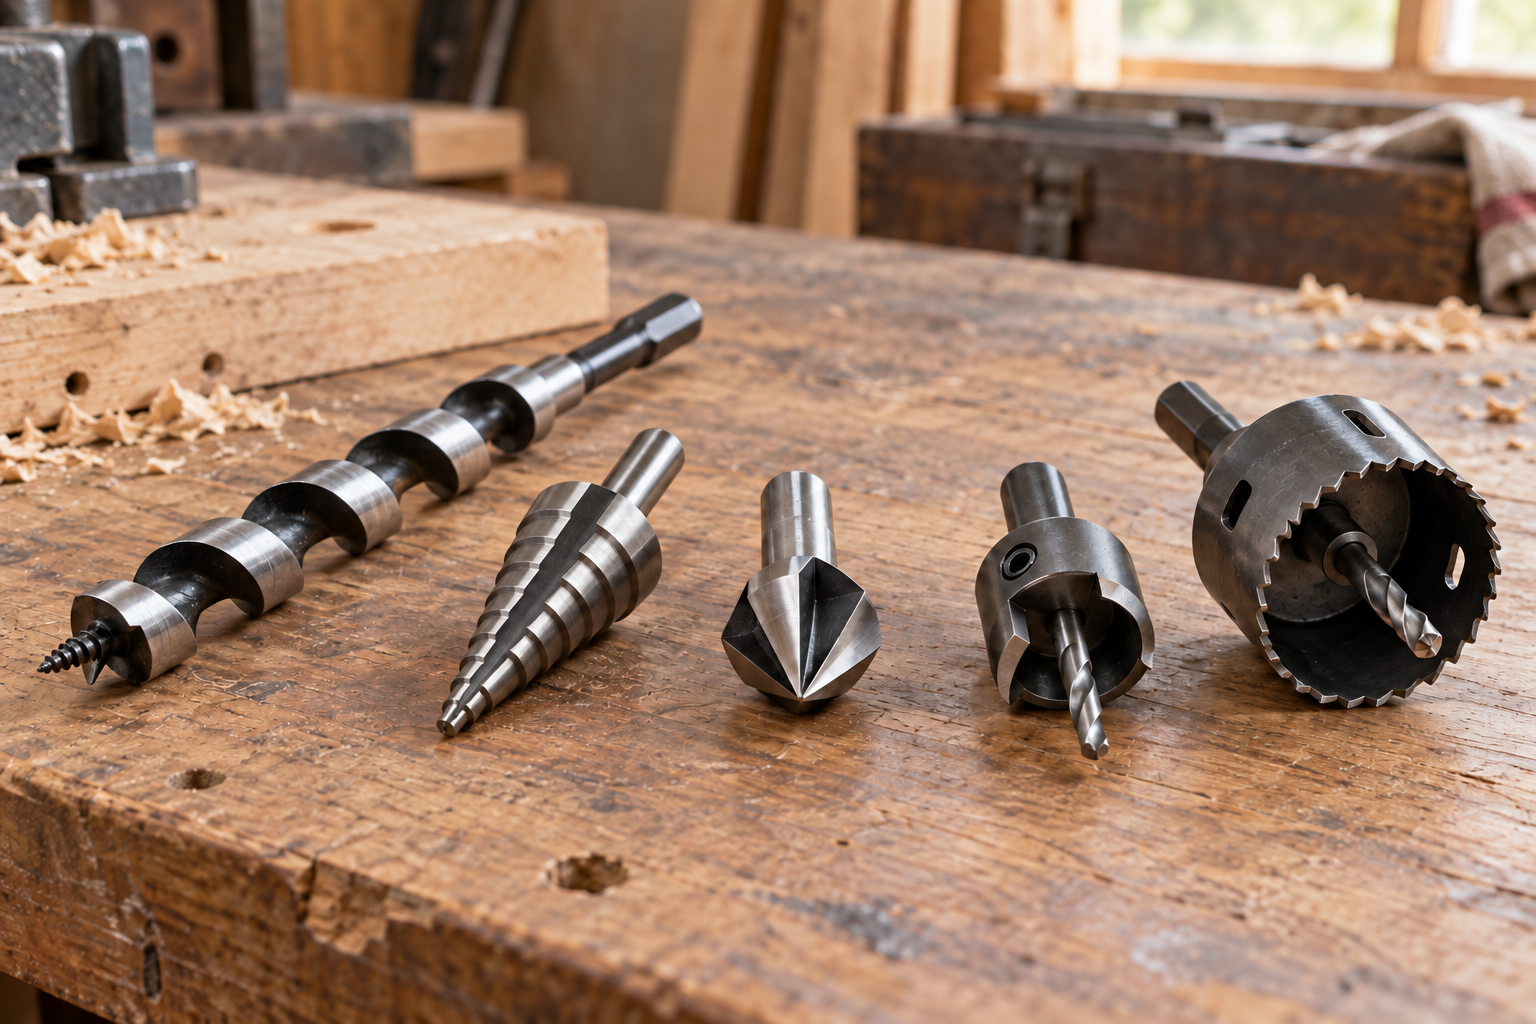
What's inside
As an Amazon Associate I earn from qualifying purchases. This post may contain affiliate links at no extra cost to you.
Choosing between an adjustable countersink with a pilot and a separate countersink plus drill bit comes down to speed, control, and the type of holes you make. Both setups can produce a clean recess for a flat-head screw, but they behave differently in hardwood, softwood, plywood, and sheet goods.
An adjustable countersink is a combination tool. It uses one pilot drill, one or more cutting edges for the countersink, and an adjustable collar or stop to control depth. A separate setup uses an ordinary drill bit to make the clearance or pilot hole, followed by a dedicated countersink cutter. The second approach takes longer, but it gives you more control over hole size and countersink depth.
As an Amazon Associate we earn from qualifying purchases at no extra cost to you.
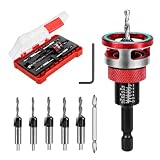


Our Top Picks
 Amana Tool 55227 Carbide Tipped 82 Degree Countersink3/8 D x 1/8 Drill D x 1/4 Inch5.75 x 3 x 1.5 inches0 poundsCheck on Amazon
How each setup works
With an adjustable countersink with pilot, the pilot drill and countersink cutter stay aligned in one tool. You set the collar so the screw head finishes flush or slightly below the surface, then drill in one operation. This is especially convenient when making dozens of holes in trim, cabinets, decking, or general woodworking projects.
A separate setup starts with drilling the hole for the screw shank. You then use a countersink bit to cut the angled recess. Some users drill the clearance hole and countersink in two separate operations. Others use a quick-change holder or keep two drills ready. Either way, the operations are independent, which makes it easier to adjust one without changing the other.
Adjustable countersink vs separate tools
| Factor | Adjustable countersink with pilot | Separate countersink and drill bit |
|---|---|---|
| Speed | Fast; one operation per hole | Slower; two operations unless using two drills |
| Depth adjustment | Usually controlled by a collar or stop | Controlled directly by hand or a drill stop |
| Hole-size flexibility | Limited to the pilot supplied with the tool | Easy to change pilot, clearance, or screw size |
| Repeatability | Very good after the collar is set | Good, but depends more on technique |
| Best use | Production work and repeated screw sizes | Mixed projects and careful finish work |
| Main failure | Over-countersinking, collar slip, or a wrong pilot size | Inconsistent depth or misaligned second operation |
Where the adjustable tool wins
The main advantage is consistency. Once the collar is set, every hole can have nearly the same countersink depth. That matters when installing a long row of screws in a cabinet face, stair part, fence board, or hardwood workpiece. It also reduces the chance of drilling the pilot hole too deep because the tool physically limits the cut.
It is also faster. A typical screw hole might take two to four seconds with a combination bit, compared with five to ten seconds using separate drilling and countersinking operations. The difference becomes noticeable after 30 or 40 holes. A set of adjustable countersink bits can cover several common screw sizes without requiring a large collection of individual countersink cutters.
There are trade-offs. The pilot diameter is fixed, or limited to whatever replacement pilots fit that tool. If the screw requires a larger clearance hole, the combination bit may not be suitable. The countersink angle may also be fixed, commonly around 82 or 90 degrees. That is fine for matching screw heads, but not ideal if you work with unusual fasteners.
Cheap combination bits can also be frustrating. Their collars may slip under pressure, leaving some screw heads proud and others buried. The small pilot drill can snap if the bit is forced, especially in hardwood or when drilling at an angle. Set the stop on scrap material and tighten it firmly before touching the finished work.
Where separate tools win
Separate tools are the better choice when you work with several screw types or materials. You can drill a 1/8-inch pilot hole in hardwood, a larger clearance hole in softwood, or a full-size hole through a thin panel without being tied to one combination bit. This control is useful when the screw must pull two parts tightly together rather than simply pass through the top piece.
A dedicated countersink cutter also tends to be more stable. Many have three or four flutes and cut a cleaner recess than a small, inexpensive combination bit. In plywood and veneered panels, that can reduce tearing around the hole. Some adjustable tools rely on a narrow countersink section that chatters when used too aggressively.
The downside is technique. If you hold the countersink too long, the recess becomes too deep and wide. A flat-head screw may disappear below the surface, leaving a weak-looking hole that needs filler. If the drill bit and countersink are not kept square, the recess can be visibly uneven. A depth stop or a piece of tape on the cutter helps, but neither is as automatic as a properly set collar.
Choose by material and job
For softwood, construction lumber, and ordinary pine projects, an adjustable combination bit is usually enough. Soft fibers tolerate a little variation, and the speed advantage is useful for repeated fastening. The cheaper option is fine here, provided the pilot matches the screw and the collar locks securely.
For hardwood, use a sharp bit and moderate speed. Pre-drill rather than forcing the tool, and clear chips often. Separate tools become more attractive when you need a precise clearance hole or when the screw is close to an edge. Hardwood is less forgiving of a split caused by an oversized pilot or excessive driving torque.
For plywood and veneered sheets, test on an offcut. Veneer can chip when the countersink cutter exits or when a dull edge scrapes rather than cuts. A dedicated, sharp cutter may justify its cost if the visible face matters. For production work, a quick-change countersink and drill set can provide separate-tool control without making bit changes quite so tedious.
Buying and using tips
Match the countersink angle to the screw head. An 82-degree cutter suits many screws sold in North America, while 90-degree cutters are common with other fasteners and some metric hardware. The screw head should contact the angled walls evenly; do not use countersinking to hide a mismatch.
Check the pilot diameter, maximum drilling depth, collar design, and replacement-bit availability before buying. For occasional repairs, one combination bit is practical. For cabinetmaking, furniture, or mixed screw sizes, separate bits are usually the more useful long-term purchase.
Whichever system you choose, drill a test hole in the same material. Drive the screw by hand or at low clutch power first. Stop when the head is flush with the surface; driving farther can crush soft fibers or strip the recess. A clean test hole takes less time than repairing a countersink that is too deep.