What's inside
As an Amazon Associate I earn from qualifying purchases. This post may contain affiliate links at no extra cost to you.
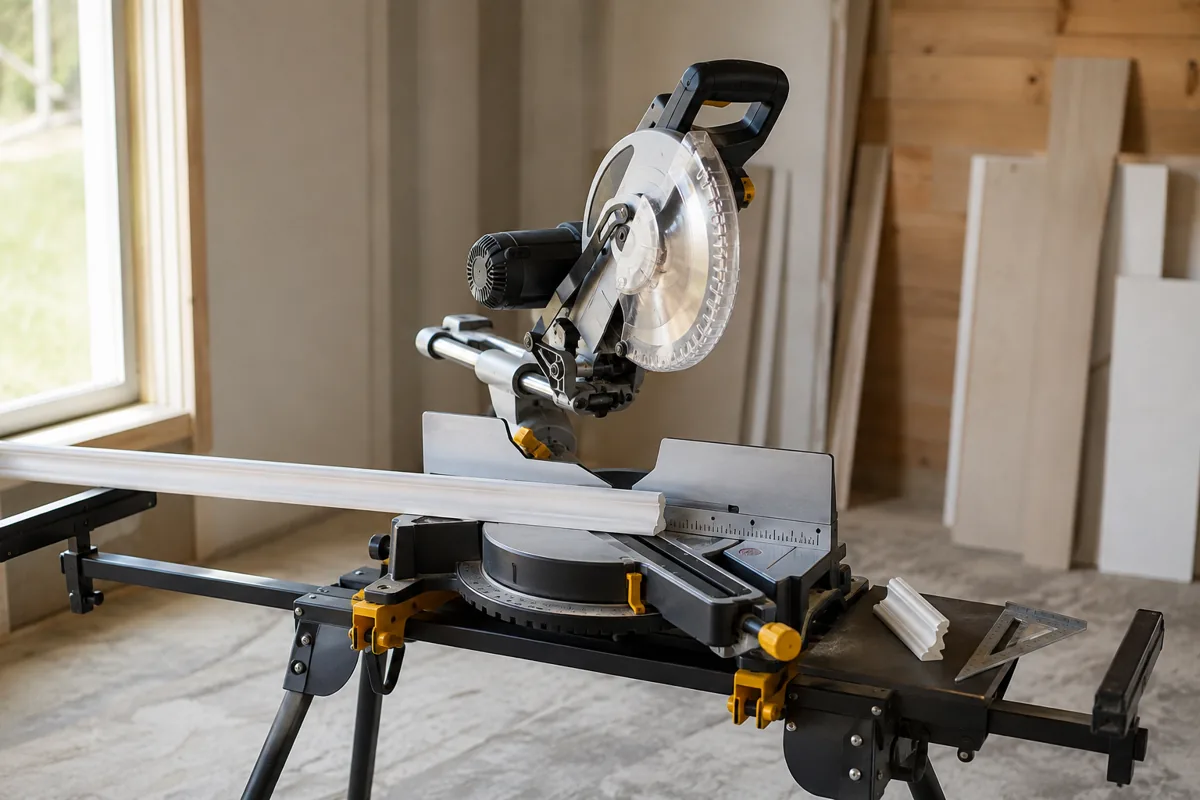
A laser guide and a shadow line both show where a miter saw blade will cut, but they do it in different ways. A laser projects a thin line onto the workpiece. A shadow-line system uses an LED light to cast the blade’s outline onto it. For most people, the shadow line is easier to read because it shows the kerf—the width of material the blade removes—rather than asking you to center a narrow line precisely.
That advantage depends on a clean blade, a visible workpiece, and a properly adjusted saw. A laser can still be useful, especially for rough positioning or in bright conditions where a shadow is hard to see. Here’s how the two systems compare in actual use.
As an Amazon Associate we earn from qualifying purchases at no extra cost to you.


Our Top Picks
 Oshlun LG-M01 Miter and Portable Saw Laser GuideMiter & Portable Saws0 x 0 x 0 Inches0.26 poundsCheck on Amazon

How the two systems work
A laser guide shines a line onto the board to indicate the blade’s path or one edge of its cut. Some saws let you adjust the laser; others have a fixed line that may need calibration. The line does not remove material, so you have to know whether to align the blade to the near edge, far edge, or center of the mark. That varies by saw design and setup.
A shadow line uses a light mounted above the blade. The blade blocks some of that light, casting a silhouette onto the board. The silhouette widens to match the blade’s kerf. Lower the blade near the stock and the shadow shows where the teeth will pass. It works with the blade currently installed, so changing blade thickness usually does not require recalibration.
Quick comparison
| Factor | Laser guide | Shadow line |
|---|---|---|
| What you see | A projected line | The blade’s kerf-shaped shadow |
| Alignment | May need calibration; line position can be ambiguous | Usually indicates both cut edges directly |
| Lighting | Can be hard to see in bright light | Can disappear in strong direct light |
| Blade changes | May need checking or adjustment | Shadow follows the installed blade |
| Typical failure modes | Misaligned line, dust-covered lens, weak visibility | Dirty blade, blocked light, poor contrast |
| Best fit | Quick rough positioning and familiar users | Precise visual placement on most crosscuts |
Which is easier to read?
For accurate crosscuts, the shadow line is generally easier. Instead of deciding how to place a blade relative to a single line, you can lower the blade and position the board so the shadow’s edge falls on the waste side of your pencil mark. That makes the kerf visible and reduces guesswork. It is especially helpful when you need to preserve a marked length: keep the shadow just outside the line on the offcut side.
A laser can be easy to read when the cut is not critical, when you’re repeatedly cutting stock to a stop, or when you already know how that saw’s line relates to the blade. But a narrow laser line can be difficult to distinguish from a pencil mark. If the laser indicates the blade center rather than a kerf edge, centering it on the mark may shorten the finished piece by roughly half the kerf—often around 1/16 to 1/8 inch, depending on the blade.
Neither system replaces a test cut. Make a cut in scrap, then measure and inspect the edge. If a laser appears off by even 1/32 inch, that error matters on trim with tight joints. Check the guide again after changing blades or moving the saw.
Lighting and material matter
Both guides rely on contrast. A laser often shows clearly on pale, matte wood but can be difficult to see on dark, glossy, or sunlit surfaces. A shadow line can be especially clear on light-colored stock in a workshop, but direct sunlight may wash it out. On dark material, the shadow may blend into the surface. In either case, a pencil line and careful test cut are better than trusting a barely visible guide.
Sawdust causes trouble, too. Dust on a laser lens can dim or distort the line; dust on the blade can soften a shadow. Clean the lens and blade area with the saw unplugged, following the manufacturer’s instructions. Keep hands clear of the blade path, and never lower a running saw just to check a guide unless the saw’s manual permits that procedure.
What to buy—and when the cheaper option is fine
If you’re choosing between otherwise similar saws, a well-executed shadow line is a useful feature for trim, cabinetry, and repeatable crosscuts. Look for a bright, even shadow that remains visible across the board. If possible, inspect the saw in person: some lights cast a fuzzy silhouette that offers little improvement over a basic laser. A miter saw with a shadow-line guide is worth considering when visual cut placement is a priority.
A cheaper laser-equipped saw can be perfectly adequate for framing, rough cuts, and work where a stop block sets the length. For those jobs, the guide is mainly a quick reference, not a measuring device. Put money toward a stable fence, accurate angle settings, and a blade suited to the material before paying a large premium for a guide system. If you already own a saw with a laser, verify its alignment and use a square and tape measure for setup rather than assuming the line is exact.
A reliable way to use either guide
Mark the cut clearly, then identify which side is waste. Place the workpiece firmly against the fence and support long stock so it cannot tip. With the saw off, lower the blade to check the guide’s position if the manufacturer allows it; otherwise, follow the manual’s setup procedure. Keep the cut on the waste side of the mark, accounting for the kerf rather than cutting through the center of the line.
For repeated pieces, make one test cut and measure it before cutting the rest. If the length is wrong, adjust the stop or setup—not your interpretation of a guide that may be misaligned. A shadow line makes the cut easier to see; a laser can make rough placement faster. For either one, sound measuring and a verified setup determine whether the finished part is right.