What's inside
As an Amazon Associate I earn from qualifying purchases. This post may contain affiliate links at no extra cost to you.
Large holes in plywood are easy to start and easy to ruin. A spade bit may cut cleanly through the face veneer, then rip out a ragged cone of fibers as it exits. The damage is worst in thin plywood, cabinet-grade veneer plywood, and holes larger than 1 inch. The good news is that tear-out is usually a setup problem rather than a limitation of the bit.
The most reliable method is to support the exit side, cut from both faces, and keep the bit sharp. A cheap spade bit is fine for occasional holes, but it needs more help from your technique than a higher-quality bit.
Our Top Picks


Choose the Right Bit for the Job
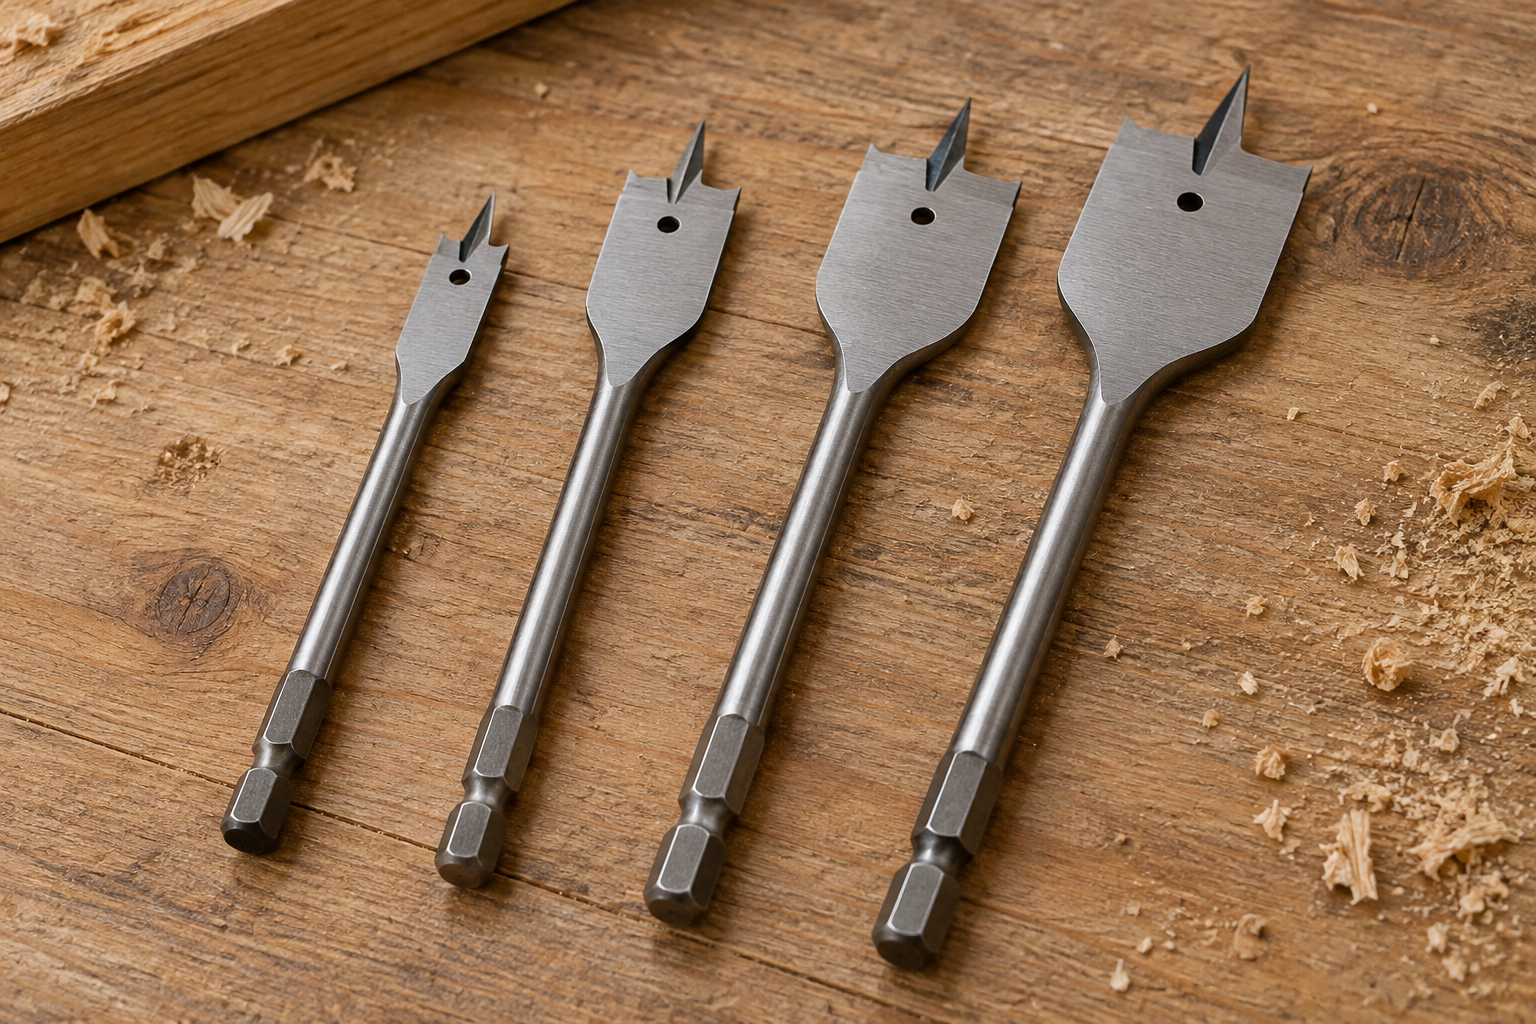
Spade bits are fast, inexpensive, and available in large diameters. They are a practical choice for plumbing, wiring, and rough construction holes. Their flat cutting edges remove material aggressively, but they do not guide the cut as smoothly as a Forstner bit or hole saw.
For a clean, visible hole, consider quality spade bit sets with a sharp center point and ground cutting edges. You do not need the most expensive set for a few holes, but avoid bits with visibly uneven edges, a bent shank, or a center point that is not centered.
| Bit type | Best use | Finish quality | Main trade-off |
|---|---|---|---|
| Standard spade bit | Fast holes in framing and hidden plywood | Fair with proper backing | Most prone to exit tear-out |
| Self-feeding spade bit | Repeated large holes in softwood and construction plywood | Fair to good | Can pull the drill forward aggressively |
| Forstner bit | Clean holes and controlled depth | Very good | Slower, hotter, and more expensive |
| Hole saw | Large through-holes, especially 2 inches and larger | Good with a backing board | Leaves a plug and needs clearance for the arbor |
A Forstner bit set is worth considering when both faces will remain visible. It generally produces a cleaner rim, but a spade bit is faster and cheaper for concealed work. For holes around 1/2 to 1 inch, a brad-point bit may also leave a cleaner edge than a basic spade bit.
Support the Exit Side
The single best defense against tear-out is a sacrificial backer board. Clamp a piece of scrap plywood or solid wood tightly against the side where the bit will exit. The bit then cuts into supported material instead of pushing unsupported veneer fibers away from the hole.
Use a backer at least 1/2 inch thick, and make it wider than the hole by several inches. A thin offcut can flex and provide little benefit. Keep the workpiece and backer clamped together so there is no gap between them. Even a small gap allows the plywood fibers to splinter at the exit.
For a hole that must look clean on both faces, clamp a backer to one side and use the two-sided method described below. A backer alone protects the exit face but does not prevent the bit from bruising the face where it begins.
Mark and Score the Plywood
Mark the hole center clearly and check both faces before drilling. Veneer grain, voids, knots, and existing damage can change which side should face outward. Put painter’s tape over the layout mark if the face veneer is delicate. The tape will not replace a backer, but it can reduce minor splintering around the rim.
For the cleanest starting edge, lightly score the hole perimeter with a sharp utility knife or an awl. Do not try to cut deeply; a shallow incision through the top veneer is enough. This gives the fibers a defined boundary instead of letting the spade’s flat edge lift them.
Set the drill’s speed lower than you would for a small twist bit. As a general starting point, run a 1-inch spade bit around 800 to 1,200 rpm in plywood, and a 2-inch bit around 400 to 700 rpm. Exact settings depend on the drill, bit design, and plywood thickness. If the bit smokes, chatters, or requires heavy pressure, slow down and clear the chips.
Drill From Both Faces
For a through-hole, drill from the good face until the center point just breaks through the opposite face. Stop as soon as the point appears—usually when it has made a small dimple or hole, not when the cutting edges reach the back.
Turn the panel over and place the spade bit’s center point in that pilot mark. The bit will now cut outward from the center and meet the first cut at the perimeter. This prevents the broad cutting edges from bursting through the plywood veneer.
When reversing the workpiece is impractical, drill nearly through from the front, then finish the last 1/16 to 1/8 inch with very light pressure. However, the two-sided method is more dependable, especially with a 1-1/2-inch or larger bit.
Control the Drill and Clear Chips
Hold the drill square to the panel. A tilted bit enlarges the hole on one face and can scrape or lift veneer as it exits. A drill guide or portable drill stand helps when the hole must be perpendicular, but careful hand control is sufficient for rough work.
Let the bit cut rather than forcing it. With a standard spade bit, withdraw it every few seconds to clear chips from deep holes. This matters in thick plywood, where packed chips increase friction and heat. A side handle on a high-torque drill is useful for bits over 1-1/4 inches; the bit can catch suddenly when it hits a dense veneer layer.
Use a portable drill guide if you need repeated holes with consistent alignment. It costs more than simply drilling by hand, but it can prevent angled holes and uneven openings in cabinet parts.
Fixing and Preventing Common Failures
If the face veneer tears at the start, the bit may be dull, the drill may be tilted, or the workpiece may not be supported underneath. If only the exit side tears, use a thicker backer or stop earlier and finish from the opposite face.
A ragged hole can sometimes be cleaned with a sharp utility knife, a countersink, or light sanding. Do not rely on sanding to repair major tear-out; it can create an oversized hole and expose more core material. For painted or hidden plywood, this may be acceptable. For clear-finished cabinet work, recutting the part is often faster than disguising a badly blown-out edge.
Replace or sharpen the bit when it needs excessive pressure, leaves burn marks, or cuts unevenly. For occasional home repairs, an inexpensive large spade bit is perfectly adequate when paired with a backer and two-sided drilling. Spend more on a Forstner bit, hole saw, or drill guide when the hole is visible, repeated, unusually large, or part of a precise cabinet project.