What's inside
As an Amazon Associate I earn from qualifying purchases. This post may contain affiliate links at no extra cost to you.
A track saw can cut cabinet panels quickly, but repeatability depends more on rail alignment than on the saw itself. If the rail shifts by 1/16 inch from panel to panel, that error becomes obvious when cabinet sides, shelves, or doors are assembled together. The goal is to create a reliable reference edge, keep the rail square, and use the same measuring method for every cut.
Choose the right reference
Start by deciding which edge of the sheet will control the cut. For cabinet parts, the factory edge of a full plywood sheet is often good enough for rough layout, but it may not be straight enough to use as a permanent reference. Check it with a long straightedge or by comparing it against the track.
If the factory edge is bowed, damaged, or has a chipped corner, make one clean trimming cut first. Use that newly cut edge as your reference for the remaining rips. This costs a little material, but it prevents every later panel from inheriting the same error.
For crosscuts, measure from the same end of the panel each time. Do not alternate between measuring from the front and back. Plywood sheets can vary slightly in length, and even a 1/32-inch difference matters when adjoining cabinet parts are meant to line up.
Align the rail for a straight cut
Put the sheet on a stable cutting surface. Insulation foam panels are inexpensive and protect the saw blade from the ground, but they can compress under heavy plywood. A sacrificial grid or rigid cutting table is more stable when working with multiple sheets.
Mark the cut line at both ends of the panel. For a narrow cabinet panel, a mark at each end is usually enough. On a full 8-foot sheet, add a third mark near the middle. Measure to the blade’s cut line, not automatically to the edge of the rail. The rail’s edge is only a reference if you have already calibrated the saw and rail together.
Place the rail so the blade will remove the waste on the correct side of the mark. Track saws cut on the side of the blade indicated by the saw’s pointer or splinter guard, but the splinter guard can move slightly over time. Confirm the actual kerf with a test cut before beginning a batch.
Align both ends first, then check the center. A rail can touch the marks at the ends while bowing away from the cut line in the middle. If the gap is more than about 1/32 inch, reposition it. For cabinet work, that is a meaningful error over a 24-inch-wide panel.
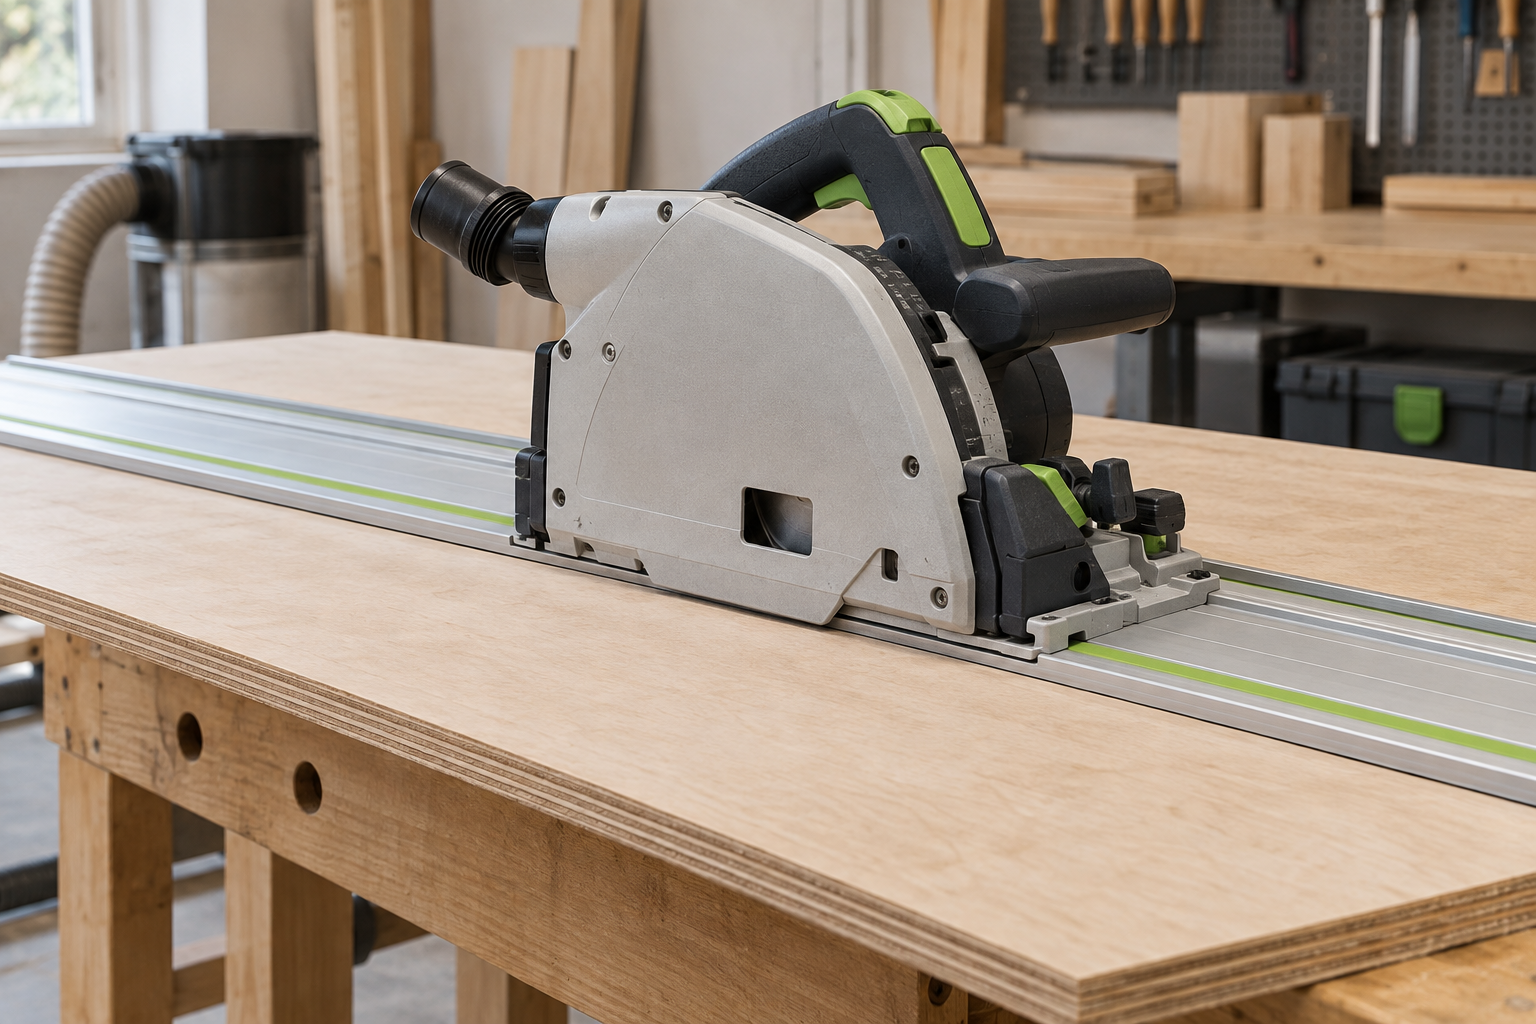
Once aligned, hold the rail firmly with your hand or use track saw rail clamps where the sheet surface allows them. Clamps are especially useful for narrow offcuts, slippery melamine, and long cuts where the rail can shift as the saw enters or exits.
Set up repeated cuts
The fastest repeatable method is to create a dedicated stop system rather than measuring every panel from scratch. A straight sacrificial strip clamped square to the sheet can register one end of every panel. For repeated widths, use a separate stop block or a marked story stick.
Do not rely on a loose tape measure reading for every cut. A small reading error compounds through a cabinet run. Instead, cut one accurate sample panel, verify its width in the cabinet layout, and use it as a physical template. Transfer the dimension to the remaining sheets with a sharp pencil or marking knife.
For ripping several panels from one sheet, mark parallel lines from the same factory or trimmed edge. A track saw parallel guide is faster and more repeatable than measuring two points for every cut, particularly for 12- to 24-inch cabinet components. The trade-off is setup time: guides cost more and may limit the width range compared with a tape and rail.
| Method | Best use | Typical repeatability | Main drawback |
|---|---|---|---|
| Tape measure and two marks | Occasional cuts or one-off panels | About 1/16 inch with careful work | Slow and dependent on measuring technique |
| Story stick or sample panel | Small cabinet batches | About 1/32 inch | Requires an accurate first panel |
| Parallel guide | Many identical rips | About 1/32 inch or better | Higher cost and limited adjustment range |
| Router or table saw setup | Large production runs | Often better than 1/32 inch | More space, setup, and safety requirements |
Join rails without a step
If the panel is longer than one rail, join the tracks on a clean, flat surface. Install the manufacturer’s track saw rail connector fully into both rails, then tighten the screws gradually while holding the rails straight. Tightening one side completely before the other can create a slight angle.
Run a fingertip across the joint. You should not feel a raised edge or step. If there is one, loosen the connector and reset the rails. Make a test cut on scrap before using the joined rail on a cabinet panel. A rail joint that is only 1/64 inch out of line can leave a visible ridge or force the saw to bind.
Prevent rail movement and tear-out
Clean dust and glue residue from the rail’s rubber strips and the panel surface. Dust under the rail can raise one end enough to change the cut. On coated plywood or melamine, the rail may slide more easily than it does on raw plywood, so clamps or additional anti-slip strips are worthwhile.
Set the saw’s cut depth only 1/8 to 1/4 inch deeper than the panel. Excess blade exposure increases the chance of damaging the support surface and can make the saw harder to control. Use a sharp, fine-tooth blade for veneered plywood and melamine. A general-purpose blade is cheaper and fine for construction plywood, but it may leave more edge breakout.
Before each cut, check that the blade is fully up to speed, the saw is seated against the rail, and the cord or dust hose cannot pull the tool sideways. Let the blade exit the panel completely before lifting the saw. Stopping early can leave an uncut corner or a small hook at the end of the cut.
When better equipment is worth buying
A basic rail and careful measuring are enough for a few cabinet boxes, especially if the parts will be hidden behind face frames. The cheaper setup is also sensible for utility shelving, shop cabinets, and painted projects where a minor edge error can be trimmed or filled.
Spend more on clamps, a parallel guide, or a second rail when you are cutting many identical parts, working with expensive veneer, or building frameless cabinets where edge alignment remains visible. If repeated parts differ by more than 1/32 inch after you have verified your technique, inspect the rail joint, saw fit, blade condition, and reference edge before replacing the saw. The problem is often setup rather than motor quality.
For the most consistent results, label each panel immediately after cutting, keep the reference edge oriented the same way, and verify the first two pieces before completing the batch. That simple check catches reversed parts, wrong waste-side placement, and rail drift while there is still time to correct them.