What's inside
As an Amazon Associate I earn from qualifying purchases. This post may contain affiliate links at no extra cost to you.
The choice in brief
For narrow carving tools, a honing guide gives you repeatable bevel angles, while freehand sharpening is faster, more flexible, and better suited to curved edges. Neither method is automatically sharper. The real difference is how easily you can hold the edge at the correct angle without rounding it over or grinding away too much steel.
A guide is usually the better buy for straight carving chisels, V-tools with accessible outside bevels, and anyone still learning to sharpen. Freehand work makes more sense for gouges, hooked tools, spoon-carving knives, and irregular profiles that a conventional guide cannot grip properly. If your tools are inexpensive and only need occasional touch-ups, freehand sharpening is also the cheaper option.
As an Amazon Associate we earn from qualifying purchases at no extra cost to you.


What makes narrow carving tools difficult
A 3/16-inch or 1/4-inch chisel has very little bearing surface for a guide wheel or clamp. Small errors in hand position therefore have a large effect on the bevel. A one-degree change is not much on a wide bench chisel, but it can move the contact area noticeably on a narrow edge.
Carving tools also commonly use bevels between roughly 15 and 25 degrees per side, depending on the tool and the work. A shallow 15-degree bevel cuts freely but is more fragile. A 20- to 25-degree bevel survives harder wood better, though it requires more force. The existing factory bevel should normally be preserved unless there is a clear reason to change it.
Curved gouges create an additional problem. The bevel changes across the edge, so a flat guide cannot maintain contact everywhere. A guide that works well on a straight chisel can leave the heel or corners of a gouge untouched while grinding only the center.
How a honing guide performs
A honing guide clamps the tool and uses a roller or sliding shoe to control the angle. It is most useful when you want every sharpening session to return to the same bevel. That consistency matters when a tool is used for fine stop cuts, where a skewed or uneven edge can pull the cut sideways.
For narrow tools, choose a guide specifically rated for small blades rather than assuming a standard chisel guide will hold them. The jaws should close securely without crushing a thin tang, and the roller should not wobble. A guide that shifts even half a millimeter during a stroke can produce a faceted bevel instead of a flat one.
There are limits. Many guides need enough blade length to clamp safely, and some cannot hold a short carving chisel or a tool with a thick shoulder. Clamp pressure can also mark polished steel. A narrow blade may twist in the jaws, especially if the guide has a broad opening designed for bench chisels.
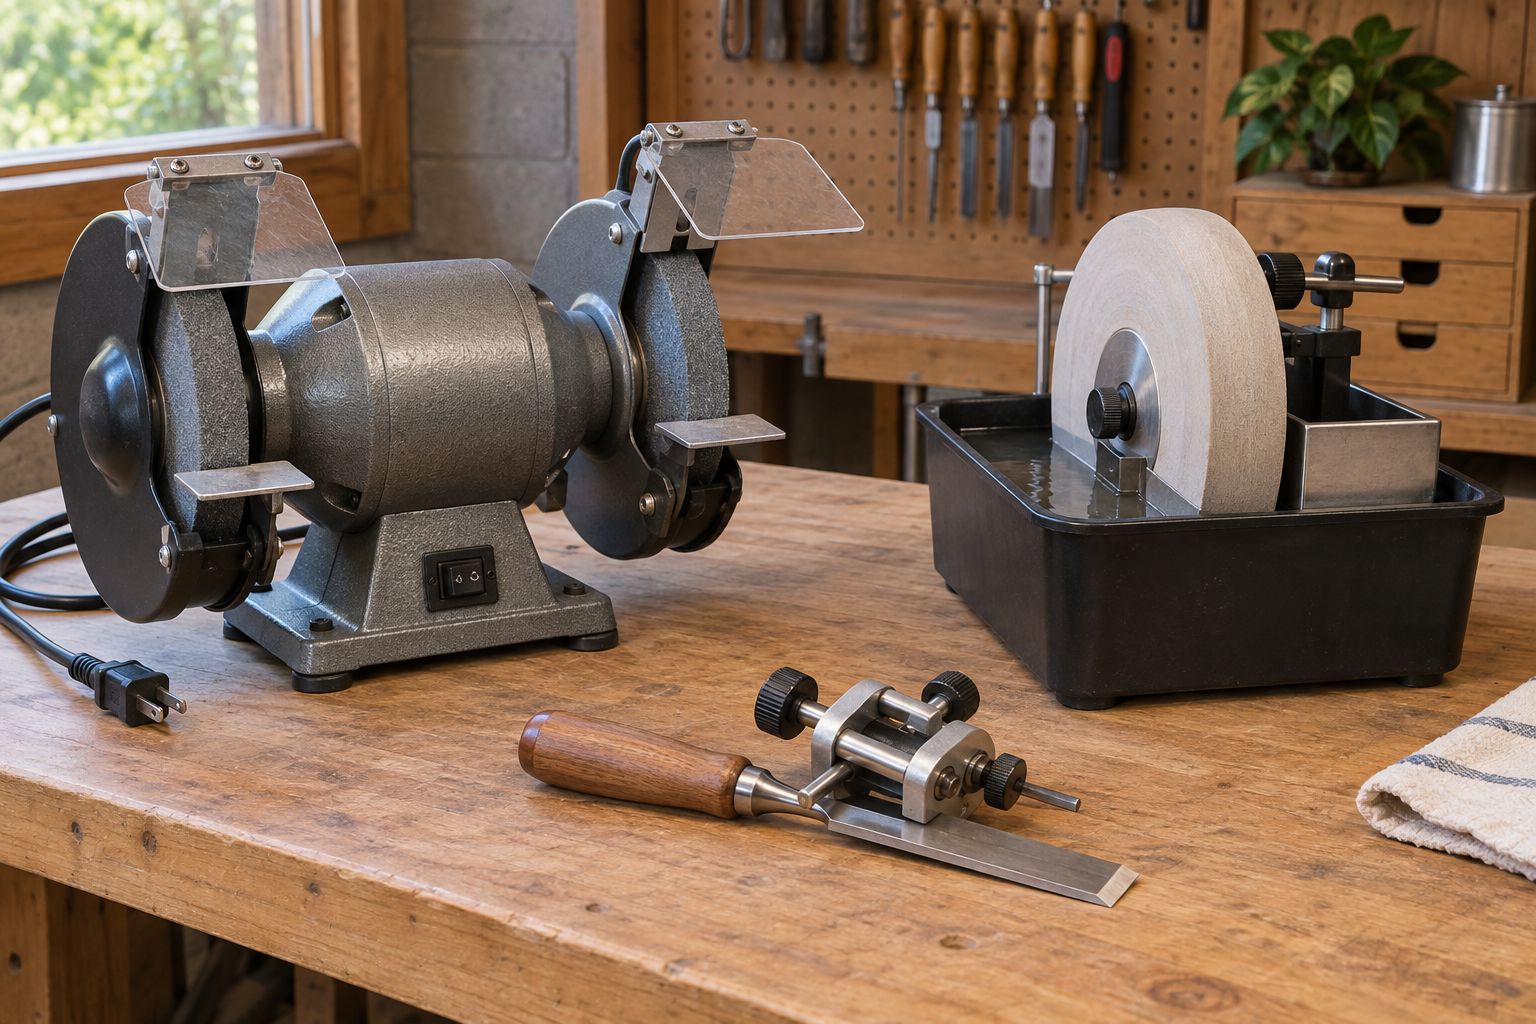
For a guide that will handle small chisels and plane irons, compare small-blade honing guides by jaw range, minimum blade length, and roller stability rather than by the claimed number of angle settings.
What freehand sharpening does better
Freehand sharpening lets you roll a gouge through its curve, lift the handle at the corners, or change pressure as the profile demands. That makes it the practical choice for most carving gouges and V-tools. You can also touch up a small nick in seconds without setting up a clamp.
The technique is less mysterious than it sounds. Place the bevel flat on the abrasive, then move the tool while maintaining that contact. Use light pressure and short strokes. On a narrow straight chisel, keep the blade aligned with the stone and avoid rocking from side to side. On a gouge, roll the tool gradually so the entire curved bevel reaches the abrasive.
The main failure mode is a rounded bevel. It usually comes from lifting the handle during the stroke or using excessive pressure. The edge may feel sharp at one point, but it will not register cleanly across the cut. Another common error is polishing only the very tip while leaving a hollow farther back. That creates a fragile wire edge and makes future sharpening take longer.
A set of small diamond sharpening cards is often more useful for narrow carving tools than a large bench stone. Cards reach inside tight V-tools and small gouges, and they do not require a large flat surface. Use coarse or medium grit only for damage; finish with a fine abrasive and remove the burr carefully.
Honing guide versus freehand sharpening
| Factor | Honing guide | Freehand |
|---|---|---|
| Angle consistency | Excellent on straight blades | Depends on hand control |
| Curved gouges | Usually poor unless designed for the profile | Best option for most shapes |
| Setup time | Several minutes, especially for repeated angle changes | Immediate |
| Learning curve | Shorter for flat bevels | Longer, but transferable to many tools |
| Risk of removing excess steel | Low if the angle is set correctly | Higher if pressure or grit is too aggressive |
| Best value | Several straight chisels or frequent sharpening | Occasional use or mostly curved tools |
Abrasives, grits, and burr control
Sharpening method matters less than using an appropriate abrasive. For routine maintenance, a fine diamond surface, water stone, or ceramic abrasive is enough. A practical progression is about 400 to 600 grit for a damaged edge, 1,000 to 1,200 grit for establishing a clean edge, and 3,000 to 8,000 grit for refinement. Do not start at 400 grit every time; it removes steel quickly from a narrow tool.
The burr should extend continuously along the edge before you move to the finishing abrasive. If it appears only in the center of a gouge, the rest of the bevel has not been sharpened. Remove the burr with a light trailing stroke on the back or inside of the tool. For inside curves, use a slip stone or abrasive shaped to fit the flute. A flat stone forced into a narrow flute can change the profile.
Power grinders can repair damage, but they are easy to misuse on small carving tools. A narrow edge overheats quickly, and a hollow-ground bevel can make controlled freehand honing harder. If you use a grinder, take brief touches and cool the tool frequently. For routine sharpening, a carving-tool slip stone set is safer and more versatile.
Which option should you buy?
Buy a honing guide if your set includes several narrow, straight chisels, you want repeatable 20-degree bevels, or you regularly struggle to hold a flat bevel. Confirm that the guide accepts blades under 1/2 inch wide and short enough for your tools. A guide is also worthwhile for a beginner who wants to remove technique from the angle-setting part of the job.
Skip the guide and sharpen freehand if most of your tools are gouges, V-tools, bent knives, or hook knives. Spend the money on suitable abrasives instead. A good fine stone and a small slip stone will handle more tool shapes than a general-purpose guide.
Many carvers will get the best result from both methods: use a guide to establish or repair the bevel on straight tools, then freehand hone for quick maintenance and for curved profiles. The cheaper freehand option is perfectly adequate when you sharpen only a few times per year, provided you check the bevel under bright light and stop when the edge is continuous, flat, and burr-free.