What's inside
As an Amazon Associate I earn from qualifying purchases. This post may contain affiliate links at no extra cost to you.
The short answer
For figured maple, a sharp card scraper is often the better tool for the final smoothing pass. Its cutting action can leave curly grain cleaner than sandpaper, which may tear out or leave scratches that show under finish. But a scraper takes practice, needs a properly prepared edge, and is not a good way to flatten a board or remove a lot of stock. Sandpaper is cheaper, easier to learn, and the right choice for shaping, leveling, and routine prep.
For most projects, use both: sand the surface flat through a sensible grit sequence, then scrape difficult figured areas and sand lightly with the grain to remove any scraper marks. If the maple is already flat and only needs a clean finish-ready surface, a scraper may do nearly all the smoothing.
As an Amazon Associate we earn from qualifying purchases at no extra cost to you.


What each tool actually does
A card scraper is a thin steel plate with a prepared edge. When the edge has a small burr and the scraper is flexed slightly, it cuts off a fine shaving. That makes it especially useful where the grain reverses in curly, quilted, or bird’s-eye maple. Unlike an abrasive, it does not drag grit across the surface or leave a scratch pattern.
Sandpaper removes wood by abrasion. It is available in consistent grits, works on broad surfaces, and is straightforward to use by hand or with a sander. Its main weakness on figured maple is that the grain direction changes over short distances. Sanding across one part of the figure may follow the grain in another and lift fibers, leaving small torn patches that become obvious after stain or a clear finish.
Card scraper vs. sandpaper
| Factor | Card scraper | Sandpaper |
|---|---|---|
| Best use | Final smoothing and local tear-out in figured grain | Flattening, shaping, and general surface preparation |
| Learning curve | Moderate; edge preparation and scraper angle matter | Low, though even pressure and grit progression still matter |
| Removal rate | Fast for a fine shaving; poor for heavy stock removal | Slow to moderate, depending on grit and backing |
| Surface risk | Can leave chatter, tracks, or scratches if dull or tilted | Can cause torn grain, deep scratches, or dishing if used carelessly |
| Consumable cost | Low once you own a scraper and burnisher | Ongoing; worn or clogged abrasive cuts poorly |
| Dust | Produces shavings, with little airborne dust | Produces fine dust; extraction and a respirator are sensible |
When a card scraper earns its place
Reach for a scraper when a sharp plane chatters on reversing grain, or when sanding leaves a fuzzy patch in the figure. On a tabletop or cabinet door, a scraper can clean those areas without lowering the surrounding surface as much as repeated spot sanding might. It is also useful for glue residue and light finish removal, provided you keep the edge controlled and do not dig into the wood.
A scraper is only as good as its edge. A blunt edge will burnish or skate instead of cutting; an uneven burr may leave tracks or produce inconsistent shavings. Beginners should expect some trial and error in sharpening and technique. A basic rectangular woodworking card scraper and a suitable burnisher are a modest investment, but they do not eliminate the need to learn the process.
Use a light grip and flex the scraper just enough to create a controlled cut. Keep it moving; holding it in one spot can make a hollow. If it chatters, check the burr and reduce the angle or pressure. A scraper can also leave fine parallel lines if the edge is rough, so inspect the surface in raking light before calling it done.
When sandpaper is the better buy
Sandpaper is the practical choice for bringing a board to level, easing edges, removing planer marks, or preparing a surface over a large area. A scraper is not a substitute for a plane or a leveling sander when the board has bumps or a twist. Trying to scrape away substantial high spots is slow and can create an uneven surface.
For hand sanding, use a firm, flat block on broad faces and avoid pressing hard with fingertips, which can round edges or create dips. Start with the coarsest grit needed to remove actual defects, then move through grits without skipping too far. A common finish-prep sequence might be 120, 150, and 180 grit; stop at the grit recommended for your finish rather than assuming finer is always better. For example, sanding to 320 can burnish some wood surfaces and affect how evenly a stain absorbs.
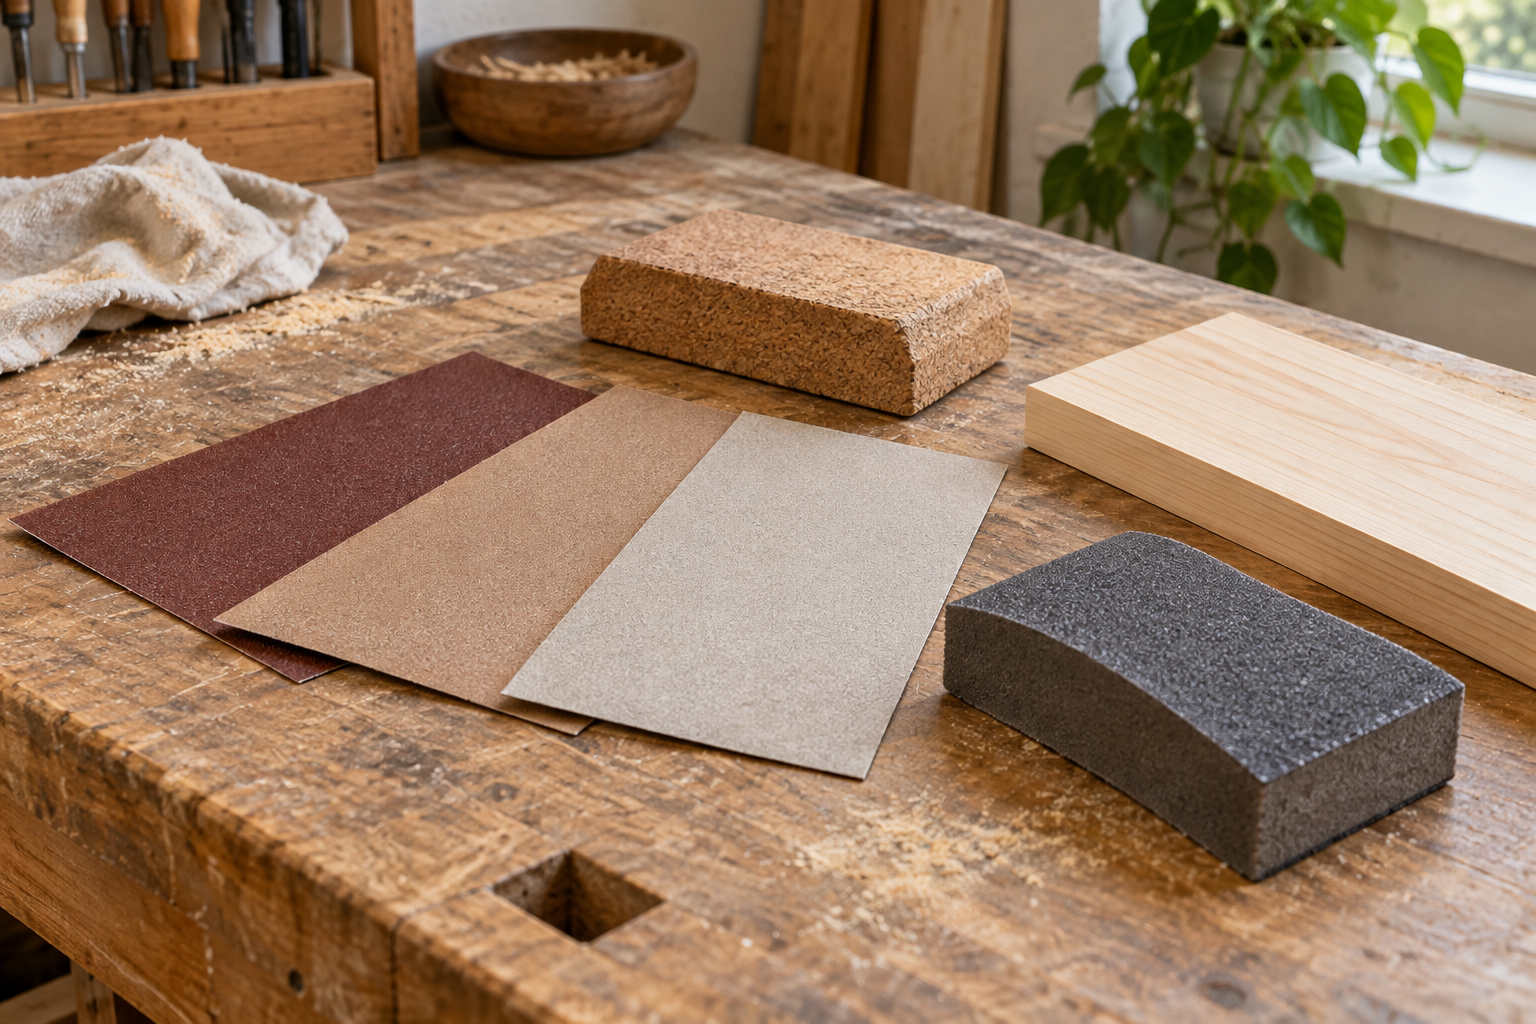
On figured maple, use sharp, fresh abrasive and inspect often. Clogged paper can polish dust into the surface and cut much more slowly. A assortment of woodworking sandpaper is inexpensive, and it is enough for occasional work. A random-orbit sander speeds up broad, flat work, but keep it moving and finish by hand with the grain if orbital swirls would be visible under the chosen finish.
A reliable workflow for figured maple
First flatten and prepare the board with the tool that suits its condition. Remove planer or milling marks with a plane or an appropriate abrasive; do not expect a card scraper to correct a warped surface. Then inspect under a bright light held low across the wood. Scrape only the areas showing tear-out or stubborn cross-grain damage, taking thin shavings rather than forcing the cut.
After scraping, make a few light passes with fine sandpaper on a flat block, following the length of the board. This removes scraper tracks while limiting new damage. Before staining or applying a water-based finish, test the surface on an offcut. Water can raise fibers, and stain can reveal scratches that looked invisible on raw wood. If needed, dampen the offcut to raise the grain, let it dry, and sand it lightly before testing again.
Which should you buy?
Buy sandpaper first if you are setting up a basic shop, working on flat panels, or need to remove material and prepare surfaces across many kinds of wood. It is the more versatile starting point, and the cheaper option is entirely adequate when the maple has mild figure or the finish will hide small surface differences.
Add a card scraper if you regularly work with curly maple, get tear-out that sanding struggles to clean up, or want a low-dust way to make a final smoothing pass. You do not need a large set: one quality scraper, a burnisher, and practice are enough to start. For the cleanest result, treat the choice as a sequence rather than a contest: abrasives for leveling and general prep, scraper for troublesome figure, then a restrained final sanding pass.