What's inside
As an Amazon Associate I earn from qualifying purchases. This post may contain affiliate links at no extra cost to you.
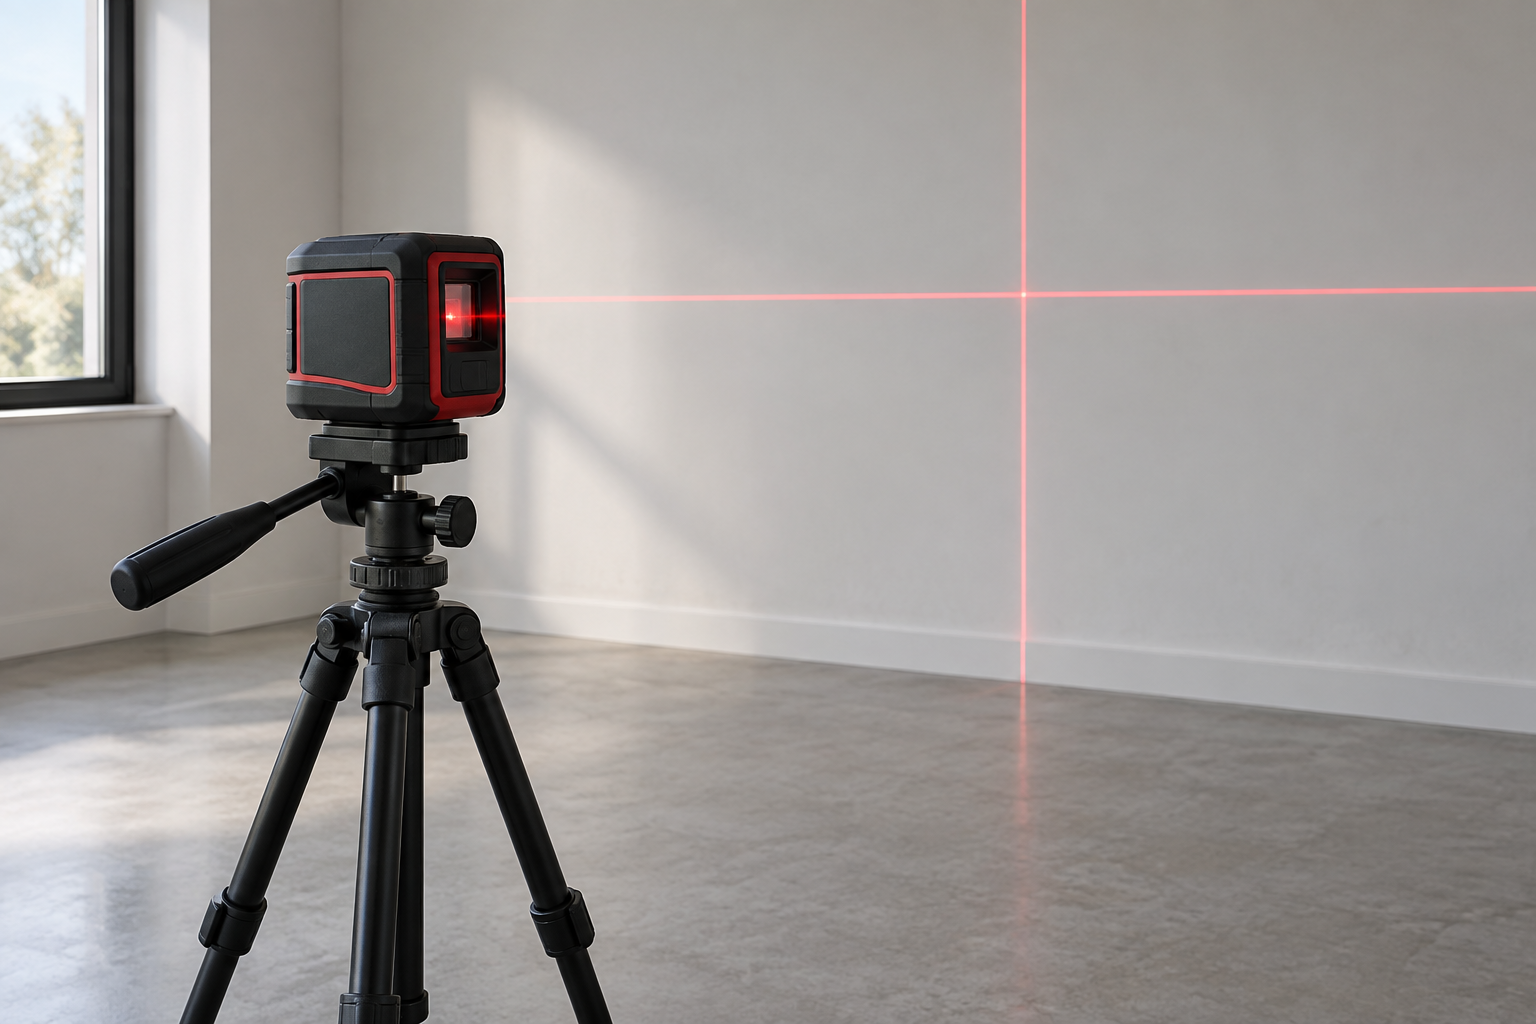
For a residential drainage run, the right laser depends less on brand or range than on how you’ll transfer a consistent fall over the length of the trench. A rotary laser spins a level reference around the site; a cross-line laser projects a fixed horizontal line, usually across a room or a limited outdoor area. Both can help set elevations, but they are not interchangeable on a long, open run.
As an Amazon Associate we earn from qualifying purchases at no extra cost to you.


Our Top Picks
 Topcon RL-H5A Self-Leveling Construction Laser w/LS-80 Receiver1 Count (Pack of 1)17.5 x 10.3 x 12.3 inches12.3 poundsCheck on Amazon
 Klein Tools 93RLS Green Self-Leveling Rotary Laser Level32 x 16 x 8.75 inches4.36 PoundsCheck on Amazon

What the drainage run requires
First establish the outlet elevation, then set the intended grade from that point. A common planning figure for a small gravity drain is 1–2% fall—about 1–2 inches per 10 feet—but the correct slope depends on the pipe, local requirements, and what the system is meant to carry. Check those details before digging. Too little fall can leave water standing; too much can move water faster than the outlet or surrounding ground can handle.
For example, a 40-foot run at 1% needs a total drop of 4.8 inches. The laser’s job is to help you mark or check intermediate elevations against that planned profile. It does not choose the slope, confirm a suitable outlet, or prove that the trench bottom is stable.
How the tools differ
| Factor | Rotary laser | Cross-line laser |
|---|---|---|
| Reference | Rotating level plane around the setup | Fixed horizontal line, sometimes with vertical lines |
| Outdoor reach | Good with a compatible receiver and grade rod | Usually limited by visibility and model range |
| Long trench workflow | Read elevations at many points from one setup | Works best over short distances or with repeated setups |
| Cost and setup | Higher cost; needs a tripod, receiver, and rod for practical outdoor grading | Lower cost; often quick to set up indoors |
| Best fit | Open yards, longer runs, and repeated elevation checks | Short runs, patios, or work close to the tool |
When a rotary laser makes sense
A rotary laser is the more practical choice when the run extends across an open yard, passes behind obstacles, or needs readings at several stations. With a receiver attached to a grade rod, you can find the laser plane even when you cannot see the beam. That matters in bright daylight, where a visible line may disappear, and across distances where a cross-line beam is no longer usable.
It also reduces repeated setups. Each time a laser is moved, its height and position change, creating another chance to introduce error. A rotary setup can serve as a stable reference while you check the outlet, trench stations, and final pipe elevations. If you regularly grade, install drainage, or work on larger sites, compare rotary laser kits with a receiver and grade rod. Check that the receiver is compatible with the laser; a rotary laser without a receiver may be frustrating outdoors.
When a cross-line laser is enough
A cross-line laser can be the sensible budget option for a short run close to the house, especially if you already own one and can work in shade or at dusk. It can establish a level reference for transferring measurements to stakes or marks. Some models have a pulse mode for use with a receiver, but do not assume yours does. Verify outdoor range and receiver compatibility in the tool’s specifications.
Its limitations show up as distance and visibility increase. A bright, thin line may be hard to see outside, and the line only reaches where the beam has a clear path. A fence, shrub, or change in direction can force a new setup. For a short, unobstructed stretch, a self-leveling cross-line laser with outdoor pulse mode may be adequate. For a long trench in full sun, the cheaper tool can cost time through repeated repositioning or unreliable readings.
A reliable grading workflow
Choose a fixed benchmark, such as a marked stake, and record its elevation. Set up the laser on firm ground where it will not be bumped. For a rotary laser, use the receiver and a grade rod to take a reference reading at the benchmark. Then calculate the target elevation for each station. At 1% fall, each 10-foot station should be 1.2 inches lower than the previous one.
Take readings at regular intervals—10 feet is a useful starting point—and at changes in direction, connections, and the outlet. A rod reading is not itself the pipe grade: it measures the height of the receiver against the laser plane. Keep the rod vertical, use the same receiver position and rod reference, and write down readings as you go. If the receiver is set higher or lower on the rod between checks, the comparison is invalid.
After shaping the trench, recheck the bottom at each station before laying pipe. Then check the pipe or bedding again after placement. Soil can slump, a boot can disturb the grade, and a long pipe can bridge a low spot instead of following the trench. A single reading at each end will not reveal those problems.
Common errors and trade-offs
Do not assume the laser is accurate just because it self-levels. A bump, soft tripod footing, or out-of-calibration tool can shift the reference. Check the instrument against a known point or follow its manual’s field calibration check before trusting it on a long run. Keep the tripod away from excavation edges and moving equipment.
Also avoid measuring fall from the surface alone when the pipe route has dips or rises. Water follows the pipe’s actual invert, not a string line that spans a hollow. Mark target elevations at enough stations to catch changes in ground and trench shape. If the run has several turns, limited sightlines, or a demanding tolerance, a rotary laser and receiver are easier to manage. If it is short, visible, and close to the house, a cross-line laser—or even a careful level-and-measuring method—can be perfectly serviceable. The best buy is the one that gives repeatable readings over your actual distance, not the one with the longest range printed on the box.