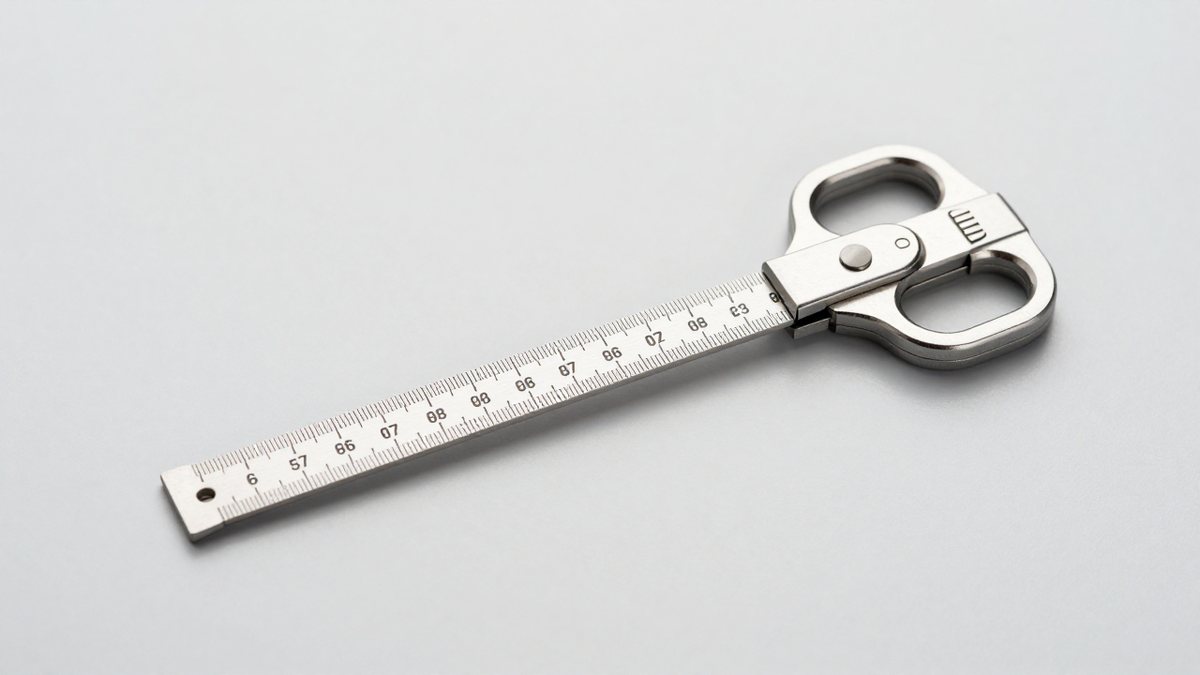
What's inside
As an Amazon Associate I earn from qualifying purchases. This post may contain affiliate links at no extra cost to you.
Our Top Picks


Best Budget Measuring and Layout Tools for Woodworking
The best budget measuring and layout tools for a dependable starter setup are a readable 25-foot tape, a rigid 6-inch combination square, a 12-inch steel ruler, and a sharp marking knife or mechanical pencil. Together, these cover most furniture and shop projects without paying for premium finishes or specialty tools you may rarely use.
Choose by the work you actually do
“Budget” should mean accurate enough for the job and durable enough to stay that way—not simply the lowest price. For a first setup, prioritize clear graduations, a blade or rule that sits flat, and a square you can check and adjust. A sturdy midrange tool is often better value than replacing a cheap one that bends or goes out of square.
As an Amazon Associate we earn from qualifying purchases at no extra cost to you.



- Occasional DIY or small projects: Start with an affordable tape, a checked combination square, and a pencil. Add a steel rule if you regularly work on small parts.
- Furniture and cabinet work: Make the combination square and marking knife priorities. Their repeatability and fine lines matter more than a tape with extra reach.
- Limited shop space: A compact 16- or 25-foot tape, 6-inch square, and 12-inch ruler store easily and cover most bench work.
- Frequent lumber breakdown: Choose a 25-foot tape with a sturdy, readable blade. A longer tape is useful for sheet goods and room dimensions, but it is not a substitute for a straightedge when checking an edge.
Starter-kit comparison
These are practical target specifications, not claims that every tool at a given price will meet them. Prices are general U.S. market ranges and vary by brand, features, and retailer. Check calibration and construction before relying on any budget measuring tool.
| Tool | Useful starter specification | Typical general price range | Best use | What to inspect |
|---|---|---|---|---|
| Tape measure | 16 or 25 ft (4.9 or 7.6 m); 1-inch-wide blade; fractional inch marks | $8–$25 | Stock, sheet goods, and room measurements | Legible markings, a hook with modest movement, smooth rewind, and a blade that does not kink easily |
| Combination square | 6-inch ruler; cast or machined head; 90° and 45° faces | $12–$35 | Checking and marking short edges, setting depth, and laying out small parts | Blade sits flat in the head; graduations are crisp; locking nut holds without shifting |
| Steel rule | 12 inches (300 mm); etched or engraved graduations; stainless or hardened steel | $5–$18 | Bench work, short transfers, and checking small components | Flatness, readable ends, and whether the zero mark starts at the edge or is set back |
| Marking knife | Replaceable or resharpenable fine point; comfortable, controlled handle | $8–$25 | Precise joinery lines that register a chisel or saw | Tip sharpens cleanly and is protected in storage |
| Mechanical pencil | 0.5 or 0.7 mm lead; built-in or separate sharpener for fine work | $2–$12 | General layout and visible marks on rough stock | Lead advances consistently; the tip is suited to the line width you need |
Where to spend—and where to save
Tape measure: reach and readability before extras
A 25-foot tape is a versatile default for a home shop, while a 16-foot model is lighter and often easier to control for furniture parts. A wider blade usually stands out farther before bending, but longer unsupported reach is a convenience—not a precision guarantee. For repeat cuts, use a stop or story stick rather than repeatedly trusting a long tape measurement.
Check that the hook moves slightly to account for its thickness in inside and outside measurements. That movement is intentional; a loose or visibly bent hook is not. Keep the blade clean and dry, and let it retract under control. A tape that snaps shut can damage its hook, blade, or fingers.
Combination square: the most useful accuracy check
A 6-inch combination square is compact enough for bench work and typically offers a 90-degree face, a 45-degree face, and a sliding rule for depth or height settings. A 12-inch version reaches farther, but it takes more room and can be less convenient on small parts. For many starter shops, the smaller size is the better first purchase.
Do not assume a low-cost square is accurate straight out of the package. Check it on a known straight edge: draw a line along the square, flip the tool over, align it to the same edge, and draw a second line. If the lines diverge, the square is out of square or the reference edge is unreliable. Repeat with a verified straight edge before deciding which is at fault. Return a tool that fails its check rather than compensating for it in every layout.
Rule and marking tool: match line width to the job
A 12-inch steel rule handles most small-part layout, while its thin edge can sit close to a pencil or knife line. Read the graduations from the same side each time; changing between the zero edge and a set-back zero can introduce a small but consequential error. For a layout that must guide a chisel or saw, a marking knife creates a fine, tactile line. Use a sharp pencil for rough stock, quick notes, and cuts where a wider line is acceptable.
A practical accuracy routine before the first project
- Choose a reference edge. Use a straight, flat edge on the workpiece. A measurement is only as dependable as the surface it starts from.
- Check the square. Draw, flip, and compare the lines as described above. Verify the edge independently if they disagree.
- Compare the rule and tape. Align them at zero and compare marks at 6 and 12 inches. Look for an obvious mismatch, but do not use one unchecked tool to certify another.
- Make a test layout. Mark a line, measure back to it, and check whether the line width or reading convention changes the result. Decide which edge of each mark represents the intended cut.
- Record repeat dimensions. For several identical parts, use a stop block or a story stick. This reduces accumulated reading and marking errors.
Ownership details that affect value
On budget tools, the parts most likely to cause trouble are often small: a tape hook that bends, a square’s locking mechanism that slips, a rule with worn or hard-to-read markings, or a pencil lead that breaks because it is too soft for the surface. These problems can make a tool unreliable before its main body wears out.
- Wipe steel rules and square blades dry after use; light rust can obscure fine graduations.
- Keep pencil points and marking-knife edges sharp. A thick or ragged line makes accurate placement harder.
- Store a knife with its point covered, and do not leave measuring tools loose where blades can be bent.
- Recheck a square after a drop or hard impact, and recheck any tool that starts producing inconsistent results.
- Do not force a tape blade flat against a sharp edge or let it retract unchecked. Kinks and damaged hooks are usually not worth repairing on an inexpensive tape.
Best budget setup by priority
If you can buy only two tools, choose a readable tape and a combination square that passes the flip test. Add a steel rule for small, repeatable bench measurements, then choose a sharp pencil or marking knife based on whether your work is mostly rough layout or joinery. This order keeps the initial cost modest while building a kit around accuracy you can verify—not features you may never use.