What's inside
- The practical beginner’s measuring and layout kit
- Best tape measure for a beginner: 16 feet or 25 feet?
- Best combination square: the most useful precision tool
- Marking gauges: choose a cutting wheel for joinery
- Best level for woodworking and home projects
- Pencils and marking tools: small cost, large effect
- Decision matrix: which kit fits your situation?
- What to buy first and what can wait
- Bottom line
As an Amazon Associate I earn from qualifying purchases. This post may contain affiliate links at no extra cost to you.
The best measuring and layout tools for beginners are a 16- or 25-foot tape measure, a 12-inch combination square, a 6-inch marking gauge, a 9- or 12-inch spirit level, and a sharp mechanical or carpenter’s pencil.
That combination covers furniture, shelving, home repairs, and most small woodworking projects without buying specialized tools too early. Choose tools that stay accurate, are easy to read, and fit the size of work you actually do—not simply the cheapest set or the heaviest professional model.
As an Amazon Associate we earn from qualifying purchases at no extra cost to you.


Our Top Picks


The practical beginner’s measuring and layout kit
| Tool | Useful beginner specification | Best project size | What matters most |
|---|---|---|---|
| Tape measure | 16–25 ft capacity; 1-inch-wide blade; magnetic or reinforced hook | Boards, cabinets, rooms, sheet goods | Readable markings, reliable lock, controlled blade return |
| Combination square | 6–12-inch rule; hardened steel blade; 45° and 90° faces | Joinery, crosscuts, hardware layout | Square head, secure rule, fine graduations |
| Marking gauge | 4–6-inch fence travel; cutting wheel or sharp pin | Edges, mortises, tenons, repeated lines | Rigid fence and adjustment that does not slip |
| Spirit level | 9–12-inch length; two or three vials; accuracy around 0.5 mm/m | Shelves, cabinets, benches, frames | Readable vials and a straight, protected body |
| Marking pencil | 2–3 mm lead or sharpenable flat carpenter’s point | General layout and rough construction marks | Fine line, contrast, and resistance to breakage |
Best tape measure for a beginner: 16 feet or 25 feet?
A 16-foot tape is the better everyday choice for a small workshop because it is lighter, less cumbersome, and easier to control when measuring furniture parts. A 25-foot model becomes more useful for rooms, long boards, sheet goods, and construction work. A 12-foot tape can work for small boxes and indoor repairs, but its shorter reach limits it quickly.
Look for a blade approximately 1 inch wide. Wider blades usually remain extended farther before collapsing, which helps when measuring alone. A standout rating of roughly 8 feet is useful for common work, although manufacturers measure this feature differently. A strong hook should move slightly on its rivets: that movement compensates for whether the hook is pushed against an inside surface or pulled over an outside edge.
Stanley PowerLock, Milwaukee STUD, and Crescent Lufkin tape measures are examples of established product families. Choose the individual model by blade width, case size, and marking clarity rather than by brand alone.
Tape measure mistakes that create inaccurate projects
- Do not bend the blade around a corner when a combination square or rule can transfer the measurement more accurately.
- Keep the tape flat against the reference edge; a bowed blade changes the reading.
- Do not rely on the automatic lock as a substitute for controlling the blade.
- Wipe sawdust and grit from the blade before retracting it, since debris can damage the spring or contaminate the case.
- Replace a tape when the hook is loose, the blade is sharply kinked, or the end markings are unreadable.
Best combination square: the most useful precision tool
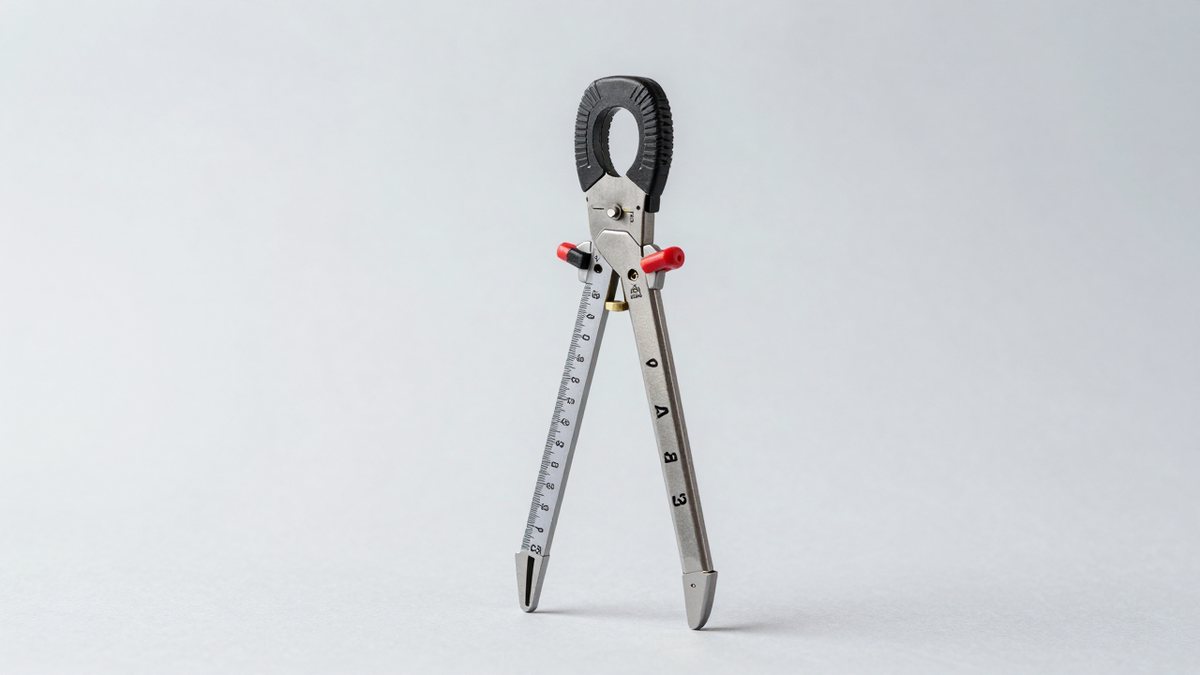
A combination square is usually the highest-value tool in a beginner’s layout kit. Its adjustable head provides a 90-degree reference, a 45-degree reference, a depth gauge, and a way to mark consistent distances from an edge. A 12-inch model handles most cabinet sides and wide boards; a 6-inch model is more convenient for small boxes and joinery.
For a first square, prioritize a rigid head and a blade with clear 1/16-inch or 1-millimeter graduations. The rule should slide smoothly but lock firmly with one knob. Hardened steel is preferable to soft, easily bent metal. A built-in level vial is convenient, but it does not replace a dedicated spirit level.
Irwin combination squares are widely available in entry-level and mid-range versions, while Starrett combination squares are known for higher-end machining and finishing. Either can be useful, but inspect the tool before purchase: place the square against a straight board, draw a line, flip the square over against the same edge, and draw another line. If the lines diverge, the square is not reliable for precision layout.
Marking gauges: choose a cutting wheel for joinery
A marking gauge sets a line a fixed distance from an edge. It is more repeatable than measuring and marking every part separately, making it especially useful for mortises, tenons, rabbets, dados, and shelf-pin reference lines.
For general woodworking, a gauge with approximately 4 to 6 inches of adjustment is enough. A cutting-wheel gauge slices a narrow line into the surface and tends to produce cleaner joinery marks than a blunt pin. A pin-style gauge is quicker for rough work and softwood, but it can follow the grain and wander.
Be cautious with very inexpensive gauges whose fence rocks on the stem or whose locking screw leaves the cutter misaligned. The fence should sit squarely against the board edge, and the cutter should be sharp enough to score with light pressure. Wood-bodied gauges can work well, but metal hardware and a smooth, flat fence improve long-term consistency.
How to set up a marking gauge accurately
- Set the cutter slightly less than the desired distance, then measure from the fence to the cutter with a combination square.
- Lock the stem while holding the fence and cutter in alignment.
- Place the fence against the known reference edge, not against a rough or damaged edge.
- Make one light scoring pass, followed by a second pass only if the line needs more visibility.
- Check the setting on a scrap piece before marking expensive stock.
Best level for woodworking and home projects
A 9-inch level is easy to store and works well for shelves, small cabinets, and picture frames. A 12-inch level bridges small gaps more effectively and is a better all-purpose choice if you have room for it. Longer levels are useful for installing cabinets or checking walls, but they are less convenient for bench work.
Choose a level with a protected body, a readable horizontal vial, and a vertical vial. An accuracy specification around 0.5 millimeter per meter is suitable for general woodworking and household installation. A level cannot correct a twisted board or uneven wall; it only reports the tool’s position relative to gravity, so check the workpiece in more than one location.
To check a level, place it on a flat surface and note the bubble position. Rotate it 180 degrees in the same location. If the bubble moves noticeably relative to the vial markings, the level may be inaccurate. Store it where it will not be dropped or crushed under lumber.
Pencils and marking tools: small cost, large effect
A sharp pencil makes a more accurate line than an expensive tool used with a blunt point. A mechanical pencil with 2-millimeter lead is convenient for fine layout and can be sharpened with a small lead pointer. A traditional carpenter’s pencil is tougher for rough lumber and construction work, particularly when sharpened to a flat, chisel-like point.
Use a dark graphite pencil on pale wood and a contrasting white or colored pencil on dark surfaces. For joinery, mark the waste side with a small X. That simple habit prevents a precise line from being accidentally cut away.
Mechanical pencils reduce waste and keep a consistent point, but their thin leads can snap when pushed across coarse timber. Flat carpenter’s pencils are durable but produce wider lines. Keep both types available if your projects range from cabinets to framing.
Decision matrix: which kit fits your situation?
| Your situation | Recommended starting choice | Why | Approximate market budget |
|---|---|---|---|
| Small apartment workshop; occasional projects | 16-foot tape, 6-inch square, 9-inch level, mechanical pencil | Compact and sufficient for boxes, shelves, and repairs | $35–$90 for the set |
| Regular furniture building | 25-foot tape, 12-inch square, cutting-wheel gauge, 12-inch level | Better reach and repeatability for wider stock and joinery | $80–$200 for the set |
| Mostly rough construction or renovation | 25-foot tape, 12-inch square, 24-inch level, carpenter’s pencil | Favors room dimensions, studs, cabinets, and durable marking | $50–$140 for the set |
| Learning precision joinery on a limited budget | 6-inch square, marking gauge, mechanical pencil, 16-foot tape | Prioritizes repeatable reference lines over long measurement | $45–$120 for the set |
What to buy first and what can wait
Buy the combination square and tape measure first. Together, they handle most measurements, right-angle checks, and basic layout. Add a marking gauge when you begin making repeated joints, and add a level when installing cabinets, shelves, or frames. A longer rule, bevel gauge, calipers, and specialty marking knives can wait until a project requires them.
Expect ordinary consumables and wear: pencil leads need replacing, tape blades eventually corrode or kink, and marking-gauge cutters need sharpening. Store metal tools dry, clean pitch and glue from reference edges, and avoid dropping squares or levels. Accuracy comes from maintaining a trustworthy reference surface as much as from buying a premium brand.
Bottom line
For most beginners, the strongest starting kit is a readable 16-foot tape, a reliable 12-inch combination square, a small cutting-wheel marking gauge, a 9- or 12-inch level, and both fine mechanical and rugged carpenter’s pencils. Spend extra on the square and marking gauge if accurate joinery is your goal; choose the larger tape and level if your work is mainly renovation, shelving, or full-size furniture.