What's inside
As an Amazon Associate I earn from qualifying purchases. This post may contain affiliate links at no extra cost to you.
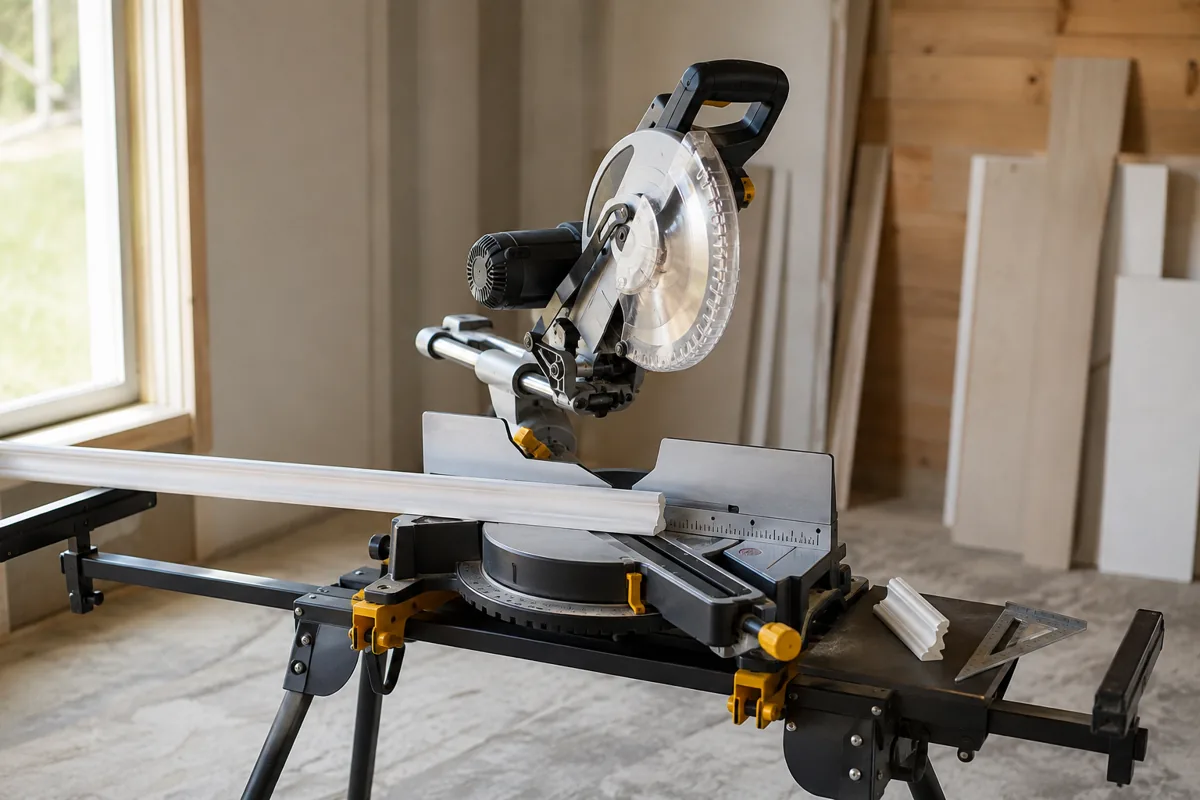
Thick hardwood flooring is not a difficult material for a miter saw, but it exposes weak saws quickly. Dense oak, hickory, maple, and engineered planks can burn, chip, or pinch the blade. The best 10-inch miter saw for this work is usually a sliding compound saw with a rigid fence, a useful bevel range, and enough blade capacity for the flooring’s width and thickness. It does not necessarily need the biggest motor or the highest price.
As an Amazon Associate we earn from qualifying purchases at no extra cost to you.


Our Top Picks
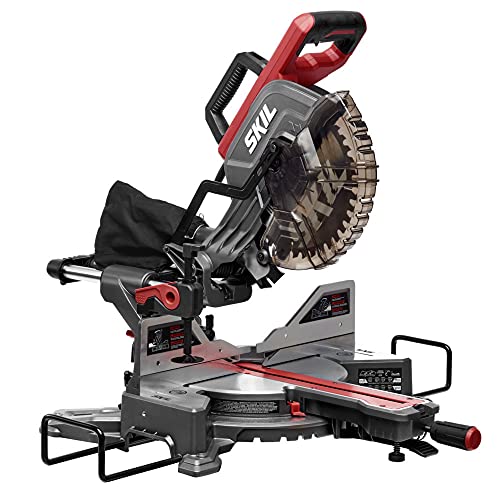 SKIL 10" Dual Bevel Sliding Compound Miter Saw-MS6305-0010''35.43 x 22.44 x 14.17 inches39.4 poundsCheck on Amazon


What to Look For in a 10-Inch Miter Saw
Start with capacity. A typical 10-inch sliding miter saw can crosscut a board roughly 12 inches wide at 90 degrees, although the exact capacity depends on the saw’s rail design and the board’s thickness. That is more than enough for most flooring planks, which are commonly 3 to 8 inches wide. A non-sliding 10-inch saw may handle only about 5 to 6 inches across, making it fine for narrow strips but limiting for wide planks and transition pieces.
For thick flooring, cutting depth matters as much as width. A 10-inch blade generally has enough depth for 3/4-inch solid hardwood and many engineered boards. Check the manual before buying if you need to cut 1-inch stair treads or unusually thick stock. Some saws lose capacity when the board is held against an oversized auxiliary fence.
Look for a positive, repeatable bevel and miter system. Detents at 0, 15, 22.5, 31.6, and 45 degrees are useful, but the saw should also lock securely at in-between angles. A sloppy miter joint wastes flooring and is especially visible around stair nosing, thresholds, and angled walls.
Best Configuration: Sliding Compound Saw
For most flooring jobs, the best configuration is a 10-inch sliding compound miter saw. The sliding rails provide the width capacity needed for broad planks, while the compound function handles baseboard returns, stair parts, and angled trim.
A dual-bevel model is convenient because you can tilt the blade left or right without flipping a long or delicate workpiece. However, it is not essential for ordinary straight flooring cuts. If the price difference is large, a single-bevel saw is the sensible cheaper choice for a room installation.
Choose a saw with a rigid fence that remains square when the slide is extended. This is more important than a long list of electronic features. A flexible fence can let the board move during the cut, producing an angled end that may not close against the next plank. A good hold-down clamp and a large table are also valuable, especially with short offcuts.
10-Inch Miter Saw Types Compared
| Type | Best use | Main advantage | Main limitation |
|---|---|---|---|
| Non-sliding compound | Narrow flooring, trim, small repairs | Lower cost and usually better compactness | Limited crosscut width, often around 5–6 inches |
| Single-bevel sliding | Most flooring installations | Wide cuts and good value | Workpieces must be flipped for some compound cuts |
| Dual-bevel sliding | Stairs, complex trim, repeated angled cuts | Tilts both directions without turning stock | Higher cost, more weight, more adjustments |
| Cordless sliding | Remote rooms and unfinished construction | No extension cord and easy relocation | Battery cost, runtime limits, and often higher purchase price |
The Blade Matters More Than the Saw Label
The included blade is often a compromise. For finished hardwood flooring, use a sharp 10-inch, 60-tooth or 80-tooth fine-finish blade with a kerf suited to the saw. A 60-tooth blade usually cuts faster and clears chips better. An 80-tooth blade can leave a cleaner edge but may feed more slowly and generate more heat in dense wood.
For engineered flooring with a hard wear layer, use a blade rated for hardwood and composite materials. Avoid using a coarse framing blade for visible flooring ends. It may cut quickly, but it can tear the top veneer and leave a ragged edge that shows at a doorway.
Keep a separate blade for framing and demolition. Nails, grit, and adhesive residue can dull a finish blade immediately. If the saw begins requiring force, leaves dark burn marks, or produces smoke, stop and inspect the blade. Continued feeding can overheat the motor and encourage the board to pinch the blade.
Where to Spend and Where to Save
A cheaper non-sliding saw is fine if you are cutting narrow flooring, baseboard, or occasional replacement pieces. It is also a reasonable choice when you already have another way to make wide crosscuts. For a full installation of 6- to 8-inch planks, the limited capacity becomes an irritation rather than a small inconvenience.
For most homeowners, a 10-inch dual-bevel sliding miter saw is worth considering only when stair work or angled trim is part of the job. Otherwise, put the money toward a better blade, a stable stand, and accurate support wings. A mid-priced single-bevel slider with a firm fence can outperform a feature-heavy saw that flexes or has poor detent accuracy.
Cordless is useful when power is unavailable or you move between rooms constantly. For a stationary workshop or a single-room flooring project, a corded saw is usually the better value. Add a properly rated extension cord rather than using a light household cord that causes voltage drop under load.
How to Cut Thick Flooring Cleanly
Support the plank on both sides of the blade and keep it tight against the fence. The saw table is not always wide enough for long boards, so use level supports that keep the flooring from tipping. Mark the waste side clearly and allow for the blade’s kerf, usually about 1/8 inch on a standard full-kerf blade.
Let the blade reach full speed before entering the wood. On a sliding saw, pull the head toward you, start the cut, then push it steadily through the plank. Do not pull the spinning blade toward yourself through the workpiece. That technique can cause the saw to climb, especially in thick or knotty hardwood.
Place the finished face up on most standard miter saws, then check the blade’s tooth direction and the manufacturer’s instructions. If the top surface chips, apply painter’s tape over the cut line or use a blade designed for clean crosscuts. Make a test cut on a scrap from the same flooring before cutting installed-length pieces.
Common Failure Modes
The most common problems are inaccurate support, a dull blade, and cutting a bowed plank without controlling it. A bowed board can spring toward the blade or shift against the fence. Clamp it flat when practical, but never clamp across the blade path. Keep hands at least 6 inches from the blade and wait for the blade to stop before lifting the head.
Before installation cuts, verify the saw with a square and make a test pair of opposing cuts. If the two pieces leave a visible gap, adjust the miter scale or fence rather than compensating by forcing the flooring together. Accuracy, a sharp finish blade, and solid support will matter more than an extra few hundred watts.