What's inside
As an Amazon Associate I earn from qualifying purchases. This post may contain affiliate links at no extra cost to you.
A marking knife earns its keep by making a fine, repeatable line that a pencil can’t match. But a dull or poorly shaped edge tears fibers, wanders across the work, and can be harder to control than a sharp one. The good news: sharpening one usually takes only a few minutes, and you don’t need an expensive sharpening system.
Check the edge before sharpening
Wipe the blade clean, then inspect it under a bright light. A sharp edge should show no continuous bright reflection; a shiny spot usually means a flat or nick. Test it on scrap hardwood with light pressure. The knife should leave a clean, narrow cut without crushing the grain or needing a push. Don’t test sharpness on a fingertip.
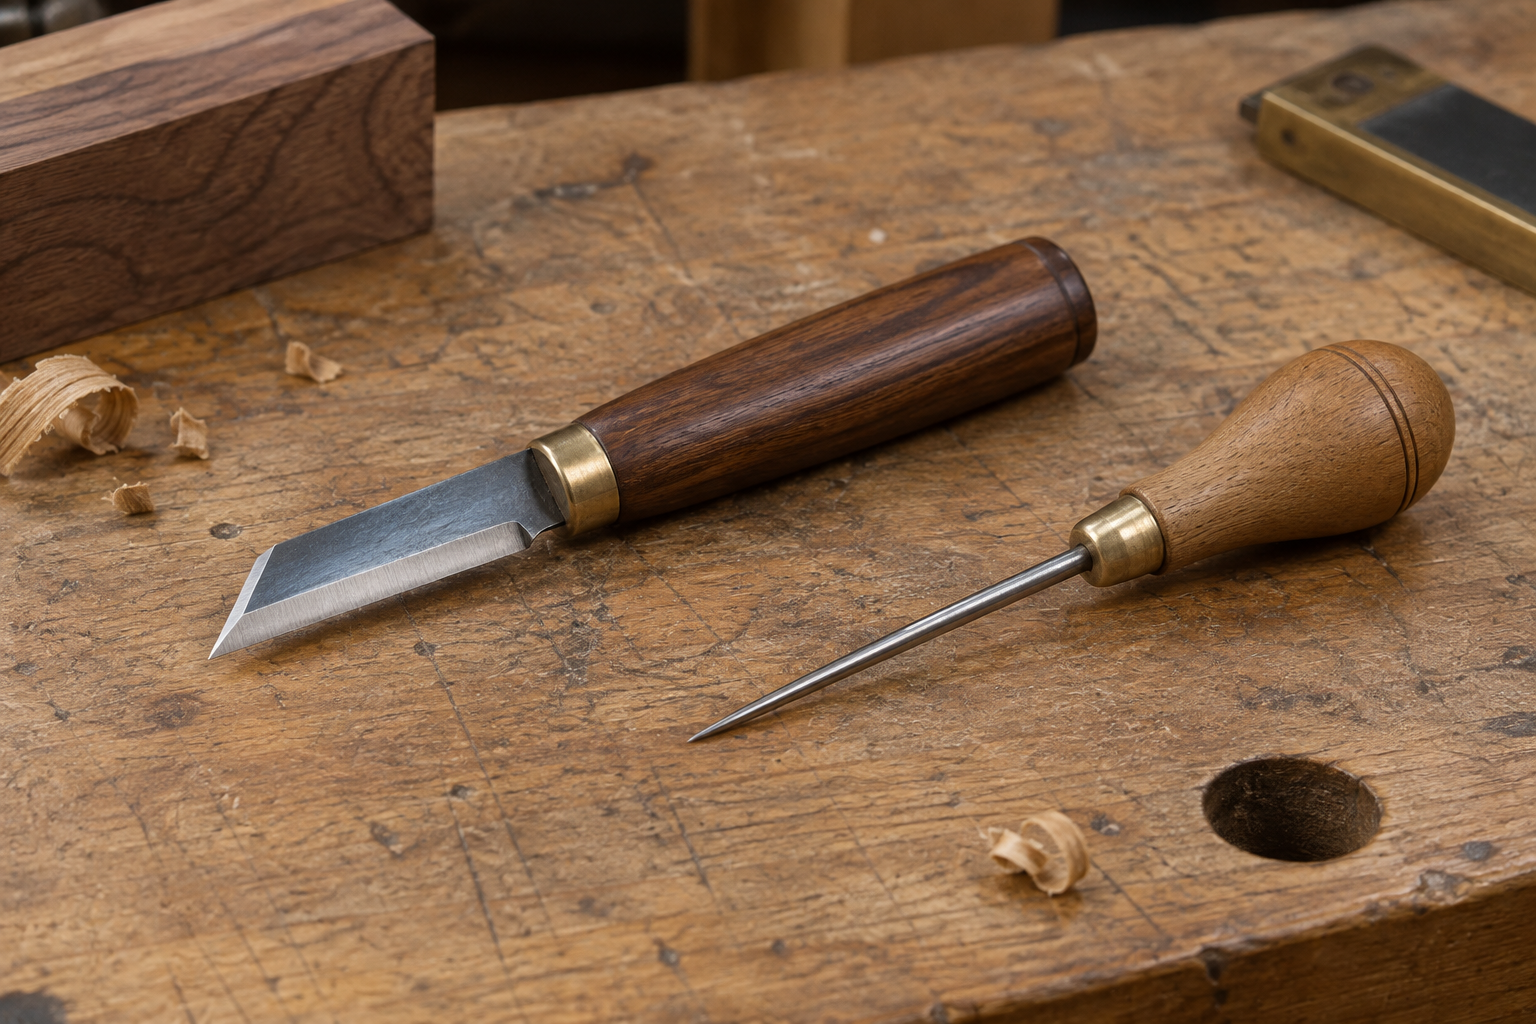
First check the blade’s shape. Most marking knives have a single bevel and a flat back, though some are double-beveled. Match the existing geometry rather than changing it. On a single-bevel knife, the flat back is especially important: grinding it into a second bevel can make the blade cut less predictably against a straightedge.
Choose a sharpening method
A fine diamond plate or waterstone is a practical choice for routine sharpening. A 1,000-grit surface can establish the edge; a finer 3,000- to 6,000-grit surface refines it. If you buy only one stone, a medium-fine plate or stone is enough for a marking knife used on wood, though it may not remove a damaged edge quickly.
Diamond plates work dry or with a little water, cut quickly, and stay flat with ordinary use. Waterstones can leave a very keen edge, but need soaking if the maker requires it and should be flattened as they wear. A small fine diamond sharpening plate is often the lower-fuss choice. For occasional touch-ups, a combination waterstone can be better value if you already maintain stones.
| Method | Best for | Trade-off |
|---|---|---|
| Diamond plate | Quick sharpening and low maintenance | Can feel coarse; quality and flatness vary |
| Waterstone | Refining a keen edge | Needs water and periodic flattening |
| Fine ceramic stone | Small touch-ups | Slow for chips or major reshaping |
| Powered grinder | Repairing a badly damaged blade | Easy to overheat or alter the bevel |
Sharpen the bevel
Secure the stone on a nonslip surface. Hold the bevel flat against it; on a single-bevel knife, keep the bevel face in full contact rather than lifting the spine. Use short, controlled strokes, moving the edge across the stone as if slicing a thin layer from it. Keep the angle consistent. The correct angle is the one already ground on the blade, not a universal number.
Use light pressure and check progress every few strokes. If the bevel is wide or the knife needs frequent sharpening, a simple sharpening angle guide can help hold a repeatable angle, but it’s optional for a small marking knife. Stop when the edge feels continuous and a fine burr forms along the opposite side. A burr is a thin wire of metal, not a large hook; heavy pressure tends to make one that is harder to remove.
If the blade is double-beveled, work each side evenly at its existing angle. Don’t assume both bevels are equal: check the blade before sharpening. If there’s a chip, start with a coarser abrasive and remove only enough steel to erase it. A deep nick can take a long time to grind out; for a small marking knife, replacing the blade may be safer and more economical than extensive reshaping.
Remove the burr and refine the edge
For a single-bevel knife, lay the back flat on the stone and make a few light strokes to remove the burr. Keep the back flat—raising it creates a back bevel that can compromise registration against a square or straightedge. Alternate one gentle bevel stroke with one back stroke until the burr is gone. On a double-bevel blade, alternate sides with very light pressure.
Move to a finer abrasive if available, using the same angle and lighter pressure. A leather strop can polish the edge, but it is not a substitute for sharpening. On a single-bevel knife, strop the bevel carefully and keep the back flat if you strop that side. A few passes are enough; too many can round the edge. Avoid buffing wheels unless you have experience: they can catch a small blade or soften its temper with heat.
Test the result with a light cut across the grain in scrap wood. A sharp knife should score cleanly without a ragged edge. If it scratches, snags, or leaves a wider line than before, check for a remaining burr, inconsistent bevel contact, or a nick you missed.
Maintain and store the knife
Wipe the blade after use, especially if it has contacted damp wood or acidic material. Dry it before putting it away. A thin coat of camellia or other non-staining tool oil helps prevent rust on carbon steel; stainless blades need less protection but still benefit from being clean and dry. Store the knife with a cap or in a sheath so the edge cannot strike other tools.
Touch up the edge as soon as cuts begin to drag rather than waiting for it to become blunt. A few light strokes can restore a working edge; a badly rounded edge may require much more metal removal. Don’t use a marking knife as a pry tool or screwdriver. Side loading can chip the point, and the point is often the part that makes the knife useful for accurate layout.
Common sharpening mistakes
The most common failure is rounding the back of a single-bevel blade by lifting it during deburring. Another is changing the bevel angle from stroke to stroke, which creates a blunt, irregular edge. Excessive pressure can form a stubborn burr, while a grinder can overheat the tip before you notice. Keep strokes controlled, check often, and remove as little steel as the job requires.