What's inside
As an Amazon Associate I earn from qualifying purchases. This post may contain affiliate links at no extra cost to you.
When a layout line on steel is only a few thousandths of an inch wide, the punch you use determines whether the mark stays useful or turns into a crater. A prick punch and a center punch are not interchangeable: one is for locating a mark precisely, while the other is for making a larger seat for drilling. Using the right point at the right stage prevents wandering drills, oversized dimples, and layout errors that are difficult to correct.
As an Amazon Associate we earn from qualifying purchases at no extra cost to you.


Our Top Picks

What Each Punch Is For
A prick punch has a narrow, sharply tapered point, commonly around a 30-degree included angle. Its small tip can enter the intersection of scribed lines without hiding it. The resulting mark is shallow and compact, making it useful for transferring hole centers, marking bend locations, and checking dimensions before committing to a larger punch mark.
A center punch generally has a broader point, often around a 90-degree included angle. It displaces more metal and produces a wider, deeper cone. That cone gives a twist drill a more substantial starting pocket, reducing the chance that the drill walks across the surface.
In practical work, the two tools often form a sequence: prick punch first for exact location, center punch second for a drillable indentation. For a small hole, the prick mark may be all you need. For a hole larger than roughly 1/8 inch, a center punch mark is usually the safer final preparation.
Prick Punch vs. Center Punch
| Feature | Prick punch | Center punch |
|---|---|---|
| Typical point | Sharp, narrow, about 30° included angle | Blunter, about 90° included angle |
| Main job | Precisely transfer or preserve a layout mark | Create a drill-starting recess |
| Mark size | Small and shallow | Wider and deeper |
| Effect on thin sheet | Less likely to distort the sheet | Can raise a burr or dimple the opposite side |
| Best use | Fine scribed lines, close-tolerance hole locations | Preparing steel for twist-drill or pilot-drill work |
| Primary failure | Mark is too shallow for the drill to follow | Mark is too large, misplaced, or distorts the work |
Transferring Fine Metal Layout Marks
For transferring a fine mark, start with the prick punch. Put the point directly at the crossing of the scribed lines, then give the handle a light tap with a small hammer. A 4- to 8-ounce ball-peen hammer is adequate for ordinary mild steel. The goal is a visible dot, not a deep hole.
Hold the punch nearly vertical. If it leans, the point can skate along the scribe line before the blow lands, moving the mark by 1/32 inch or more. On a tight layout, that is enough to ruin the part. A magnifying visor or strong task light helps more than a harder strike.
After the prick mark is made, inspect it from two directions. If the point landed off-center, correct the location with another light mark rather than trying to enlarge the first one. Once a broad center-punch crater is made, you cannot reliably recover the original intersection.
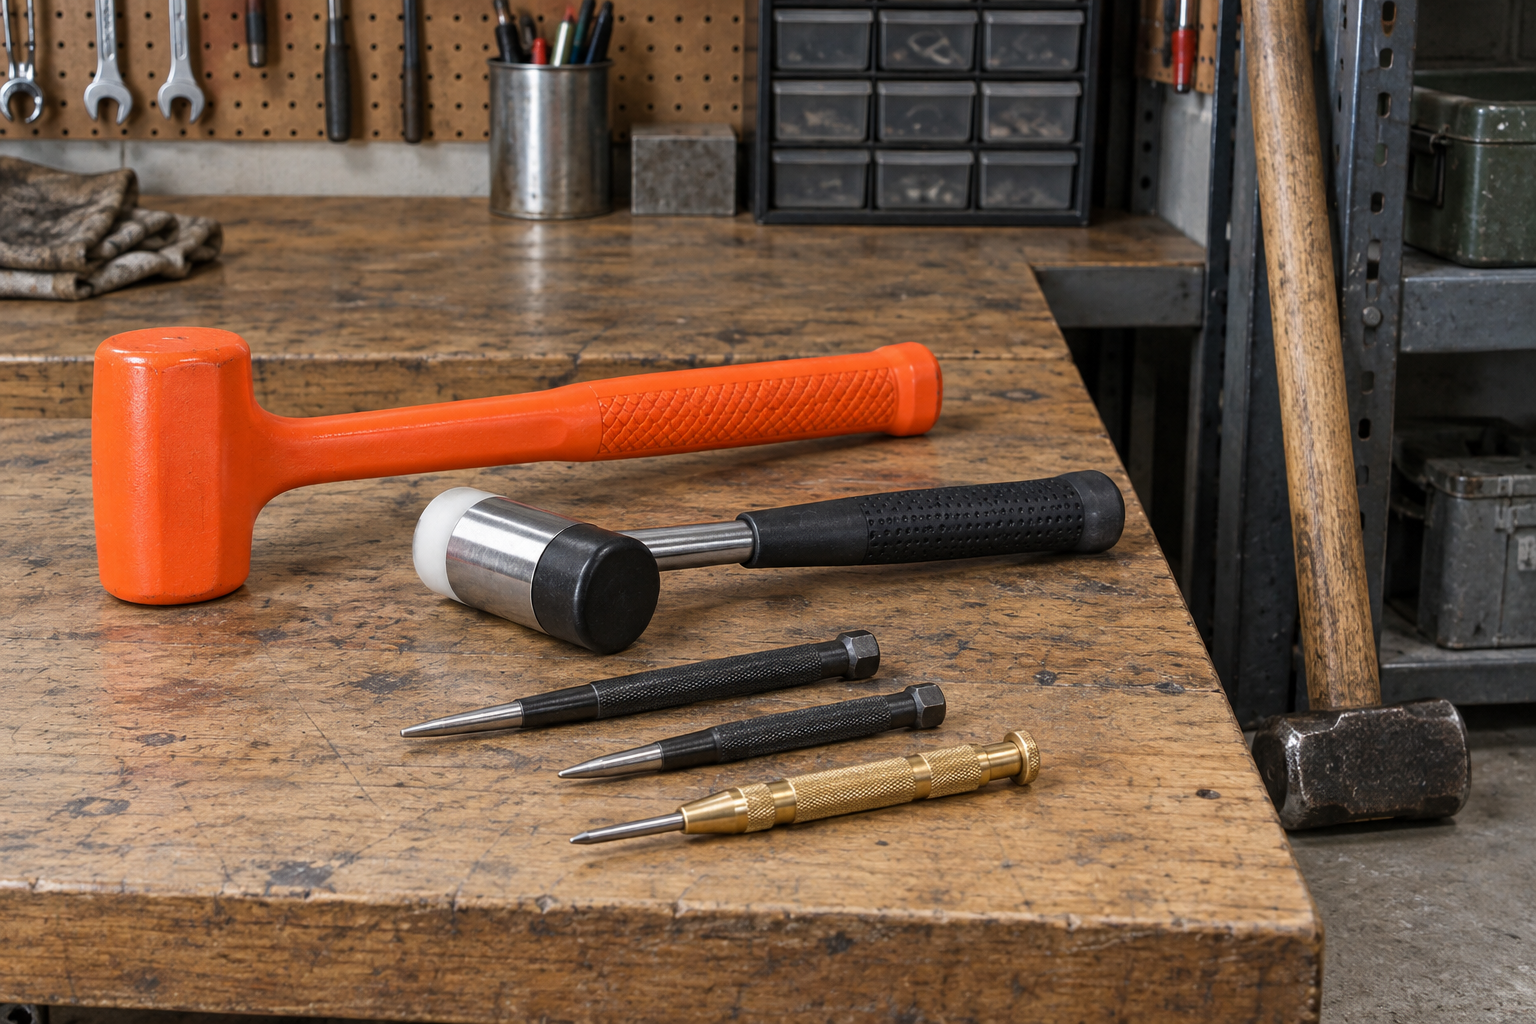
For the most accurate work, transfer the layout with a prick punch set that includes a fine point. Keep that point sharp but not needle-like. A fragile, over-sharpened tip can bend or chip when struck.
When to Follow With a Center Punch
Use the center punch after the location is verified and only when the next operation needs a larger starting recess. Place its point in the prick mark and use one controlled blow. For a 1/4-inch hole in mild steel, one moderate strike is commonly enough. For harder steel, a second light strike is better than one heavy blow.
Do not automatically center-punch every mark. On sheet metal under about 20 gauge, a forceful blow can stretch the surrounding metal, create a raised ring on the back, or leave a dimple that remains visible after finishing. If the sheet must stay flat, clamp it against a solid backing block and use minimal force. For very thin material, a small pilot drill or a sharp step drill can be less damaging than a deep punch mark.
A center punch is also not a substitute for a drill jig when several holes must line up precisely. The punch only establishes the drill’s starting point. It does not control the drill perpendicularity or prevent the bit from cutting oversize.
Manual and Automatic Options
A traditional solid punch gives the best feedback. You can feel the point settle into the prick mark and control the strike according to the material. It is inexpensive and easy to replace, making a automatic center punch unnecessary for many occasional projects.
An automatic center punch stores spring force and releases it when you press down. It is convenient when one hand is holding a rule, template, or workpiece. Its repeatability is useful for production-style marking, but inexpensive versions may have a coarse adjustment, a soft tip, or a release that triggers before the point is properly seated.
Automatic punches are generally better for making final drill marks than for transferring fine layout marks. Their relatively broad point and fixed spring action can enlarge a delicate mark. If you buy one, choose a model with adjustable impact and a replaceable tip rather than relying on the cheapest stamped tool.
Common Mistakes and Better Practice
The most common mistake is using a center punch directly on a faint scribe intersection. The punch point hides the lines as soon as it touches down, so an error becomes hard to see. Another is striking repeatedly until the mark looks impressive. Depth does not equal accuracy; it only makes the error permanent.
Before punching, remove oil and burrs from the surface. Rest the work securely so it cannot bounce. Use layout dye or a thin permanent marker where contrast is poor, but remember that a marker line is wider than a scribe line. If the hole location matters, measure from two reference edges and verify the diagonal relationship before striking.
For normal fabrication, the economical choice is a basic prick and center punch set. You do not need premium tooling for brackets, hardware repairs, or general shop work. Spend more when the punch will see hardened steel, repeated production use, or when replacement tips and consistent geometry save more time than the purchase price.
The short rule is simple: use a prick punch to preserve the exact layout location, and a center punch to prepare that location for drilling. When accuracy and surface condition conflict, make the smallest mark that will reliably guide the next tool.