What's inside
As an Amazon Associate I earn from qualifying purchases. This post may contain affiliate links at no extra cost to you.
Why Chisel Edges Get Rounded
Rounding usually happens because the chisel is held at a changing angle while you sharpen. The bevel touches the stone on its heel first, then the pressure rolls toward the cutting edge. A few strokes can create a convex bevel instead of a flat one. The edge may look shiny, but it will not register cleanly in wood and will struggle to start a cut.
Waterstones make this easy to do because they remove metal quickly. They also develop a hollow, or dish, with use. A dished stone changes the contact angle and encourages rocking. Before sharpening, flatten the stone and decide whether you will sharpen freehand or use a honing guide. For repeatable results, a guide is the better choice for most people.
Choose Waterstones That Match the Job
A practical setup is a coarse stone for repair, a medium stone for establishing the bevel, and a fine stone for the final edge. You do not need every grit. For general bench chisels, 800 or 1,000 grit removes moderate damage, 3,000 to 4,000 grit refines the edge, and 8,000 grit is optional polishing.
| Stone range | Best use | Trade-off |
|---|---|---|
| 400–800 grit | Chips, blunt edges, and bevel repair | Fast cutting, but leaves deep scratches |
| 1,000–2,000 grit | Routine sharpening and shaping | Good general-purpose range; slower on serious damage |
| 3,000–4,000 grit | Removing coarse scratches and refining the edge | Useful stopping point for many bench chisels |
| 6,000–8,000 grit | Polishing for smoother paring and chopping cuts | Costs more and removes little metal |
A combination waterstone set is fine for a first setup, provided both faces can be flattened. The cheaper option is perfectly adequate if you sharpen only a few chisels and do not mind soaking a conventional stone. Splash-and-go stones are more convenient, but usually cost more and still need flattening.
Prepare the Stone and Chisel
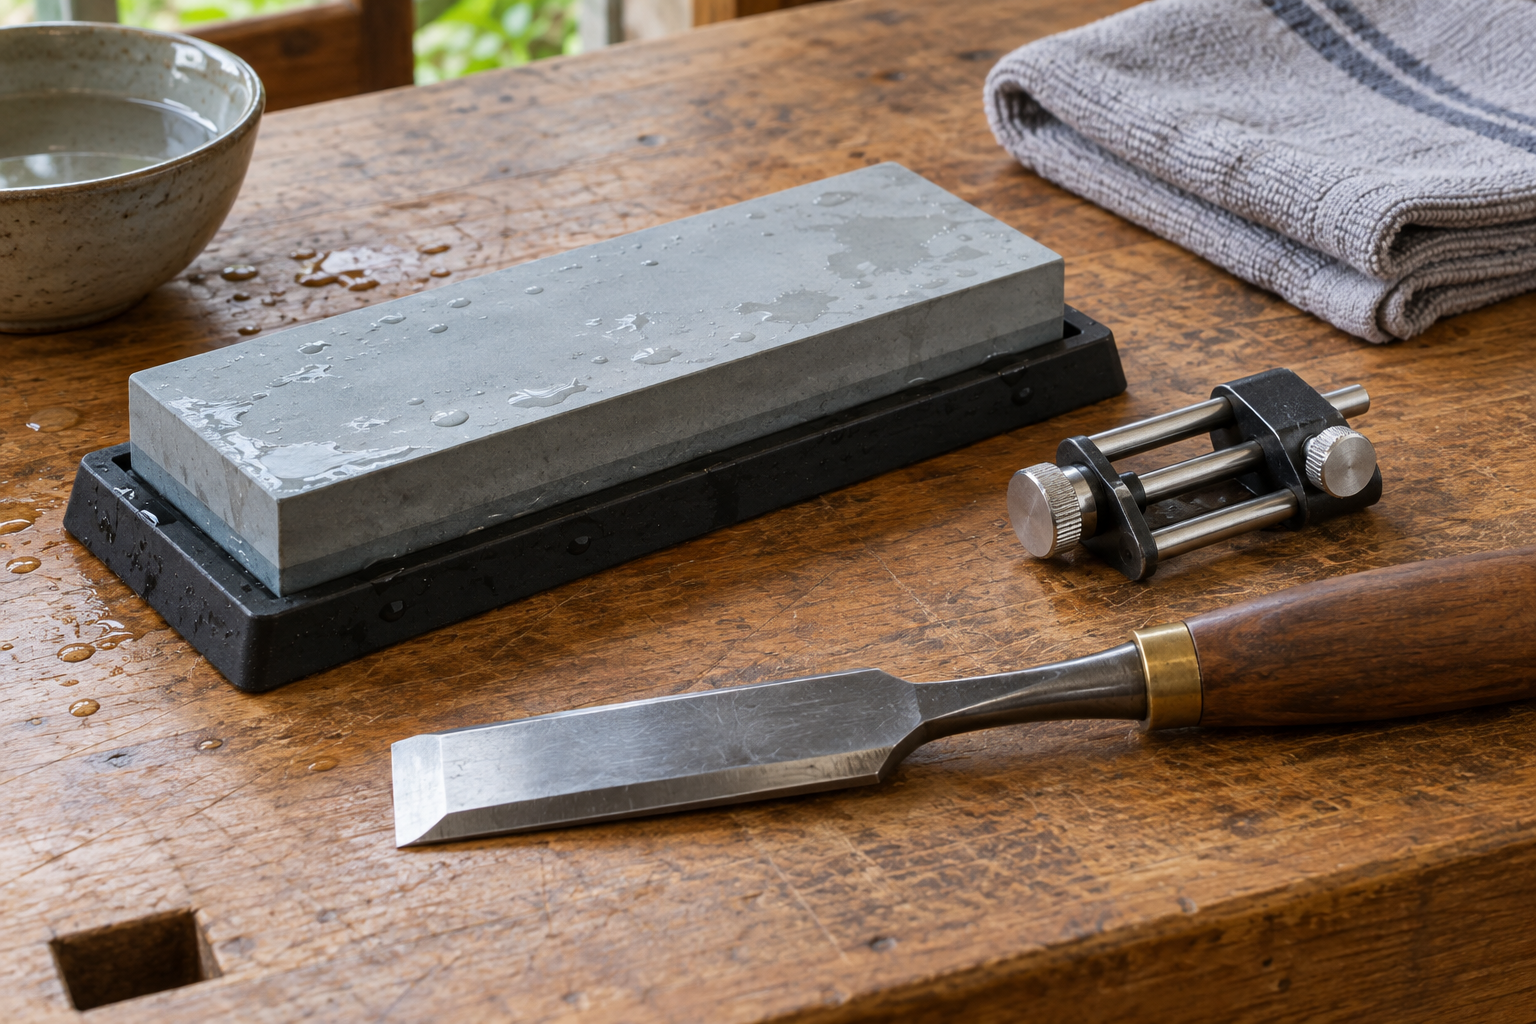
Read the stone’s instructions before soaking. Some stones need several minutes in water; others should only be splashed. Do not leave a splash-and-go stone submerged unless the manufacturer allows it. Set the stone on a non-slip base with its long dimension facing you, and keep a spray bottle nearby so the surface stays wet.
Flatten the stone before sharpening and whenever you can feel a hollow with a straightedge. A waterstone flattening plate is faster and cleaner than relying on loose abrasive paper. Pencil a crosshatch over the stone, rub it against the flattener, and continue until every pencil mark disappears. A hollow of even 1 mm is enough to make consistent sharpening difficult.
Clean the chisel first. Remove oil, rust, and burrs from the back. The back does not need a mirror finish across its entire length. Flatten and polish the first 20 to 30 mm behind the cutting edge, where it actually contacts the work. If the back is badly dished or pitted at the edge, repair that before working on the bevel.
Set the Bevel Angle Without Guessing
Most bench chisels work well at a primary bevel of 25 degrees. A tougher 30-degree bevel suits hard use, chopping, or brittle steel. A lower angle cuts more freely but leaves less support behind the edge. If the chisel already has a usable bevel, match it instead of removing unnecessary metal.
A honing guide removes much of the guesswork. Before inserting the chisel, check that the blade sits square in the guide and projects consistently. Many guides use a projection around 30 to 40 mm to produce a common bevel angle, but the exact result depends on the guide. Mark the bevel with a permanent marker, take two or three strokes, and inspect where the ink disappears. Adjust the projection until the stone contacts the full bevel.
Freehand sharpening can be quicker once practiced, but it is a poor way to learn if your main concern is avoiding a rounded edge. Start with a guide, then try freehand later on inexpensive or already-serviceable chisels.
Sharpen the Primary Bevel
Place the guide and chisel on the wet stone. Use moderate pressure near the cutting edge on the first strokes, then reduce pressure as the bevel becomes flat. Move the tool back and forth along the stone, using as much of its width as practical. Keep the guide wheels or sole flat; do not lift the handle at the end of a stroke.
Use 10 to 20 full strokes, then inspect the bevel. You are looking for an even scratch pattern from one side to the other. Continue until a small, continuous burr can be felt along the back edge. Test with a fingertip moving from the back toward the edge, never along the edge. If the burr appears only in the middle, the bevel is not flat or the stone is dished.
The most common failure is pressing down harder at the end of each forward stroke. That lifts the bevel and rounds the edge. Keep pressure centered over the bevel and let the stone cut. As the edge gets close, use lighter pressure rather than more strokes with force.
Add and Polish a Microbevel
Once the primary bevel is flat, raise the honing guide or handle only slightly—about 1 to 2 degrees—to create a narrow secondary bevel. On a guide, increase the blade projection by a small, repeatable amount; on a freehand setup, lift the handle just enough to change the angle. Take five to ten light strokes on the medium stone.
The microbevel should be visibly narrow, generally about 0.5 to 1 mm wide. If it becomes several millimeters wide, you are polishing the whole bevel at the higher angle and removing more metal than needed. Move to the fine stone and repeat with lighter pressure. Finish with a few strokes on the back, keeping it flat on the stone. Do not roll the back up to chase the burr.
Check the Edge and Maintain It
Rinse and dry the chisel, then inspect it under a bright light. A sharp edge reflects very little light; bright spots indicate remaining dull areas or chips. Make a controlled test cut in end grain or softwood. The chisel should start without excessive force and leave a clean surface.
For maintenance, refresh the microbevel on the 3,000- to 4,000-grit stone after a few hours of use rather than returning to the coarse stone. Flatten waterstones regularly, dry them according to their instructions, and store them where they cannot freeze. A simple guide, a correctly flattened medium stone, and disciplined light pressure will outperform an expensive stone used with a rocking bevel.