What's inside
As an Amazon Associate I earn from qualifying purchases. This post may contain affiliate links at no extra cost to you.
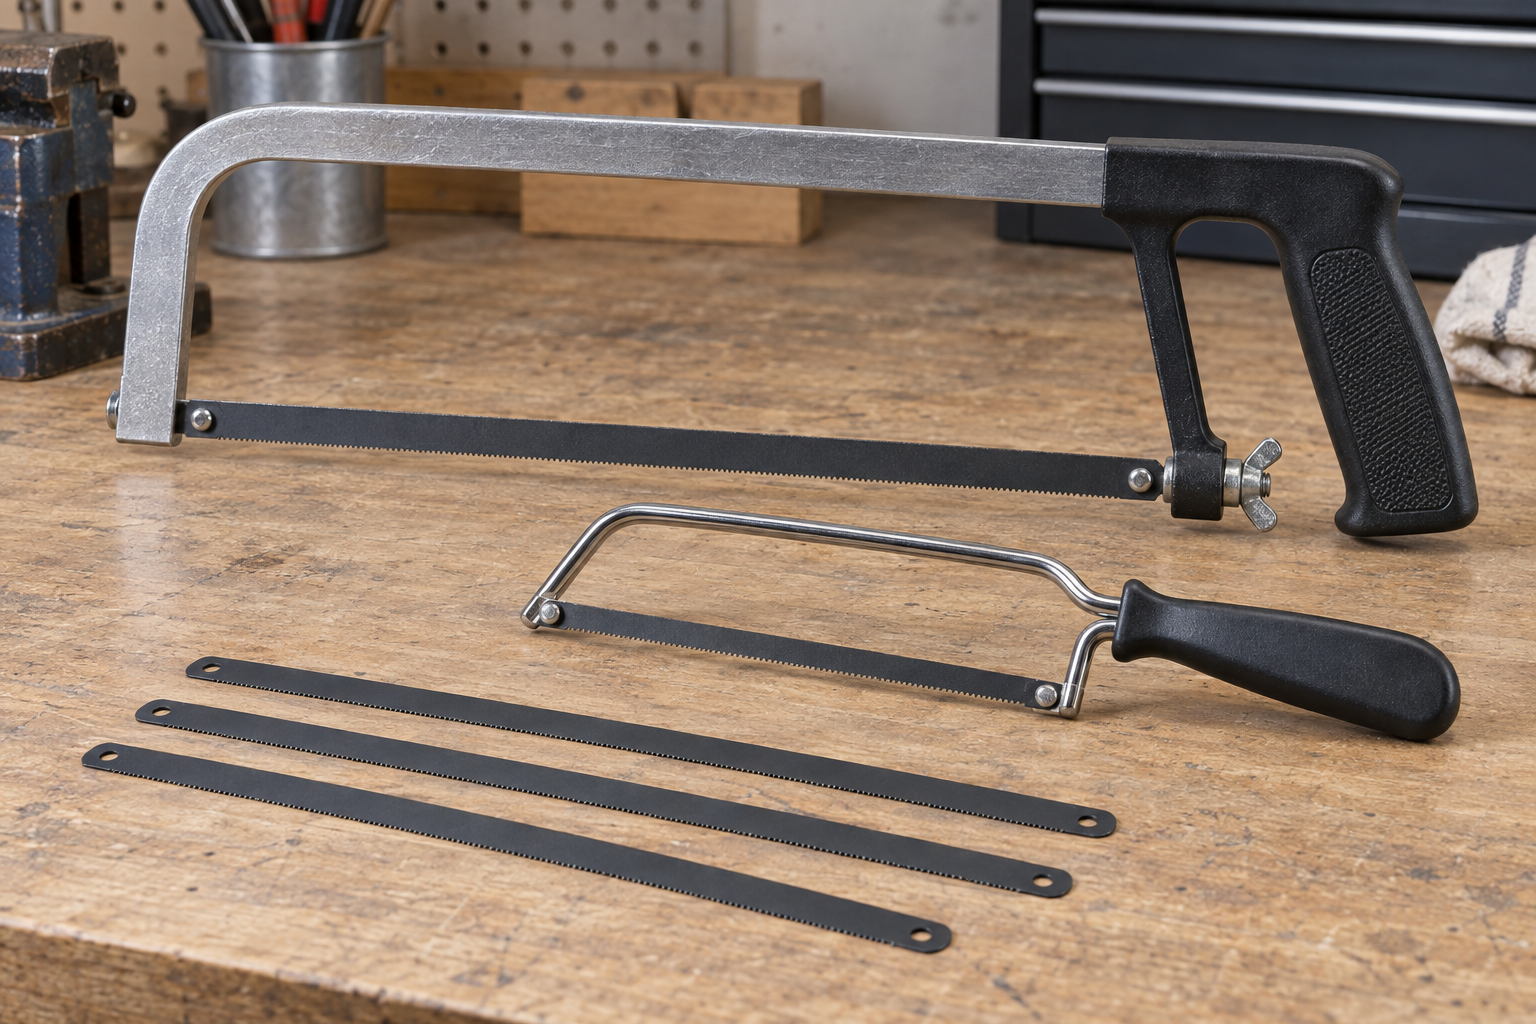
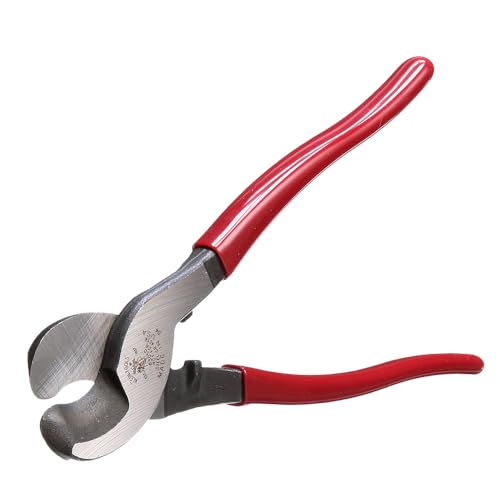
For cutting flexible armored cable, the choice is usually between a purpose-built cable shear and an ordinary hacksaw. The hacksaw is cheaper and can handle almost any diameter. The shear is faster, cleaner, and much less likely to damage the insulated conductors inside the armor.
That difference matters because flexible armored cable—such as AC, BX, MC, or some interlocked metal-clad cable—contains more than a metal jacket. A typical cut exposes insulated conductors, a bonding strip or grounding wire, and sharp armor edges. A poor cut can nick insulation, leave a dangerous burr, or make the connector difficult to install.
As an Amazon Associate we earn from qualifying purchases at no extra cost to you.


Our Top Picks
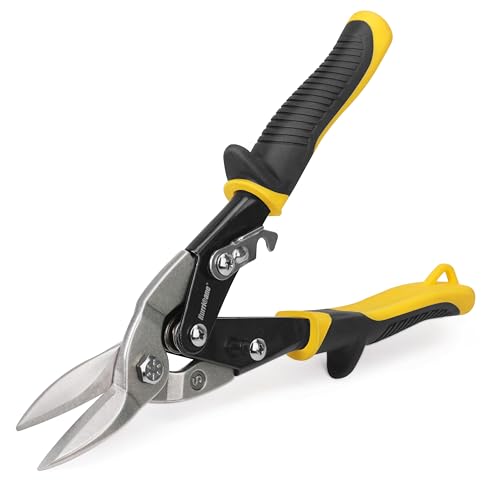 HURRICANE 10 inch Aviation Tin Snips10 Inch Regular: Straight Cut10 x 3 x 1.5 inches0.9 poundsCheck on Amazon
First, identify the cable and its armor
“Flexible armored cable” covers several products. Interlocked armor may be made from steel or aluminum and formed as a spiral. Some cable has a bonding strip running beneath the armor; other types include a bare grounding conductor. Flexible metal conduit is different again: it may contain no conductors at all until wires are pulled through it.
Check the printing on the jacket and the connector instructions before cutting. The allowed cutting method can vary by cable type and size. Also confirm the tool’s capacity. A cutter intended for 3/8-inch flexible conduit may not safely cut 1-inch MC cable, and forcing it can deform the armor or overload the jaws.
How cable shears perform
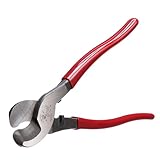
A purpose-built armored-cable cutter uses shaped blades, a ratcheting mechanism, or a rotary cutting wheel to work through the spiral armor. The best tools make a controlled cut around the cable rather than crushing a section flat. Some are designed to cut only the armor while leaving the inner conductors untouched.
The main advantage is repeatability. On a run of 20 or 30 cables, a proper cutter saves substantial time and produces ends that are easier to fit into connectors. It also reduces the chance of catching a conductor with a hacksaw blade. A clean cut usually needs only minor deburring before the connector is installed.
There are limits. Good armor cutters cost considerably more than a hacksaw, and inexpensive models can struggle with thick steel armor. Ratcheting cutters also have a maximum cable diameter. If you exceed it, the handles may flex, the jaws can chip, and the cut may leave a crushed or partially severed spiral.
For regular electrical work, a ratcheting armored cable cutter is the right category to consider. For occasional work, a compact rotary armor cutter may be easier to justify than a large compound tool.
Where the hacksaw works—and where it fails
A hacksaw is the budget option. A decent 10- to 12-inch frame and a sharp 24- or 32-teeth-per-inch bi-metal blade can cut common armor successfully. It is also useful when the cable is too large or too awkward for a hand shear. Replacement blades are inexpensive, and nearly every tool box already has a hacksaw.
The problem is control. The blade must cut through the armor without reaching the conductors below it. Cutting too deeply can nick insulation in seconds, especially when the cable shifts or the blade jumps between the armor’s ridges. A damaged conductor may not fail immediately; it can become a later short, ground fault, or inspection failure.
Hacksaw cuts also leave sharper edges and more metal filings. Those filings can enter the cable end or remain inside the connector. A burr can cut insulation as the cable is pushed into a fitting. Use a file or deburring tool, remove loose fragments, and inspect every conductor before fitting the connector.
To reduce risk, mark the cut, support the cable firmly, and use light pressure for the final few strokes. Do not twist the cable while the blade is engaged. If you feel the blade contacting something soft or the cut suddenly becomes unusually easy, stop and inspect the cable rather than finishing the stroke.
Cable shears versus hacksaw
| Factor | Purpose-built cable shear | Hacksaw |
|---|---|---|
| Typical purchase cost | About $30 to $150 or more | About $15 to $40, including a frame and blade |
| Cut speed | Fast, usually seconds per cut | Usually 30 seconds to several minutes |
| Conductor damage risk | Low when correctly matched to the cable | Moderate to high if the blade penetrates too far |
| Cut quality | More consistent; less crushing | Variable; often needs filing and cleanup |
| Size flexibility | Limited by the tool’s rated capacity | Works on many sizes with the right blade and technique |
| Best use | Repeated cuts and professional installations | Occasional repairs and small projects |
What to buy for the job
Choose a cable shear when you will make more than a few cuts, work in a finished space, or need consistent connector-ready ends. A ratchet keeps the cutting force manageable, especially on steel armor. Look for a stated capacity that exceeds your cable’s outside diameter, non-replaceable or replaceable blades suited to steel or aluminum, and handles that can be used without striking nearby surfaces.
For a one-time project involving a few small cables, a hacksaw is fine if you work slowly and inspect the result. Buy a bi-metal hacksaw with a fine-tooth blade rather than using a coarse demolition blade. A coarse blade removes metal quickly but tends to grab, vibrate, and cut deeper than intended.
A cable armor deburring tool is worthwhile with either method. It does not fix a conductor nick, but it can remove the sharp metal edge that damages insulation or prevents a connector from seating. Keep a file, side cutters for the bonding strip, and a flashlight nearby for inspection.
Safe cutting practice
De-energize, lock out, and verify the circuit with an appropriate tester before cutting. Never rely only on a breaker label. Keep the cable supported, wear eye protection, and use gloves that still allow firm control; cut armor edges are exceptionally sharp.
After cutting, inspect every visible conductor for scratches, flattened insulation, or exposed copper. Check that the armor has not collapsed and that the bonding strip or grounding conductor remains long enough for the connector. If a hacksaw blade touched a conductor, replace or properly repair the damaged section rather than hiding it inside the fitting.
The practical verdict is straightforward: buy the shear for speed, repeatability, and lower damage risk; use the hacksaw when the job is small and the budget matters more than convenience. The cheaper tool is acceptable only when careful technique and a thorough inspection are part of the plan.