What's inside
As an Amazon Associate I earn from qualifying purchases. This post may contain affiliate links at no extra cost to you.
Consistent subfloor fastening comes from matching the screw gun’s nose setting to the fastener and flooring—not from turning the depth collar as far as it will go. Set the nose too deep and the screw head can break through the panel’s face veneer or crush the surface. Too shallow, and proud heads can interfere with later flooring or leave panels insufficiently seated.
Our Top Picks
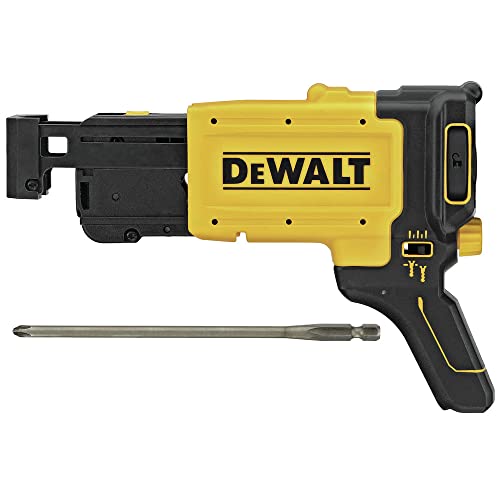 DEWALT Drywall Screw Gun Collated AttachmentOne Size6.38 x 2.63 x 9.25 inches1.4 PoundsCheck on Amazon

What the nose-depth setting controls
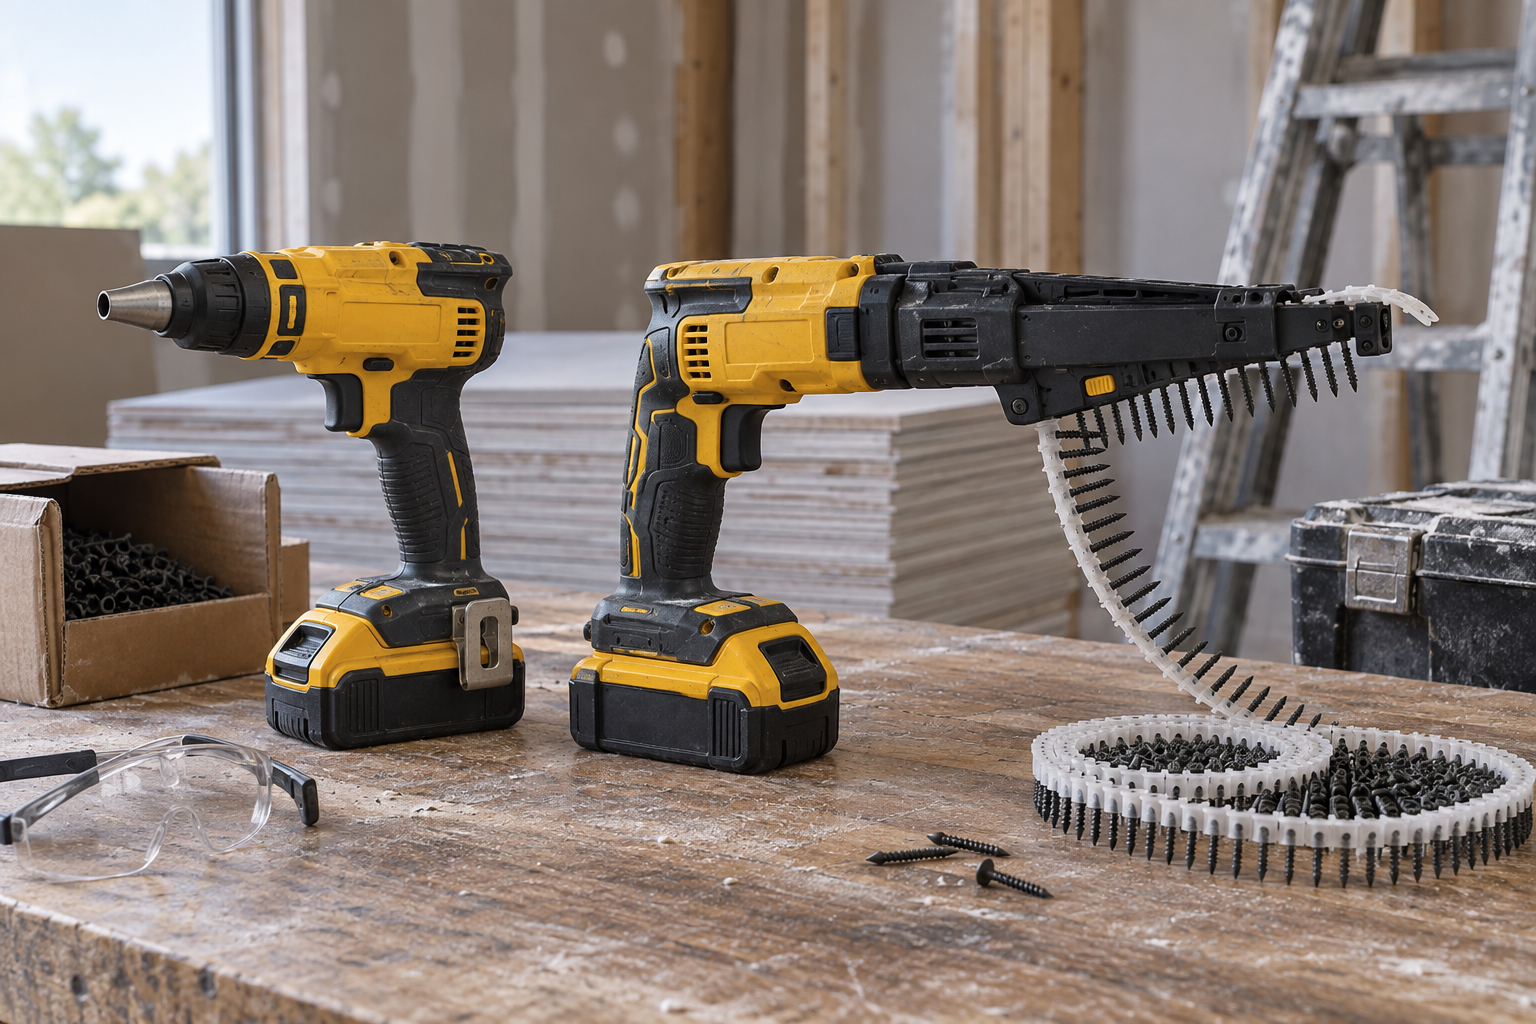
On a collated screw gun, the nosepiece limits how far the screw can travel into the work. The depth adjustment changes where the tool stops driving; it does not guarantee a particular fastening result. Screw length, thread design, panel thickness, subfloor condition, and the pressure you apply all affect the finished joint.
For typical plywood or oriented strand board (OSB) subfloor, aim for the head to sit flush with the panel surface, or just below it without tearing the surface layer. Do not use a setting that sinks every head deeply into the panel. Subfloor screws need to pull the sheet tight against joists; a large crater around the head is not a better connection.
Check the fastener and the tool first
Confirm that the collated strip is approved for your gun and that the screw length and type match the subfloor and framing. A common choice is a subfloor-rated screw long enough to penetrate the joist by about ¾ inch, subject to the product instructions and local requirements. A screw that is too short may not hold well; one that is too long can protrude or hit concealed wiring or plumbing.
Also check the gun’s manual for its adjustment method. Some nosepieces rotate or slide in numbered steps; others use a locking collar. Numbers are not universal depth measurements, so “setting 3” on one tool cannot be assumed to match setting 3 on another. Clear a jam, disconnect the battery or air supply as appropriate, and make adjustments only as the manual directs.
Set depth with a test panel
Use an offcut of the same panel thickness and material, supported over a piece of the same framing material if possible. Mark a test area, set the tool near the middle of its adjustment range, and drive three to five screws. Keep the gun square to the surface and use firm, steady pressure. Tilting the nose or leaning hard on the tool can change the result.
Inspect each head. If it stands proud, increase the depth slightly and test again. If the head is below the surface or the top veneer is torn, reduce the depth. Repeat in small increments until several screws sit consistently flush. Test again when you switch from plywood to OSB, change screw length, use a different collated screw, or move to a noticeably softer or harder framing material.
Do not judge depth by sound alone. A change in motor pitch can signal that the tool has stopped, but it cannot tell you whether the head is correctly seated. Check the first few fasteners after starting a new sheet and periodically as you work.
Choosing a screw gun for subfloor work
If you are buying a tool, consider whether you need a dedicated collated gun for repeated fastening or a standard drill/driver for occasional repairs. A collated gun feeds screws quickly and consistently once adjusted, but it costs more and needs compatible strips. A drill/driver is more versatile and can be the sensible budget choice for a small room or a few replacement panels.
| Option | Best fit | Trade-off |
|---|---|---|
| Collated screw gun | Large subfloor jobs and repeated fastening | Faster workflow, but requires compatible collated screws and setup |
| Drill/driver with individual screws | Small repairs or occasional projects | Lower buy-in if you already own one, but slower and less uniform in repeated driving |
| Dedicated flooring screw gun | Installations using a specific flooring system | Useful when its feed and nose suit the fastener; less flexible for general subfloor work |
For frequent sheet installation, compare collated screw guns by nose adjustment range, compatibility with available screws, weight, and jam-clearing access—not just advertised driving speed. For a one-off repair, an existing cordless drill/driver may be entirely adequate.
Common depth problems and fixes
Heads sit proud across the panel: Increase depth a small amount and retest. Check that the screw strip is seated correctly and that the gun is square. If the tool stops short unpredictably, inspect for a jam, low battery, or a worn bit.
Heads bury or tear the surface: Back off the depth setting. Also reduce excess downward force and check whether the panel is unusually thin or soft. A damaged face veneer cannot be restored by changing the setting for screws already driven.
Depth varies from screw to screw: Look for inconsistent pressure, a tilted nose, loose adjustment collar, or different materials beneath the panel. Verify that all strips are the same screw type and length. If fasteners vary despite steady technique, stop and inspect the tool rather than compensating with a deeper setting.
The panel remains loose near a screw: A flush head alone does not prove the sheet is tight to the joist. Check that the screw is positioned over framing, the panel is seated, and the screw is long enough for the assembly. Follow the panel manufacturer’s fastening schedule; spacing varies by application, and the nose-depth setting cannot make up for missed framing or incorrect spacing.
Keep the setting consistent as you work
Mark a reference point on the adjustment collar after testing, or note the setting in your job log. Keep spare strips of the same fastener nearby and avoid mixing screw types in one run. If you change batteries, bits, or materials, inspect a few new drives before continuing. On a broad floor, small errors repeated across hundreds of fasteners become visible and may complicate finish flooring.
Set depth for a clean, flush seat, then let the fastening schedule and correct screw do the holding. The best setting is the shallowest one that consistently seats the panel against its support without leaving a proud head.