What's inside
As an Amazon Associate I earn from qualifying purchases. This post may contain affiliate links at no extra cost to you.
Our Top Picks


Magnetic Base vs Clamp Base for Holding a Dial Indicator During Runout Checks
A dial indicator is only as useful as the base holding it. During a runout check, a base that shifts, vibrates, or slowly creeps can produce a convincing but incorrect reading. The two common choices are a magnetic base and a clamp base. Both can work well, but they suit different machines, surfaces, and levels of precision.
For most steel machinery and general shop work, a magnetic base is the faster and more convenient option. A clamp base is usually better when the mounting surface is nonmagnetic, cramped, painted, dirty, or exposed to vibration that can make a magnet unreliable. The best choice depends less on the indicator itself than on where you can establish a rigid reference.
As an Amazon Associate we earn from qualifying purchases at no extra cost to you.


How runout checks fail
Runout is the amount a rotating part moves away from a true centerline. To measure it, place the indicator tip against the part, rotate the part by hand, and compare the highest and lowest readings. Total indicated runout (TIR) is the difference between those readings. If the needle moves from 0.001 inch to 0.004 inch, the TIR is 0.003 inch.
The base must stay fixed while the part rotates. If the base moves 0.002 inch, that movement may be mistaken for shaft or rotor runout. Common causes include a weak magnetic grip, chips trapped under the magnet, a flexible arm, a clamp attached to thin sheet metal, or an indicator tip that is sliding across the surface instead of contacting it correctly.
Before checking the workpiece, clean the mounting surface and indicator contact point. Use a short arm setup whenever possible, preload the indicator by roughly 0.020 to 0.060 inch, and keep the tip close to perpendicular to the surface being measured. A long, angled setup magnifies flex and can introduce cosine error.
Where a magnetic base works best
A magnetic base attaches quickly to flat or reasonably flat ferrous surfaces such as cast-iron tables, steel machine beds, brake rotors, and many drill press or milling machine components. Flip the magnet on, position the arm, and the setup is ready in seconds. This speed is the main reason magnetic bases dominate general-purpose dial-indicator work.
A good magnetic base typically has a switchable permanent magnet and a V-groove or machined bottom for round stock. The magnet does not require electrical power, so it will not release during a power outage. A compact base is easier to place in tight spaces, while a larger base generally provides more holding force and better resistance to tipping.
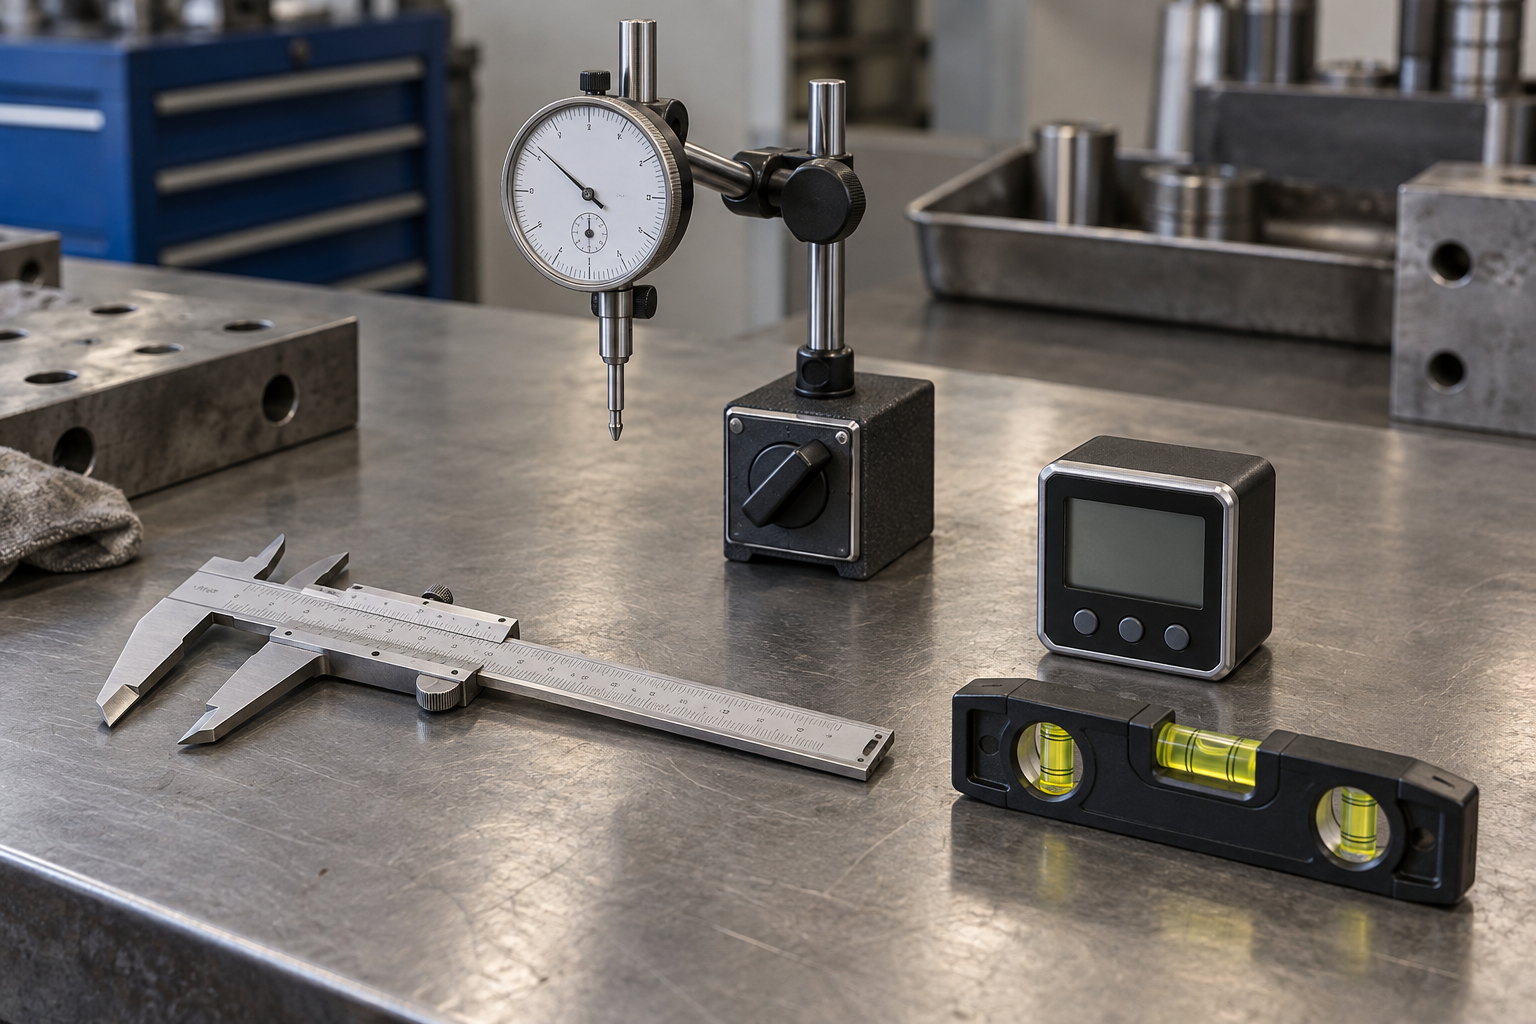
Magnetic bases are also easy to reposition when comparing several points on a component. That makes them useful for checking brake rotors, flywheels, chucks, pulleys, and shafts. For routine automotive and machine-shop work, a magnetic base dial indicator holder is usually the practical starting point.
However, magnetic holding force depends heavily on the surface. Paint, rust, scale, oil, a curved contact area, or a thin steel panel can reduce the grip substantially. A magnet may hold firmly enough to support its own weight but still shift when the indicator tip is pushed sideways. Always test the setup by pressing lightly on the arm and watching whether the indicator moves.
Where a clamp base is the better choice
A clamp base grips an edge, tube, shaft, machine rail, or other physical feature with a screw or lever. It does not care whether the material is steel, aluminum, stainless steel, or plastic. That makes it useful on engine parts, suspension components, aluminum fixtures, and machines with nonmagnetic tables.
Clamps are often more secure on uneven or contaminated surfaces. A clamp attached directly to a solid table edge can resist movement better than a magnet sitting on paint or chips. It can also reach around obstructions where there is no flat magnetic landing spot. For these jobs, a clamp base dial indicator holder avoids the surface limitations of a magnet.
The trade-off is setup time and access. You need a suitable edge or member to clamp to, and the clamp must be tightened without distorting a thin part. A clamp attached to a flexible bracket is not automatically more accurate than a magnet. If the bracket bends under a 1-pound hand force, the indicator reading will still be wrong.
Direct comparison
| Feature | Magnetic base | Clamp base |
|---|---|---|
| Best surface | Flat or curved ferrous metal | Edges, tubes, rails, and solid members of almost any material |
| Setup speed | Very fast | Usually slower |
| Resistance to chips and paint | Reduced by contamination or coating | Usually less affected, if the clamp has a solid bite |
| Risk of tipping | Higher with long arms or small contact areas | Depends on the clamp and the stiffness of the mounting member |
| Use on aluminum or stainless steel | No | Yes |
| Best value | General-purpose shop work | Specialized or nonmagnetic setups |
Which base should you buy?
Choose a magnetic base if most of your checks happen on steel or cast iron and you value quick setup. It is the cheaper option for many users, and a basic magnetic base is perfectly adequate for checking whether a shaft has approximately 0.005 inch or 0.010 inch of runout. The base is not the limiting factor when the workpiece, chuck, or indicator resolution is much less precise than that.
Choose a clamp base when you regularly work on aluminum, stainless steel, painted assemblies, thin panels, or parts without a flat ferrous surface. It is also the better backup when a magnetic base cannot be positioned close to the measurement point. If you do mixed work, buying one of each can be more useful than spending heavily on one elaborate base.
For finer measurements, look for a rigid base with a short, lockable arm and minimal play at the joints. A fine-adjustment mechanism is helpful for centering the indicator, but it does not compensate for a weak base. A precision dial indicator base with fine adjustment makes sense when you repeatedly work near 0.001 inch tolerances.
Setup checks that matter more than the base type
Set the base as close to the indicator tip as practical. Keep the arm horizontal or supported rather than cantilevered at a steep angle. Lock each joint firmly, then rotate the part in the normal direction several times. If the reading changes between rotations, inspect the part for dirt, a bent tip, loose bearings, or movement in the base.
Mark the high and low points instead of relying only on a moving needle. Then reposition the base and repeat the measurement. If the result changes significantly, the original setup was not rigid enough. On a magnetic base, clean both the magnet and the mounting surface. On a clamp base, check that the clamp is gripping a solid section and is not crushing or flexing the material.
For repeatable runout checks, a secure ordinary base beats an expensive base installed poorly. Buy the type that matches your mounting surface, use the shortest rigid setup possible, and verify that the base itself stays put before trusting the number on the dial.