What's inside
As an Amazon Associate I earn from qualifying purchases. This post may contain affiliate links at no extra cost to you.
An impact wrench is excellent for removing lug nuts and running them down quickly. It is a poor substitute for a calibrated torque wrench. Even a low setting can over-torque wheel hardware because torque depends on battery charge, trigger control, impact duration, socket fit, thread condition and lubrication.
The safe method is simple: use the impact wrench for removal and initial snugging, then use a torque wrench for the final tightening. That approach is faster than doing everything by hand without relying on the impact wrench to measure torque accurately.
Check the required lug torque
Start with the vehicle owner’s manual or a reliable service specification. Passenger-car lug torque commonly falls somewhere around 80 to 100 lb-ft, while trucks and SUVs may require 100 to 150 lb-ft or more. Those are general ranges, not settings to copy blindly. Front and rear axles can sometimes use different specifications.
Do not confuse the wrench’s advertised “maximum torque” with a usable tightening setting. A tool rated for 1,000 lb-ft of breakaway torque does not deliver a consistent 100 lb-ft when tightening a wheel. Impact tools are designed to produce force in pulses, not controlled final torque.
Also check whether the manufacturer specifies dry threads. Adding oil or anti-seize reduces friction and can cause substantially more clamping force at the same torque. Unless the vehicle or wheel manufacturer says otherwise, clean, dry, undamaged studs and nuts are the safest default.
Choose the right impact wrench and socket
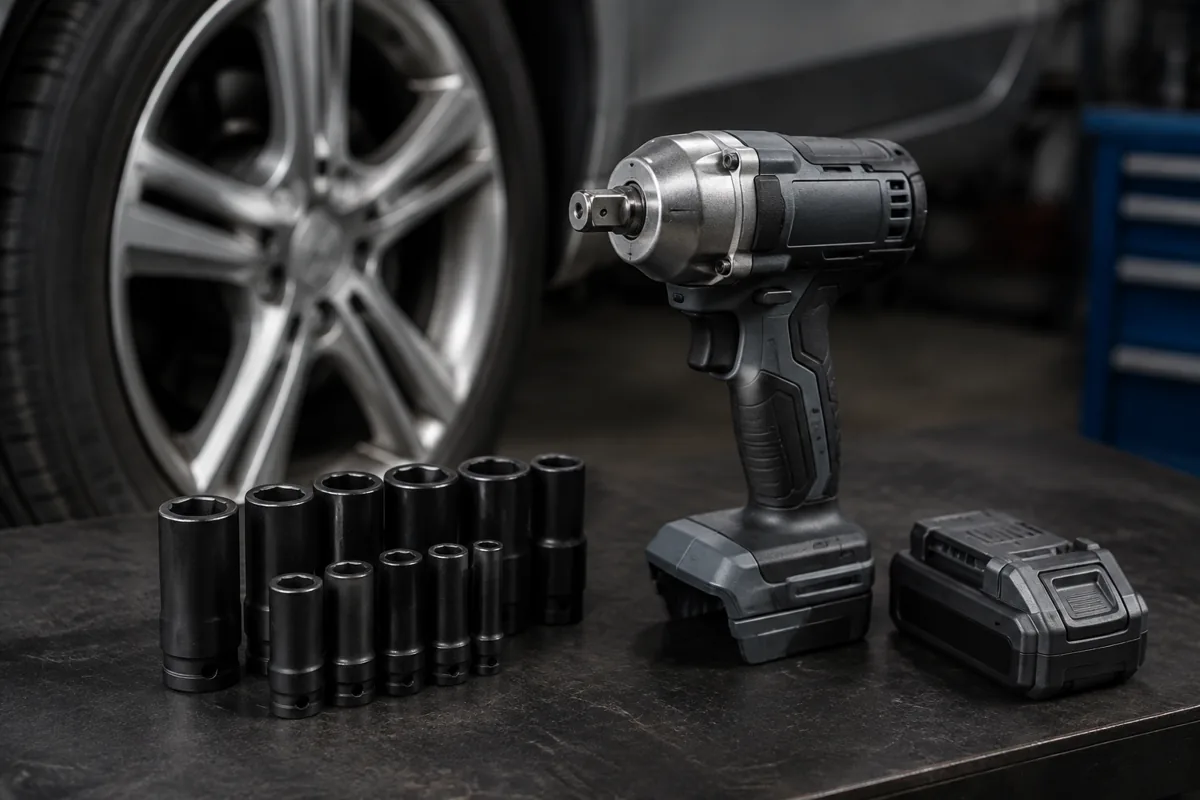
A compact 3/8-inch or 1/2-inch cordless impact is usually enough for normal passenger-car lug nuts, especially if the nuts are not severely corroded. A mid-torque 1/2-inch tool gives more removal capacity for trucks and winter corrosion, but its extra power increases the risk of over-torquing during installation.
| Tool choice | Best use | Main trade-off |
|---|---|---|
| Compact cordless impact | Cars, light-duty service, controlled snugging | May struggle with seized or heavily rusted nuts |
| Mid-torque 1/2-inch impact | Trucks, SUVs and stubborn removal jobs | More likely to over-tighten if used carelessly |
| Air impact wrench | Frequent shop use with an adequate compressor | Requires hose, compressor capacity and regulator control |
| Torque wrench | Final tightening to the vehicle specification | Slower and cannot replace an impact wrench for removal |
Use impact-rated six-point sockets, not chrome hand-tool sockets. Chrome sockets can crack or shatter under impact use. A thin-wall socket may be necessary for certain wheels, but confirm that it is specifically rated for impact service. A socket that fits loosely can round the nut and produce inconsistent tightening.
If you need a tool for occasional tire rotations, a compact cordless 1/2-inch impact wrench is often the cheaper, easier choice. Spend the saved money on a decent click-type torque wrench rather than buying a larger impact you do not need.
Use the impact wrench mainly for removal
Before lifting the vehicle, crack each lug nut loose with a breaker bar or impact wrench while the tire is still on the ground. If using the impact, hold the socket squarely on the nut and use short trigger pulls. If it does not move after a few seconds, stop and use penetrating oil, a breaker bar or heat only where appropriate for the vehicle. Continuous hammering can damage studs, wheel bearings or the tool.
Once the vehicle is safely supported, remove the loosened nuts with the impact wrench. Keep the socket aligned with the stud. Side-loading the tool can damage the socket, nut or stud threads.
Run the lug nuts down safely
Start every nut by hand. Turn it several full rotations to make sure it is not cross-threaded. Never use the impact wrench to start a nut on a wheel stud. Cross-threading can feel like normal resistance, and an impact can destroy the threads before you notice.
For initial tightening, select the lowest power setting or use the variable-speed trigger. Keep the tool straight and stop as soon as the nut seats against the wheel. On many impacts, one or two brief pulses after seating is already too much. The goal is only to hold the wheel in place while you torque it properly.
If your wrench has selectable modes, test the chosen mode on a spare nut and bolt or a torque-measuring adapter. Do not assume “1” equals 50 lb-ft or that “3” equals the tool’s advertised maximum. Mode numbers are manufacturer-specific, and the result changes with battery condition and impact duration.
Finish with a torque wrench
Lower the vehicle until the tire just contacts the ground, or use a wheel-holding method that prevents rotation without loading the suspension awkwardly. Set the torque wrench to the specified value. Tighten the nuts in a star or crisscross pattern so the wheel seats evenly.
Pull smoothly until the wrench clicks once. Do not add another click, lean on the handle, or use a cheater bar. For a typical 100 lb-ft specification, set the wrench to 100 lb-ft—not 100 plus an estimated impact contribution.
After driving roughly 25 to 50 miles, check the torque again if the wheel manufacturer or service procedure recommends it, particularly after installing aftermarket wheels, spacers or freshly painted components. A loose wheel can result from debris between the hub and wheel, poor seating or damaged hardware—not just insufficient torque.
Avoid common failure modes
Over-torquing can stretch or break wheel studs, distort brake rotors, damage alloy wheels and make roadside removal difficult. Under-torquing can let the wheel move against the hub, damaging the mating surfaces and allowing the nuts to loosen.
Before installation, clean rust and dirt from the hub face and the wheel’s mounting surface. Replace nuts or studs with damaged threads. Never use an impact wrench as a final torque indicator, even if the tool includes a claimed torque-control mode. Those modes can reduce the risk, but a calibrated torque wrench remains the dependable final check.