What's inside
As an Amazon Associate I earn from qualifying purchases. This post may contain affiliate links at no extra cost to you.
Accurate repeated crosscuts depend less on the saw’s advertised precision than on a repeatable setup. A sharp blade, a solid stop, and a reliable reference edge matter more than a laser or an expensive stand. Set up the saw once, verify the first cut, then make every workpiece contact the same surfaces in the same way.
Choose the Right Setup
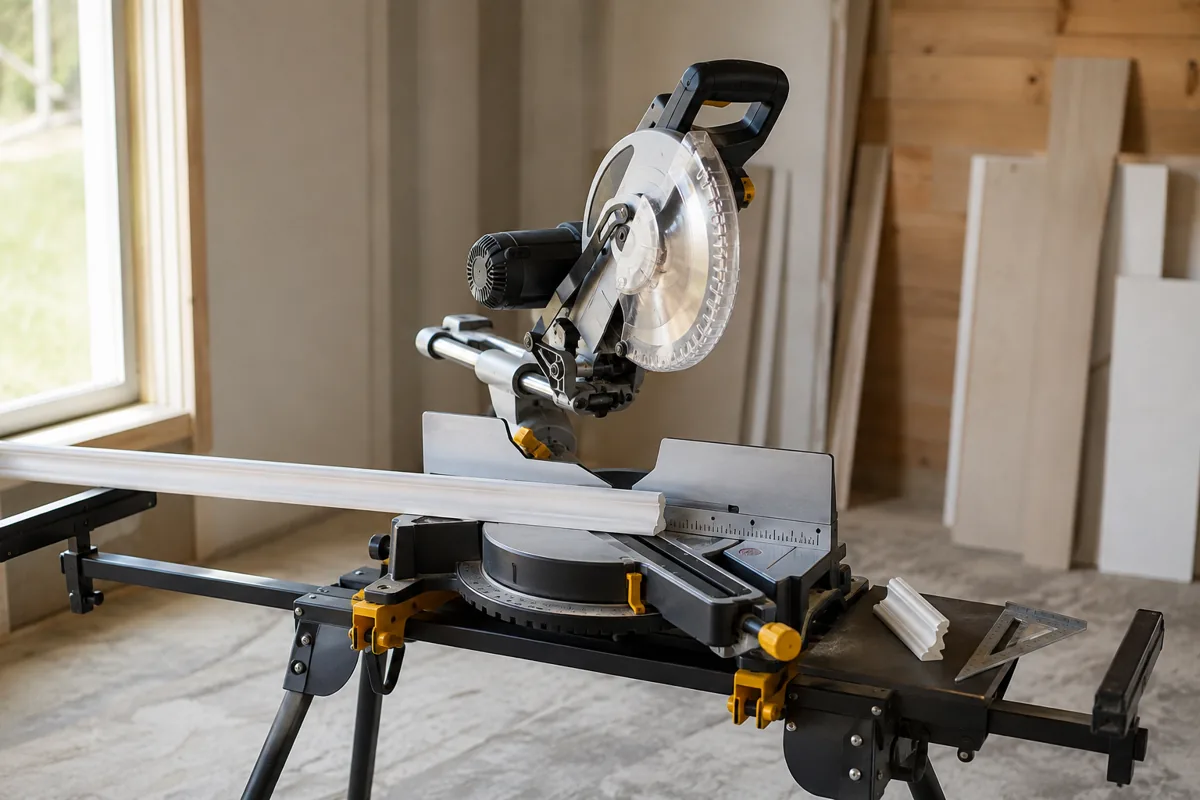
Place the miter saw on a rigid bench or stand with enough support on both sides for the longest stock you will cut. Flexible roller stands can let a board dip or rise as it moves, changing the cut length by a fraction of an inch. That may be acceptable for rough framing, but it is obvious on cabinet parts, trim, and shelving.
For portable work, a dedicated miter saw stand with material supports is convenient. A flat plywood-topped workbench is usually more stable and cheaper if the saw will stay in one shop.
Keep the saw’s fence clear of dust and pitch. A small chip trapped between the stock and fence can move one end of a board enough to create a visibly different angle. Before adjusting anything, unplug the saw or remove its battery.
Square and Align the Saw
Start with the miter gauge at 0 degrees and the bevel at 0 degrees. Lower the blade without turning it on and place a reliable square against the blade plate, not the carbide teeth. Teeth can be offset or uneven. The square should touch the blade plate without forcing it into the blade.
If the blade is not square to the fence, adjust the saw’s miter detent or fence according to the manual. On many saws, the fence is made of two sections. Align both sections to the blade’s travel, then tighten the fasteners gradually while rechecking. A fence that is square at one end but not the other can produce inconsistent miters and crosscuts.
Check the bevel as well. A blade that leans even slightly cuts a parallelogram rather than a true rectangle. Place the square on the saw table and against the blade plate, then set the bevel stop if necessary. Do not rely only on the pointer scale; the pointer can be off while the actual blade is correctly aligned.
A precision machinist square is useful for setup because it is rigid and generally more accurate than a framing square. The cheaper option is fine if it has straight edges and you verify it by flipping it against the same reference surface.
Use a Sharp, Correct Blade
For clean repeated crosscuts, use a blade intended for crosscutting rather than a coarse ripping blade. A 40-tooth combination blade is adequate for construction lumber. For painted trim, plywood, or hardwood, a 60-tooth or 80-tooth finish blade usually reduces tear-out, although it cuts more slowly and creates more fine dust.
| Work | Practical blade choice | Trade-off |
|---|---|---|
| Framing lumber | 24- to 40-tooth combination blade | Fast cuts; rougher edge |
| General shop crosscuts | 40- to 60-tooth crosscut or combination blade | Good balance of speed and finish |
| Trim and hardwood | 60- to 80-tooth finish blade | Cleaner edge; slower feed and more cleanup |
Replace or sharpen a blade if the saw wanders, burns the wood, requires excessive pressure, or leaves inconsistent edges. A dull blade can also make repeat cuts vary because the operator pushes harder on some pieces than others. Confirm that the replacement blade matches the saw’s diameter, arbor, and maximum speed.
Build a Repeat Stop
The most reliable method is a fixed stop block attached to a long auxiliary fence or support rail. Measure from the blade’s cutting line—not from the edge of the saw table—to the stop. Mark the cutting line with the blade lowered and stopped, or use a thin test piece to establish it. The kerf is the width removed by the blade, so measure the finished side of the workpiece, not the waste side.
Clamp the stop in place first. Cut one test piece, then measure it with a tape measure or caliper. Make a second test cut and compare the pieces end to end. If the two lengths differ, investigate movement, a crooked reference edge, or a stop that is not square before making production cuts.
For pieces longer than about 24 inches, support the stock continuously near the saw table height. A stop that is slightly higher or lower than the table can tilt the workpiece. That changes where the blade enters and can alter the finished length, especially on narrow boards.
A simple stop block made from scrap plywood is often as accurate as a manufactured stop. A flip stop for a miter saw stand is worth buying when you make several different lengths or need to slide the stop frequently without removing it.
Load and Cut Consistently
Choose one reference face and one reference edge for every piece. Place the board flat on the table, press its reference edge firmly against the fence, and slide the end against the stop without banging it. If a board is bowed, place the crown in the same direction for every cut or reject it for precision work.
Hold the workpiece at least several inches from the blade, and use clamps when the stock is short, narrow, or prone to shifting. Keep hands outside the manufacturer’s marked danger zone. Start the blade at full speed, lower it smoothly, and let it stop completely before raising it. Do not pull a spinning blade through the work or reach near the blade to clear an offcut.
For long boards, cut all pieces with the same face against the fence. Flipping some boards can expose a different edge or bow, producing a group of pieces that are individually close but not interchangeable. Brush or vacuum sawdust from the stop regularly; a buildup of only 1/32 inch can accumulate into a noticeable error.
Verify the Batch
After cutting the first three pieces, compare them by stacking their ends together. A consistent error means the stop was set incorrectly. A varying error usually points to movement, inconsistent pressure against the fence, a bowed board, or sawdust at the stop.
For joinery, measure the longest and shortest pieces in the batch. If the spread exceeds your tolerance, stop and correct the setup rather than sorting pieces later. For rough framing, a 1/16-inch variation may be harmless. For face frames, drawer parts, or trim returns, aim for a few thousandths to 1/32 inch when the material and saw allow it.