What's inside
As an Amazon Associate I earn from qualifying purchases. This post may contain affiliate links at no extra cost to you.
Choosing a crimper starts with the connection, not the tool. Wire ferrules need a controlled squeeze around a stranded conductor; terminals may need a particular indent, oval, or open-barrel shape. A crimper that fits the wire but makes the wrong shape can leave a loose connection or damage the terminal. Check the connector maker’s specifications first, then match the tool to the wire sizes and volume of work.
Identify the connection you need to make
A ferrule is a metal sleeve fitted over stripped stranded wire, often before the wire enters a screw-clamp terminal. Insulated and uninsulated terminals include ring, spade, butt-splice, and quick-disconnect types. Open-barrel terminals, common in automotive wiring, have separate wings for the conductor and insulation. These are different jobs, and a general-purpose crimper may not make every connection correctly.
Read the terminal packaging or data sheet for its wire-size range, often marked in AWG or square millimeters, and the specified crimp profile. A tool advertised for “terminals” is not automatically suitable for every terminal shape. For example, a ferrule die may form a square or hexagon, while a butt-splice die is designed to compress a barrel around joined wires. Use the connector maker’s approved tooling where the connection is safety-critical or subject to inspection.
Choose the crimp profile and range
For ferrules, common profiles include square, hexagonal, and trapezoidal. All can work when the ferrule and terminal accept that profile. A square crimp tends to sit neatly in rectangular clamp openings; a hex crimp can suit rounder spaces. The important points are an even, secure crimp and a ferrule size that matches the conductor. Don’t assume a particular profile is universally best.
Ferrule kits and tools often use metric sizes such as 0.5–10 mm². Terminal tools may be labeled in AWG, such as 22–10 AWG. Check the actual range: a tool that starts at 0.25 mm² may not reliably crimp a 0.14 mm² ferrule, even if its jaws close. Avoid filling an oversized ferrule with extra wire strands or using a smaller die to force an oversized terminal into shape.
For a dedicated ferrule job, compare ratcheting ferrule crimpers in the required size range. If you need both ferrules and several kinds of insulated terminals, a terminal crimper matched to the connector types is a better starting point than a single tool advertised as universal.
Compare tool types before buying
| Tool type | Best fit | Trade-off |
|---|---|---|
| Dedicated ferrule crimper | Repeated ferrule work across a defined size range | Consistent results, but won’t crimp most terminal styles |
| Interchangeable-die crimper | Several connector families or occasional changes in task | More flexible; dies must be correct and seated properly |
| Simple fixed-jaw hand crimper | Occasional repairs with a specific compatible terminal | Lower cost, but less forgiving of poor positioning and hand pressure |
| Powered crimper | High-volume work or frequent large-gauge crimps | Less hand effort, but higher cost and more setup and maintenance |
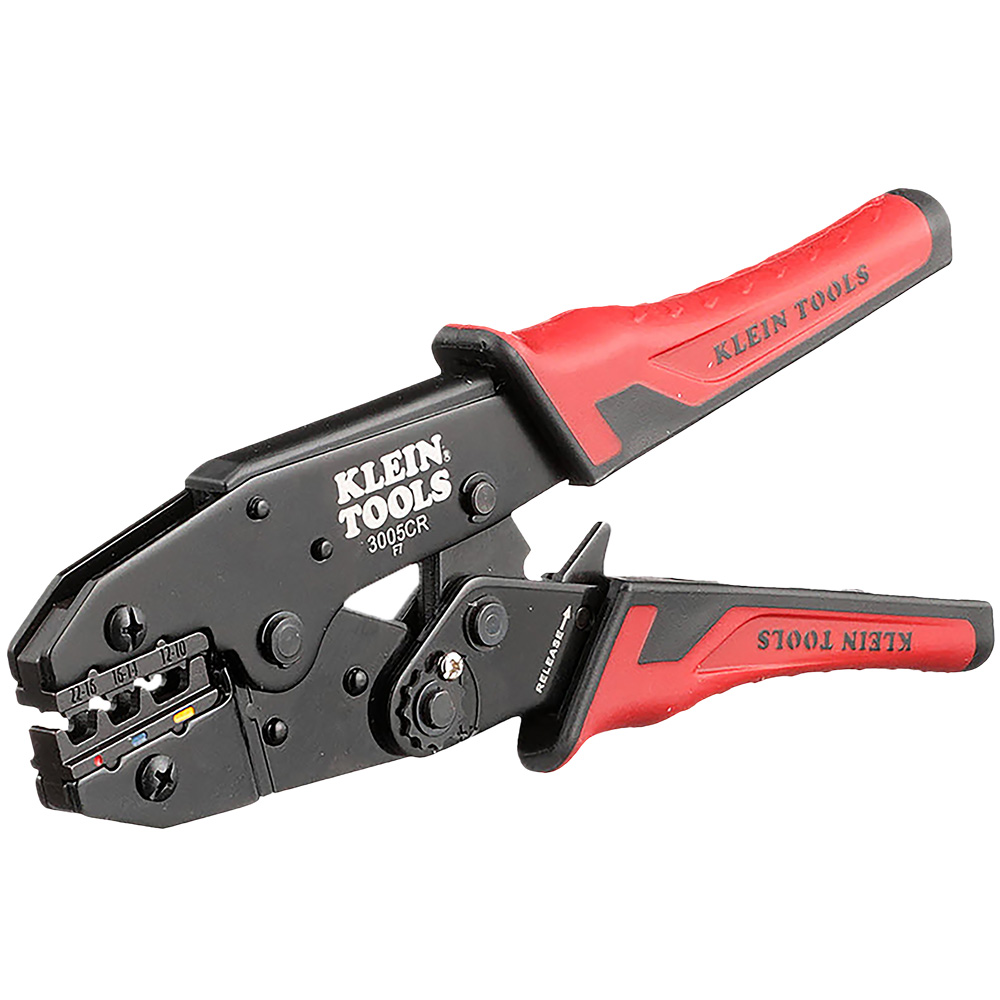
A ratcheting hand tool is a sensible middle ground for most bench and household work. The ratchet prevents the handles opening before the crimp cycle is complete, which helps repeatability. It does not guarantee a correct connection: the wrong die, terminal, or wire size can still produce a bad crimp. A basic non-ratcheting tool can be fine for a few repairs if it is designed for that terminal and you can inspect and test each connection.
Check fit, adjustment, and handling
Before buying, see whether the tool has marked die positions that correspond to the sizes you use. Replaceable dies are useful if you need ferrules, insulated terminals, and open-barrel contacts, but each die set must match the terminal family and range. A pressure adjustment can help compensate for wear or connector variation; it is not a substitute for the correct die.
Handle length affects leverage and control. Short handles are easier to carry in a service bag, while long handles reduce effort on larger terminals but take more room. If you make many crimps, a release lever and comfortable grips matter. For powered tools, consider battery availability, service support, and whether the manufacturer specifies the connector tooling. Power is not a reason to use an unapproved die.
Make and check a sample crimp
Strip only the length needed for the terminal barrel. Stripping too much leaves bare conductor exposed; too little can trap insulation in the electrical crimp. Insert the conductor fully, with no strands folded back or left outside. Place the terminal in its matching die and complete the full ratchet cycle, if fitted. Don’t crimp twice in a different position unless the connector instructions call for it.
Inspect for a centered, even compression, cracked insulation, cut strands, or a conductor that has pulled partly out. On a ferrule, the conductor should fill the sleeve without stray strands beyond the metal. For a practical shop check, tug the wire firmly by hand; for formal acceptance, follow the connector maker’s pull-test method and specified force. A hand tug catches obvious failures but does not certify a connection.
Buy for the work you actually do
If you terminate control-panel wires regularly, a dedicated ferrule tool covering your actual ferrule sizes is usually the simplest choice. For occasional home repairs, a modest fixed-jaw crimper can be adequate when it matches the terminals on hand; buying a large kit of mixed terminals and dies you cannot identify is not an upgrade. Automotive wiring, mixed connector types, or recurring jobs justify interchangeable dies only when the die sets are clearly specified for those connectors.
For mains wiring, vehicles, machinery, or any installation where a failed connection could cause injury or fire, follow local requirements and use listed or manufacturer-approved connectors and tooling. Replace a questionable crimp rather than covering it with heat-shrink and hoping it holds. The right purchase is the least complicated tool that makes the correct profile, across the wire sizes and connector types you will actually use.