What's inside
As an Amazon Associate I earn from qualifying purchases. This post may contain affiliate links at no extra cost to you.
Choose the Diameter From the Recess, Not the Screw
To hide a countersunk screw with a wood plug, the plug must cover the entire visible recess and leave enough surrounding wood to hold it securely. The screw’s shaft diameter is not the measurement that matters. Measure the widest part of the countersink, then choose a plug cutter slightly larger than that diameter.
For example, a #8 wood screw may have a shaft only about 1/8 inch across, but its countersunk head can require a 3/8-inch or larger recess. A 1/4-inch plug cutter will not hide that head, even though the screw itself is small.
In most woodworking projects, choose a cutter between 1/16 and 1/8 inch larger than the widest part of the recess. That leaves a small, clean shoulder around the hole without removing unnecessary material.
| Visible recess diameter | Typical plug cutter choice | Best use |
|---|---|---|
| Up to 1/4 inch | 1/4 or 5/16 inch | Small trim, face frames, light-duty repairs |
| About 5/16 inch | 3/8 inch | Common #6 and #8 screw installations |
| About 3/8 inch | 1/2 inch | Large screws, structural joinery, visible hardwood work |
| More than 1/2 inch | 5/8 inch or larger | Heavy hardware and deep structural fasteners |
These are starting points, not substitutes for measuring. Countersink bits vary, and some screw heads are much wider than others. If the hole is already drilled, measure it with calipers or compare it directly with the cutter. If you are starting from scratch, test the screw and countersink on scrap material first.
A Plug Cutter Does Not Make the Screw Recess
A plug cutter cuts a cylindrical plug from matching stock. It does not normally create the initial recess for the screw head. The usual process is to drill a clearance hole, drive the screw below the surface, and then cut a clean counterbore over it with a brad-point bit, Forstner bit, or dedicated countersink-and-plug-hole cutter.
This distinction matters because a standard countersink bit creates a cone, while a plug is cylindrical. A conical recess can leave only a thin ring of contact at the top of the plug. That plug may look acceptable at first but can split, sink, or pop out when the wood moves.
For a reliable repair, make the plug hole cylindrical and deep enough to cover the screw head. A depth of 1/4 to 3/8 inch works for many cabinet and furniture applications. On thicker stock or a structural joint, 1/2 inch may be appropriate, provided you leave enough wood around and below the fastener.
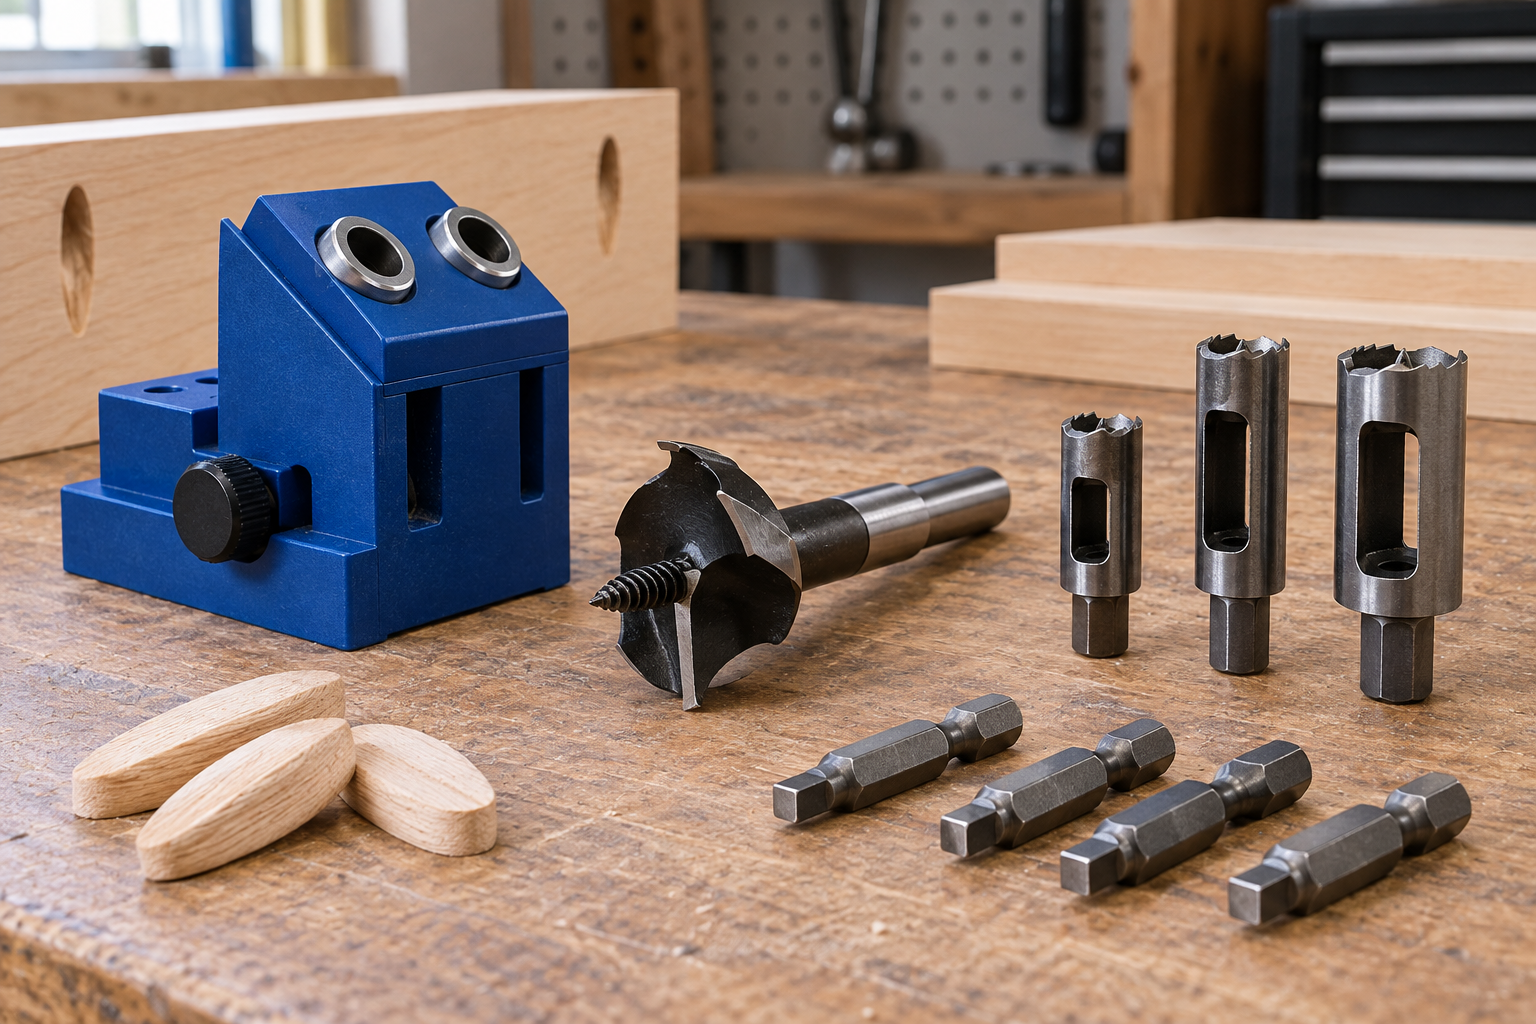
If you need both operations, a wood plug cutter set gives you several diameters, while a separate counterbore drill bit set makes the matching cylindrical recess.
Match the Plug to the Hole
The plug and the cutter should be the same nominal diameter, but the fit should not be excessively tight. A plug that requires hammering can split thin stock or crush the edge of the recess. A plug that drops loosely into the hole will show a glue line and may work free.
Cut a test plug from scrap and check it in a test hole. The plug should enter with firm hand pressure and stop without rocking. If it is too tight, lightly sand the plug’s sides or use a plug cutter with a slightly smaller actual diameter. Do not enlarge the hole with a sloppy twist of a drill bit; that makes the opening uneven and harder to disguise.
Use matching wood whenever the repair will remain visible. A plug cut with the grain running in the same direction as the workpiece is much less noticeable than an end-grain dowel. Flush-cut or tapered plugs are available, but a standard straight plug is usually easier to install cleanly in a flat countersunk repair.
The Trade-Offs of Going Larger
A larger plug is easier to center over a damaged or ragged screw hole, and it gives you more room to cover a wide countersink. It also removes more surrounding material. On a narrow rail, cabinet edge, or thin panel, a 1/2-inch recess may weaken the part or leave a visible patch.
Choose the smallest diameter that completely hides the countersink when the fastener is near an edge. Keep the edge of the counterbore at least one plug radius from the workpiece edge when possible. For a 1/2-inch plug, that means roughly 1/4 inch of wood outside the hole. Less can work in softwood, but splitting becomes more likely.
Going smaller has the opposite problem: the countersink may remain visible, or its sharp edge may show after sanding. It can also leave a thin crescent of exposed screw head if the hole is not perfectly centered.
Choose Cutter Type and Quality
For occasional repairs in pine, poplar, or construction lumber, an inexpensive 1/2-inch wood plug cutter is often sufficient. Use a drill press if possible; a handheld drill can work, but it is easier to tilt the cutter and produce plugs with uneven sides.
In hardwoods, a sharp two- or four-wing cutter leaves cleaner walls and reduces burning. A tapered plug cutter can make installation easier, but it requires a matching tapered hole and is less forgiving if you cut too deep. Straight cutters are simpler for general-purpose work.
Cut plugs with the grain running across the cutter’s opening, then orient the plug so its grain continues the lines in the project. Stop before cutting completely through the scrap. Leaving a thin web lets you break the plug free without damaging its edges.
Avoid the Common Failure Modes
Drive the screw below the surface before installing the plug. If the head is flush with the face, the plug may sit too high and sanding can expose the metal. Remove dust from the recess, apply a modest amount of wood glue to the plug’s sides, and tap it in with a scrap block rather than striking the plug directly.
Do not flood the hole with glue. Excess adhesive can prevent the plug from seating, and squeeze-out can stain open-grained woods. After the glue cures, trim the plug with a flush-cut saw or chisel, then sand it level.
If the screw may need to be removed later, glue is a poor choice. Use a removable cover plug, a shallow plug, or accept a visible access point. For permanent cabinet, furniture, and trim work, the correctly sized plug cutter is cheaper than repairing a split or oversized recess.