What's inside
As an Amazon Associate I earn from qualifying purchases. This post may contain affiliate links at no extra cost to you.
Why the Fence Must Be Parallel
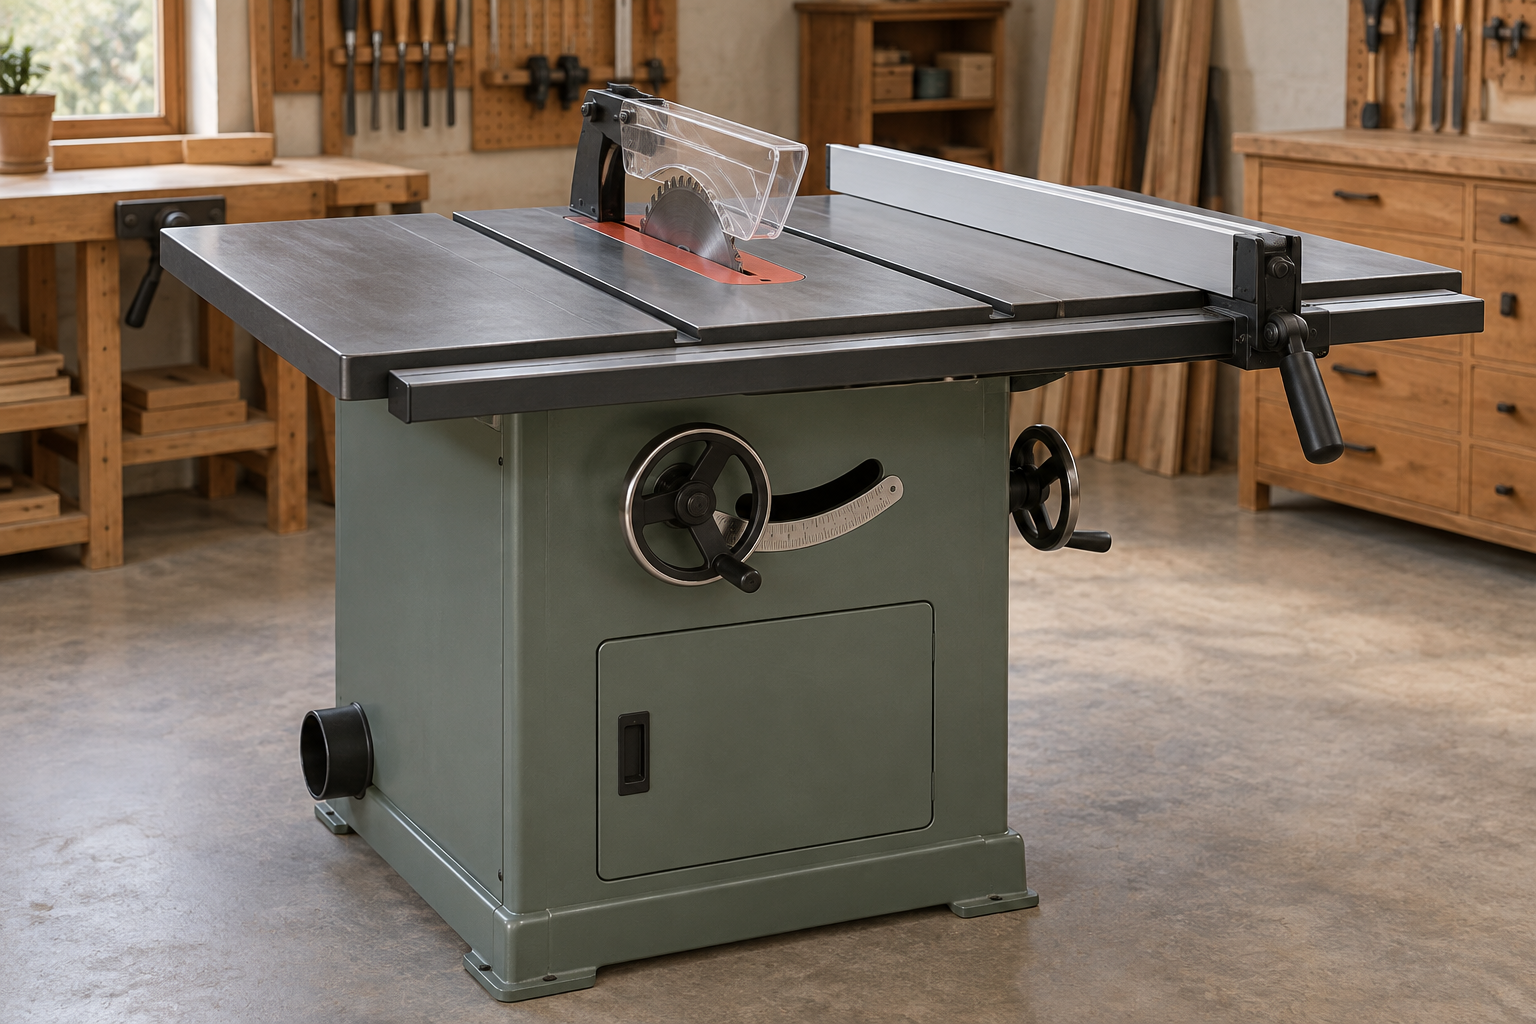
A table saw fence that is not parallel to the miter slot can cause pinched cuts, burning, wandering stock and inaccurate joinery. The error may be small at the front of the table but significant at the rear. For example, a fence that is 1/32 inch closer to the slot at the back can push a board into the blade as the cut progresses.
The fence does not always need to be perfectly parallel for safe operation. Many sawyers set the rear of the fence 0.002 to 0.005 inch farther from the miter slot than the front. This slight toe-out reduces the chance of the workpiece binding between the fence and the blade. Do not toe the rear inward toward the slot.
Before You Adjust Anything
Unplug the saw. Remove the blade guard only if it blocks access to the measurement area, and reinstall it before cutting. Lower the blade below the table, clear away sawdust, and confirm that the miter slot is clean. A chip under a measuring tool or fence rail can create a false reading.
Lock the fence in its normal cutting position. Use the same locking pressure you use during a cut; some fences shift slightly as the clamp engages. If the fence has a front and rear rail, check that the rail is firmly attached to the saw cabinet or table. A loose rail can make a proper fence adjustment seem impossible.
You will need a reliable steel rule or tape measure, a combination square, or preferably a straight measuring bar that fits the miter slot. A dial indicator mounted to a miter-slot runner is the most precise option, but it is not necessary for ordinary woodworking. A basic table saw alignment gauge can speed up repeated setup checks.
The Basic Two-Point Method
Set the fence close to the miter slot without touching it. Measure from the same edge of the miter slot to the fence at the front and rear of the table. The front measurement should be taken near the blade’s leading edge; the rear measurement should be taken at least 12 inches behind it. Measuring too close together can hide a meaningful alignment error.
Use a straight, rigid reference rather than the blade. A blade’s teeth are uneven, and measuring from them can produce inconsistent results. Place a combination square against the miter-slot edge and slide it toward the fence, or use a bar in the slot with a fixed pointer. Record both measurements instead of relying on whether the gap “looks” even.
Repeat each measurement two or three times. If the numbers change, look for a loose fence lock, debris in the slot, a bent measuring bar, or a fence that is not fully seated on its rail. A difference of 1/64 inch is visible in many cuts. For general ripping, getting within a few thousandths is useful, but the important safety rule is that the rear must not be closer to the slot than the front.
How to Make the Adjustment
Most traditional aluminum or steel fences are adjusted by loosening screws or bolts that connect the fence body to its locking head. Do not remove them completely. Loosen them just enough that the fence can be tapped into position while remaining supported.
Measure the front-to-rear difference, then tap the fence lightly with a wooden block or plastic-handled tool. If the rear is too close to the slot, move the rear away from the slot or pivot the fence slightly at the front. Tighten the fasteners gradually, alternating between them so the fence does not shift as you clamp it.
Lock the fence and measure again. Make small changes—roughly 1/64 inch at a time—because a small movement at the back can create a large change in the reading. Once aligned, cycle the fence lock several times and recheck it. If the setting changes each time, the problem is the locking mechanism rather than the adjustment.
Rack-and-pinion fences generally do not use the same pivot adjustment. Check the manufacturer’s instructions for the fence’s locking and calibration screws. A fence that consistently shifts when moved may need its front and rear guides cleaned or adjusted. Replacing worn guide pads can be cheaper than replacing the entire fence.
A More Precise Dial-Indicator Check
For cabinetmaking, repeated dado work or a saw that is used heavily, a dial indicator gives a clearer result. Fit the indicator to a runner that slides smoothly in the miter slot. Position the indicator tip against the fence, zero it near the front, then slide the gauge to the rear without lifting it from the slot.
The indicator shows the exact change between the two points. Adjust until the rear reads zero or slightly farther from the slot than the front. Do not force the runner in the slot; a tight runner can deflect the fence or give a misleading reading. A dial indicator and miter-slot setup costs more than a rule, but it pays off when you frequently change fences or troubleshoot unexplained cutting problems.
Which Alignment Approach Makes Sense?
| Approach | Typical accuracy | Cost and effort | Best use |
|---|---|---|---|
| Steel rule or tape measure | About 1/64 inch | Lowest cost; quick | Construction work and routine checks |
| Combination square and straight bar | A few thousandths with care | Moderate; requires careful handling | Most home workshops |
| Dial indicator gauge | Better than 0.001 inch when set up correctly | Higher cost; slower setup | Cabinet work and troubleshooting |
| Replacement aftermarket fence | Depends on rail and installation | Highest cost; installation required | Worn, flexible or unreliable factory fences |
A basic measuring method is fine if your saw is used for framing lumber, shelving and ordinary ripping. Spending on a precision gauge will not fix a bent fence, loose rail or damaged table. If the fence will not stay aligned, consider a replacement table saw fence system, but check rail length, mounting-hole spacing and available rip capacity before buying.
Test the Setup Safely
After alignment, reinstall the blade guard and riving knife. Make a test cut in scrap lumber, keeping the board firmly against the fence and using a push stick when your hands would approach the blade. Stop immediately if the board binds, burns heavily or pushes away from the fence.
Check the freshly cut edge with a square and inspect the kerf for signs of pinching. If the cut is still inconsistent, verify blade alignment to the miter slot separately; a parallel fence cannot correct a blade that is skewed. Recheck the fence after transporting the saw, changing the rail, or receiving a noticeable impact. Two minutes with a measuring bar can prevent a dangerous cut and a pile of inaccurate parts.