What's inside
As an Amazon Associate I earn from qualifying purchases. This post may contain affiliate links at no extra cost to you.
Our Top Picks


The short answer
For most woodworking joints, a rubber mallet is the better buy. It is inexpensive, easy to control, and gentle enough for seating dowels, mortise-and-tenon joints, loose-fitting splines, and cabinet parts without leaving obvious marks.
A dead-blow hammer is the better specialist tool when you need more force without a sharp rebound. Its internal shot reduces bounce and keeps the head in contact with the work, which makes it useful for stubborn joints, heavy hardwood assemblies, and repeated fitting work. It is not automatically safer for finished wood, though. A dead-blow face can still dent an edge, crush soft fibers, or bruise a joint if you strike too hard.
As an Amazon Associate we earn from qualifying purchases at no extra cost to you.


How the two hammers deliver force
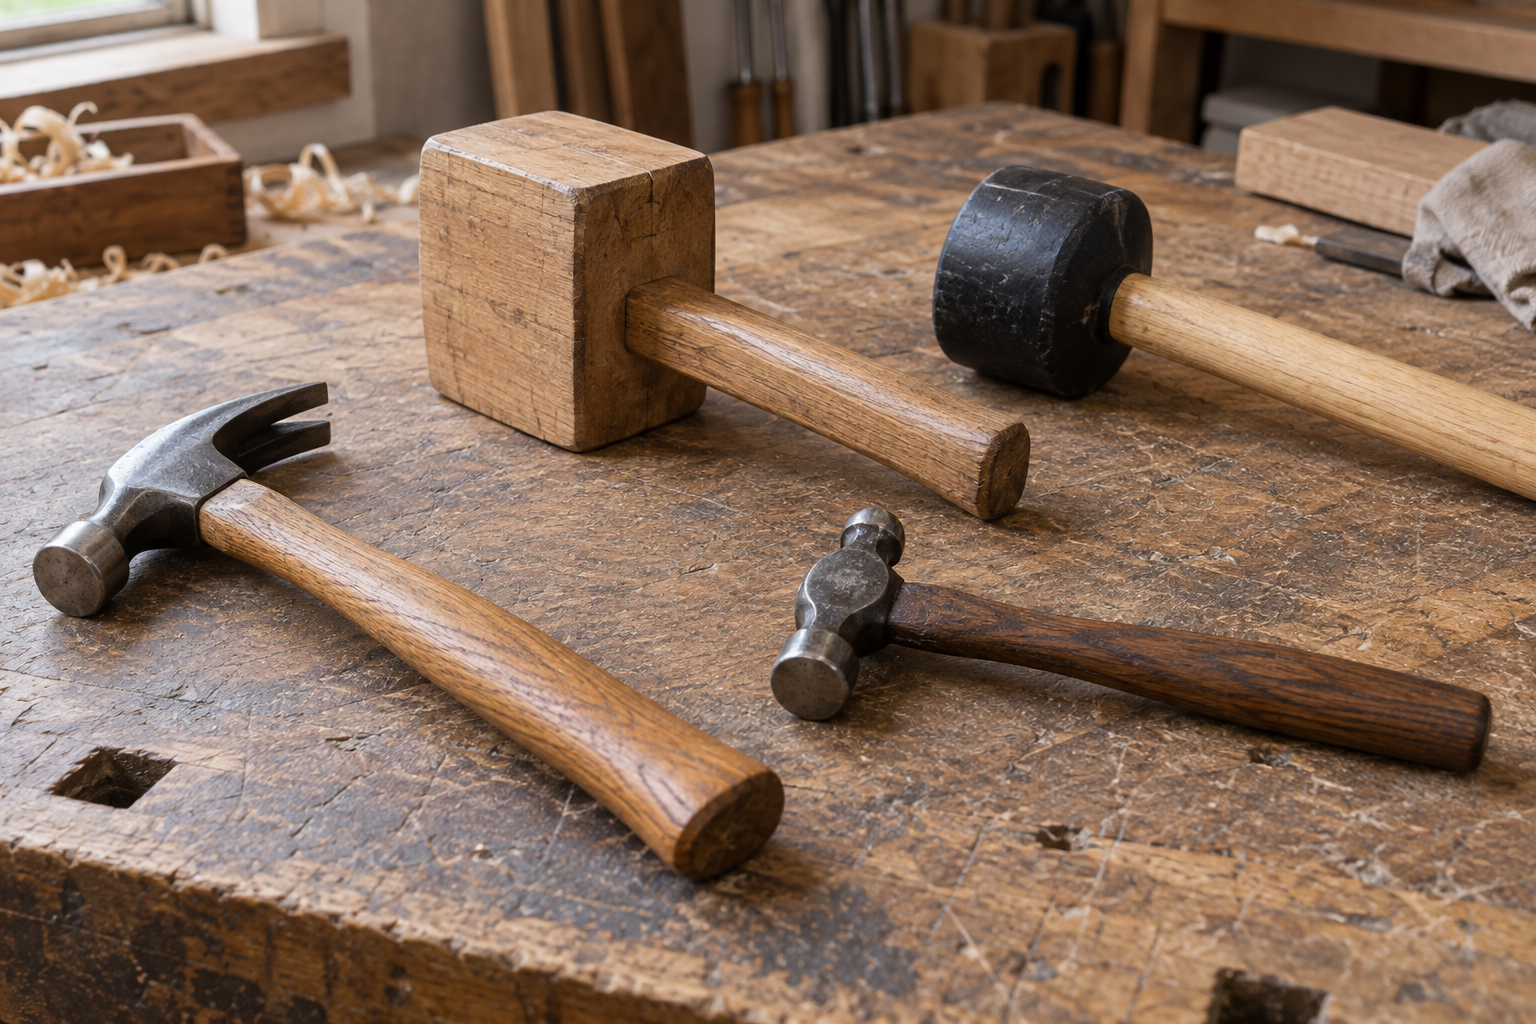
A rubber mallet has a soft, resilient head. On impact, the rubber deforms and spreads some of the force over a wider area. That makes it forgiving when tapping a joint together, but it also absorbs energy and rebounds from the work. You may need several taps, particularly when assembling a tight joint.
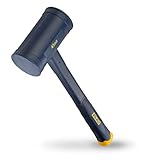
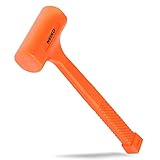
A dead-blow hammer has a hollow head partly filled with steel or shot. The contents move forward after impact, reducing bounce and adding a follow-through effect. The result is a controlled, solid hit rather than the springy slap of a rubber mallet. The hammer stays more stable, and less energy is wasted in rebound.
Neither tool replaces accurate joinery. If a mortise is undersized or a tenon has swollen, increasing hammer size can split the workpiece or damage the joint instead of fixing the fit.
Dead-blow hammer vs. rubber mallet
| Factor | Dead-blow hammer | Rubber mallet |
|---|---|---|
| Typical price | About $15–$40 | About $8–$20 |
| Impact | More focused and efficient | Softer and more spread out |
| Rebound | Low | Moderate to high |
| Best joint work | Tight hardwood joints and heavy assemblies | General cabinet and furniture assembly |
| Risk to finished surfaces | Low with the right face and light blows | Low, but rubber can scuff or transfer color |
| Main weakness | Can deliver too much force; heavier to handle | May lack force and can bounce away |
When a rubber mallet is the right choice
Choose a rubber mallet for ordinary furniture assembly, especially when the joint is already close to fitting. A 12- to 16-ounce head is a practical size for most home workshops. It gives enough force to seat a typical mortise-and-tenon joint without making each tap unnecessarily aggressive.
Rubber is also a good choice for knocking together carcass parts, tapping drawer components into alignment, and seating dowel joints after glue has been applied. The low cost matters here: a basic mallet is sufficient for occasional work, and replacing it after the head hardens or becomes marked is inexpensive.
Use a clean, non-marking white rubber head when working with pale woods or freshly finished surfaces. Black rubber can leave dark transfer marks, particularly when it is worn, damp, or exposed to solvent. Even a white mallet can leave a shiny compression mark on soft pine, cedar, or end grain.
If your priority is value, a white rubber woodworking mallet is usually the sensible first purchase.
When a dead-blow hammer earns its place
A dead-blow hammer is useful when a rubber mallet makes you swing harder than you should. Tight-fitting hardwood joints often need firm, repeated impacts. The dead-blow design transfers that energy efficiently and does not jump back as much, so the head is easier to keep centered on a small target.
This is especially helpful when seating long tenons, assembling thick workbench parts, or fitting joints that must close over the final 1/8 inch. A 16- to 24-ounce dead-blow hammer covers many woodworking jobs. Larger 32-ounce versions can be effective for heavy construction, but they increase the chance of crushing shoulders, denting edges, or shifting an assembly out of square.
Look for replaceable, non-marring faces if you expect to use the hammer on finished work. A polyurethane or soft-face head offers better protection than a hard plastic face, but no face is damage-proof. Put a scrap block between the hammer and the project when the joint shape allows it. The block spreads the impact and protects narrow tenon shoulders.
For repeated assembly work or stubborn hardwood joints, compare non-marring dead-blow hammers rather than buying the heaviest tool available.
How to seat a joint without damaging it
Dry-fit the joint first. It should enter far enough to stay aligned, but it should not require maximum force before glue is added. Check for glue squeeze-out, dust, raised grain, or a tenon shoulder that is bottoming out early. A joint that stops suddenly after entering only a fraction of its depth is often too tight or obstructed.
Apply glue, assemble by hand as far as possible, and then strike the strongest part of the assembly. Do not hit a thin rail, a delicate molding, or the unsupported end of a narrow tenon. Use short, controlled taps and check the joint after every few blows. Measure diagonals on cabinets rather than assuming the hammer has kept the case square.
For a finished project, place a clean scrap of matching wood between the hammer and the work. Avoid fabric or cardboard as the only barrier; they compress unevenly and can prevent a joint from closing fully. If the joint needs more than firm hand taps, stop and investigate the fit instead of switching to a larger hammer.
Which should you buy?
Buy a rubber mallet if you are building cabinets, assembling occasional furniture, or working mostly with softwood and close-fitting joints. It is the cheaper option and handles the majority of light-duty seating tasks.
Buy a dead-blow hammer if you regularly work with hardwood, assemble heavy furniture, or need controlled force with minimal rebound. It is worth the extra cost when repeated impacts are part of your normal workflow, not merely because it sounds more professional.
For a small workshop that can afford both, start with a 16-ounce white rubber mallet and add a 16- or 24-ounce dead-blow hammer when the mallet begins to feel inefficient. A 16-ounce rubber mallet plus a 16-ounce soft-face dead-blow hammer covers more situations than one oversized hammer and makes it easier to match force to the joint.