What's inside
As an Amazon Associate I earn from qualifying purchases. This post may contain affiliate links at no extra cost to you.
Cutting small parts on a table saw exposes weaknesses that are easy to ignore on full-size boards. A factory throat plate leaves a wide opening around the blade, so narrow pieces can drop into the gap, tilt, or catch on the plate edge. A good zero-clearance insert supports the work almost up to the teeth and gives you a cleaner, more controlled cut.
The best choice is usually not the most expensive insert. It is the one that fits your saw without rocking, supports the cut without flexing, and works with the blade, riving knife, and cutting depth you actually use.
As an Amazon Associate we earn from qualifying purchases at no extra cost to you.


Our Top Picks
 Laofudech Zero Clearance Inserts for DWE7485 Table Saws13 x 3.75 x 0.38 inches0.1 poundsCheck on Amazon


What a Zero-Clearance Insert Does
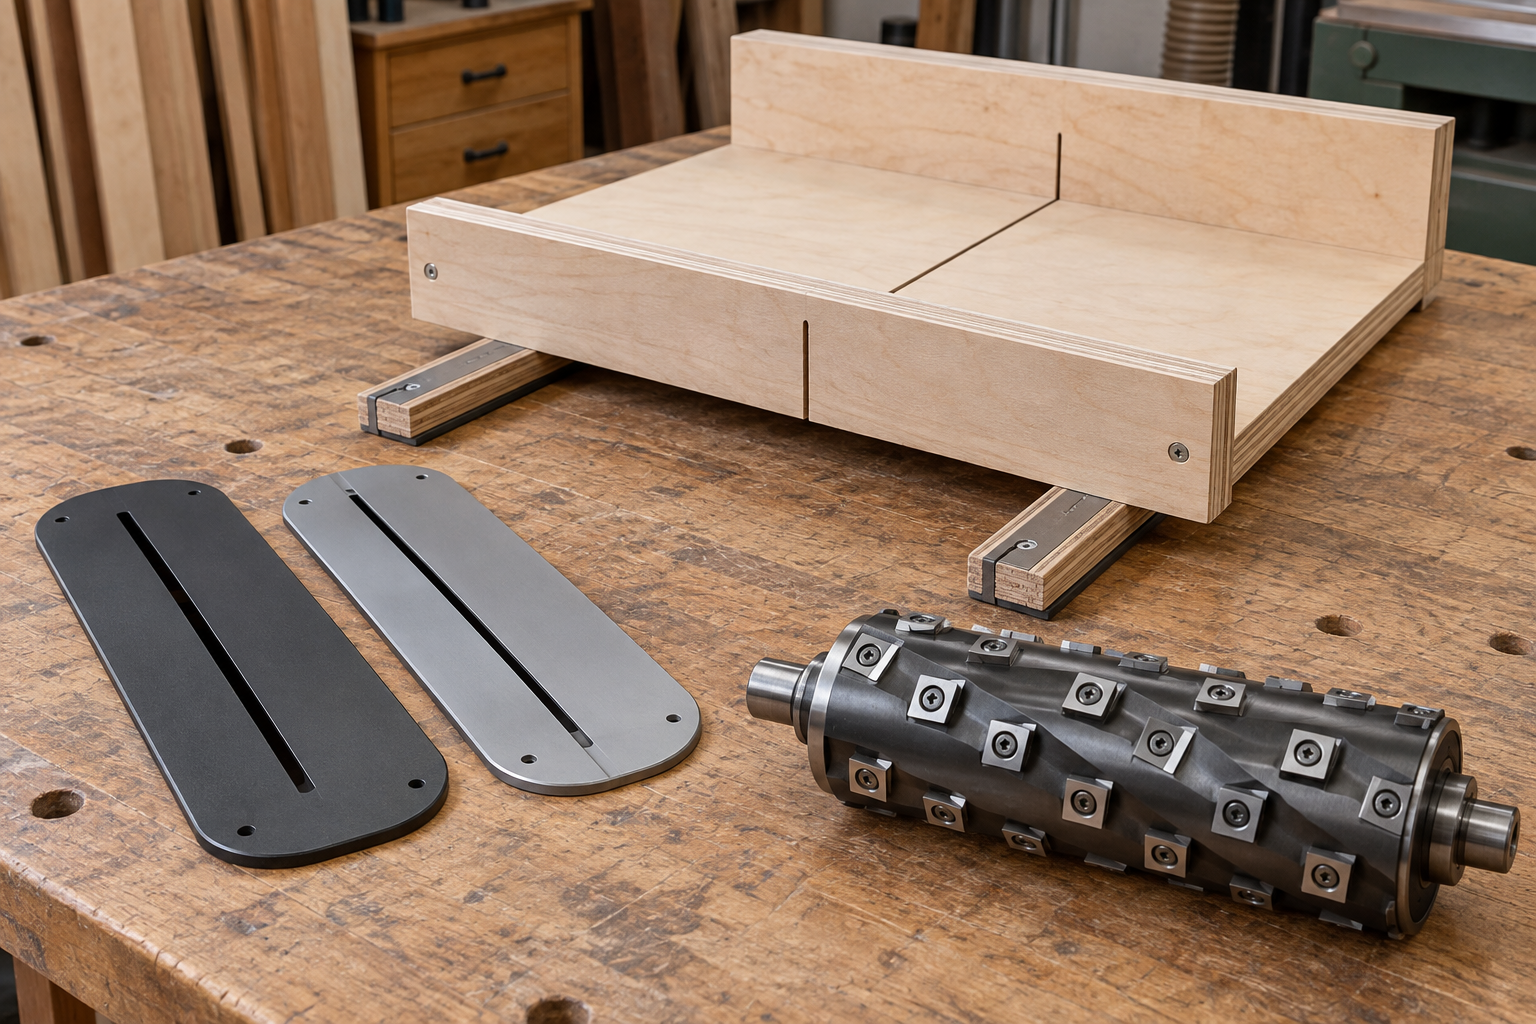
A zero-clearance insert replaces the stock throat plate with a plate that has a narrow slot around the blade. You install it with the blade below the table, raise the blade slowly through the blank insert, and create an opening matched to that blade.
That narrow opening prevents small offcuts from dropping beside the blade. It also gives the fibers more support as the blade exits the work, which can reduce tear-out on plywood, thin hardwood, and cross-grain cuts. The improvement is most noticeable when cutting strips less than about 2 inches wide or parts only a few inches long.
It does not make an unsafe setup safe. A short workpiece can still rotate, pinch the blade, or be thrown backward. Use a push block, push stick, or small-parts sled that keeps your hands away from the teeth. Do not hold a small piece against the fence with your fingers as it passes the blade.
What to Buy
For most saws, start with a table saw zero-clearance insert blank made for your saw’s throat-plate dimensions. A blank lets you cut the opening for the exact blade you use and is often cheaper than buying several specialized inserts.
Choose a factory-made insert if you want a faster installation and your saw has a common plate size. Choose an adjustable or shop-made insert when you need several blade openings, a dado setup, or a custom fit. Avoid generic plates that only approximate the opening. A loose plate can vibrate, lift at the front, or sit below the table surface.
| Insert type | Best use | Advantages | Limitations |
|---|---|---|---|
| Factory zero-clearance insert | Common saws and quick setup | Easy to install; usually has proper leveling screws | May not fit aftermarket blades or special cuts |
| Blank insert | General-purpose small-part work | Cut the slot to your blade; inexpensive; easy to replace | Requires careful setup and fitting |
| Shop-made plywood or plastic insert | Custom jigs and unusual saws | Low cost; fully customizable | Can warp, flex, or wear quickly if poorly made |
| dado or specialty insert | Wide blades and specific operations | Provides proper support around a wider cut | Not interchangeable with a standard blade insert |
Fit and Material Matter More Than Appearance
A rigid insert is worth paying for. Phenolic plastic, machined plastic, aluminum, or a well-made laminate blank generally stays flatter than thin plywood. A plywood insert can work well for occasional use, but seal its edges and check it before every session. A swollen or bowed insert can become a trip point for the workpiece.
Check the critical dimensions before ordering: length, width, thickness, corner radius, locating tabs, and the position of any leveling screws. Some saws use a proprietary throat plate with a rear hook or front locating pin. A plate that matches only the overall length and width may still be unusable.
The top should finish flush with the saw table. Most inserts use small leveling screws at the corners. Adjust them so a straightedge passes smoothly from the cast-iron table onto the insert. Even a height difference of roughly 1/32 inch can catch a narrow strip, especially during a crosscut.
Look for an insert that preserves the riving knife or splitter setup. On many saws, the riving knife rises through a separate opening behind the blade. Some zero-clearance plates require a relief cut or have an open rear section. Never remove the riving knife just to make an insert fit unless the saw manufacturer specifically permits that configuration for the operation.
Making the Blade Opening
To cut a blank insert, install the blade and lower it fully. Fit the blank, secure it with the saw’s retaining hardware, and use a clamp or scrap board to keep it from lifting. Raise the blade slowly while the saw runs, stopping when the opening reaches the height needed for the cut.
Keep the first opening narrow, but not so tight that the blade body rubs. A practical target is roughly 1/16 inch of clearance on each side for a standard blade. If you use a blade with a thicker kerf, make the slot with that blade installed. A zero-clearance opening made for a thin-kerf blade will not automatically suit a full-kerf blade.
Inspect the insert after cutting the slot. If it cracks, lifts, or shows burning from blade contact, replace it. Do not enlarge the opening with a file while the insert is installed and the blade is exposed. Remove the plate first and keep its edges smooth.
The Setup for Small Parts
A zero-clearance insert works best with a sharp blade, a stable fence, and a support method suited to the part. For crosscutting short pieces, a table saw crosscut sled provides better support than the factory miter gauge. Add a stop block only on the safe side of the blade; a stop that traps the offcut between the blade and the block can cause a kickback.
For narrow ripping, use a small-parts table saw push block or a purpose-built push shoe. Keep the work pressed against the fence until it has completely passed the blade, then move it away without reaching over the cutting path. If the part is too short to control with a push device, change the operation: use a sled, bandsaw, or handsaw instead.
When the Cheaper Option Is Fine
A basic blank insert is sufficient for an occasional hobbyist who cuts standard stock with one blade. The cheaper option is also reasonable when you are willing to make a replacement after the opening wears or when you need a custom insert for one jig.
Spend more on a rigid, accurately machined insert if you use the saw daily, cut thin sheet goods, switch frequently between blades, or need repeatable setup. Also consider a table saw dado insert if you use a stacked dado blade; forcing a standard blade insert to accommodate a wide cut leaves excessive unsupported space and defeats its purpose.
Before buying, measure your existing throat plate and confirm the insert supports the safety equipment you use. For small parts, a properly leveled blank insert paired with a sled or push block usually delivers the best balance of cost, control, and clean cuts.