What's inside
As an Amazon Associate I earn from qualifying purchases. This post may contain affiliate links at no extra cost to you.
A ferrule crimper has one job: form a stranded wire and its metal ferrule into a connection that fits a terminal cleanly and stays put. In a control cabinet, a poor crimp can leave strands loose, create a high-resistance joint, or make a wire pull free during maintenance. The right tool depends less on brand claims than on the ferrules you use, the number of wires you terminate, and whether you need a repeatable crimp across a full panel.
As an Amazon Associate we earn from qualifying purchases at no extra cost to you.


Our Top Picks


What matters in a ferrule crimper
Match the tool’s stated range to the ferrule size, not just the conductor size. Ferrule ranges are usually listed in square millimeters (mm²); common cabinet work includes 0.5, 0.75, 1.0, 1.5, 2.5, and 4 mm² conductors, with larger sizes used for higher-current circuits. Check that the tool accepts the ferrules’ actual sleeve lengths and collars, too. A crimper can cover the right wire size but still be awkward with a long insulated ferrule.
Look for a ratcheting mechanism that releases only after completing its cycle, plus a consistent die profile. Square crimps are common for terminal blocks because they make a compact shape; hexagonal crimps suit some applications and ferrule styles. Neither shape is automatically better. Follow the terminal, ferrule, and tool manufacturers’ instructions, especially where approvals or specified crimp dimensions matter.
For any tool, test a sample before wiring a cabinet. Strip to the ferrule’s barrel length, insert every strand fully, and crimp once. Inspect for strands outside the sleeve, a split collar, a visibly uneven compression, or a ferrule that pulls off under a firm hand tug. For critical work, use the pull-test method and acceptance criteria specified by the applicable standard or equipment maker rather than relying on a casual tug.
Crimper types compared
| Type | Best fit | Advantages | Trade-offs |
|---|---|---|---|
| Basic ratcheting kit | Occasional repairs and small panels | Low cost; often includes common ferrules | Included ferrules may be mixed quality; dies may be less consistent |
| Dedicated fixed-die ratcheting crimper | Regular cabinet wiring in a known size range | Simple setup and repeatable operation | Less flexible if wire sizes or ferrule styles change |
| Interchangeable-die crimper | Mixed electrical work or several crimp profiles | One handle can cover multiple applications | More parts to manage; die changes can slow repetitive work |
| Powered ferrule crimper | High-volume production | Less hand fatigue and faster repetitive work | Higher cost, bulkier, and unnecessary for occasional jobs |
Best choice for most control cabinets
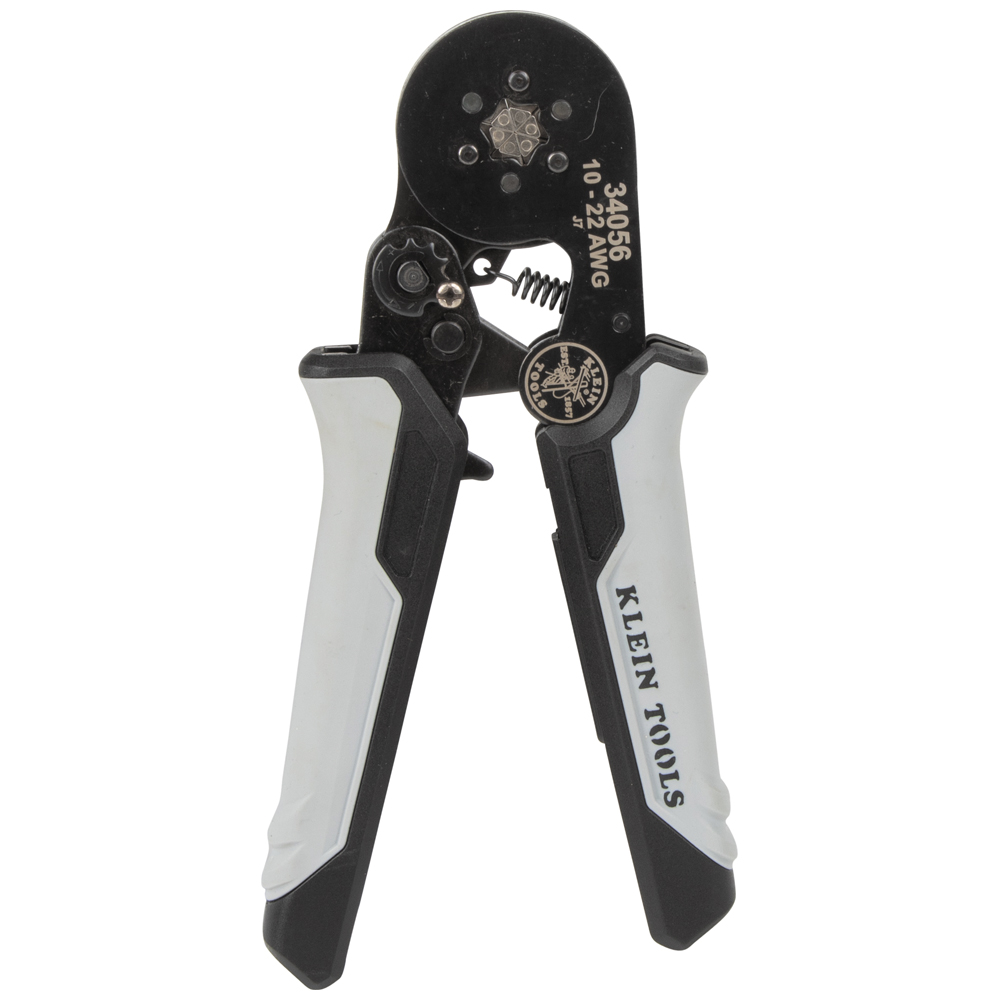
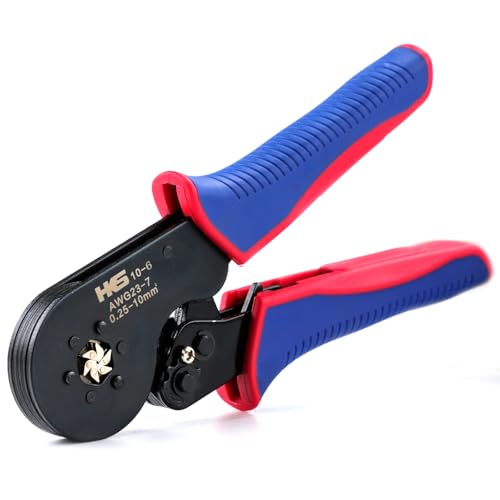
For a technician wiring panels regularly, a dedicated ratcheting crimper with a clearly marked range that covers the actual ferrules on the job is usually the sensible buy. A square-profile tool is a practical default for common DIN-rail terminal blocks, but confirm compatibility with your terminals. Choose comfortable handles and an accessible release lever if you will make hundreds of crimps in a day. Browse ratcheting square ferrule crimpers and compare the published range, die profile, and included documentation rather than choosing by the number of ferrules in the box.
A budget kit is fine for a homeowner, occasional maintenance, or a small cabinet with a limited set of wire sizes. Its value depends on the crimper, not the accessory count. Check that the ratchet completes and releases reliably, and reject a tool that needs repeated squeezing or leaves visibly inconsistent crimps. If the kit’s ferrules have thin, poorly formed collars or loose plastic sleeves, replace them with a known compatible set. For a kit with a useful assortment, see ferrule crimper kits with ferrules.
When to spend more
Upgrade from an entry-level tool when you terminate enough wires for hand fatigue or inconsistency to become a problem, when the work spans several ferrule ranges, or when the project requires documented process control. An interchangeable-die setup can make sense if you also crimp other connector types, but it is not automatically a better ferrule tool: every die must be the correct one, seated properly, and maintained. A powered model is hard to justify for a few dozen terminations; it becomes more attractive when the same operation repeats through production runs.
Consider interchangeable-die ferrule crimpers when the flexibility is useful on your actual jobs. For a dedicated panel shop, compare cycle consistency, serviceability, and spare-part availability with purchase price. A cheaper tool that works consistently on the sizes you use can be a better choice than a more versatile crimper whose extra dies sit unused.
Common mistakes and failure modes
Do not put two conductors into one ferrule unless the ferrule is rated for that combination and the terminal permits it. For two wires, use a twin ferrule sized for both conductors. A single ferrule forced over bundled wires can leave one conductor poorly captured. Also avoid trimming strands to make a wire fit: reducing the conductor’s cross-section weakens the termination.
Use a stripper that leaves clean strands, and cut off damaged or nicked ends. Strip only enough insulation to fill the metal barrel; excess bare wire can touch neighboring terminals, while insulation inside the barrel prevents a proper metal-to-metal crimp. Don’t crimp over the plastic collar, and don’t reuse a ferrule after crimping. If the ferrule is crooked, cracked, or loose, cut it off and start again with a new one.
Finally, a crimp that looks neat is not proof of a sound connection. Check that the finished ferrule enters the terminal without force, that no strands escape, and that the screw or spring clamp is tightened according to its specified procedure. Retightening a screw terminal indiscriminately can damage it; use the manufacturer’s torque value where provided.