What's inside
As an Amazon Associate I earn from qualifying purchases. This post may contain affiliate links at no extra cost to you.
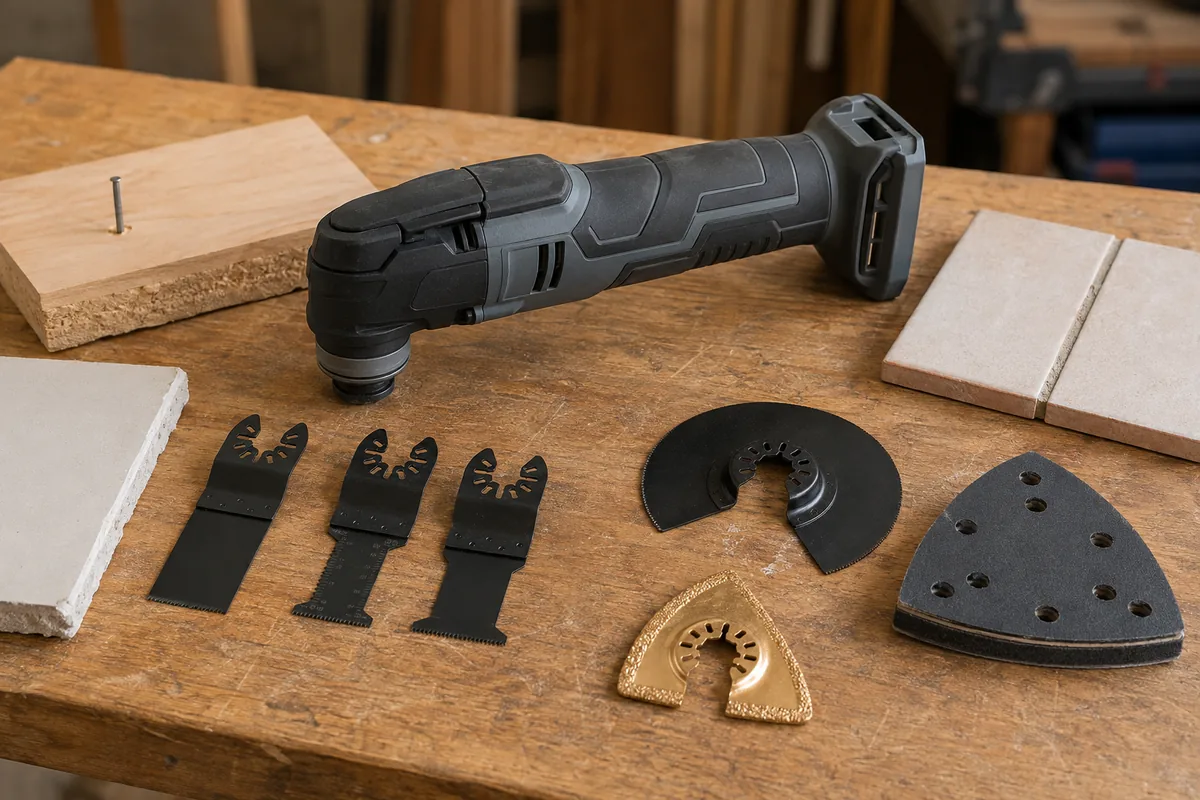
For refinishing a window sash, the best detail-sander attachment is usually a small triangular hook-and-loop pad that fits a multi-tool you already own. It reaches into corners and along narrow muntins without the bulk of a dedicated finishing sander. But the pad is only part of the choice: poor fit, coarse grit, or careless pressure can round crisp edges, gouge soft wood, or leave old paint in the corners.
As an Amazon Associate we earn from qualifying purchases at no extra cost to you.


Our Top Picks
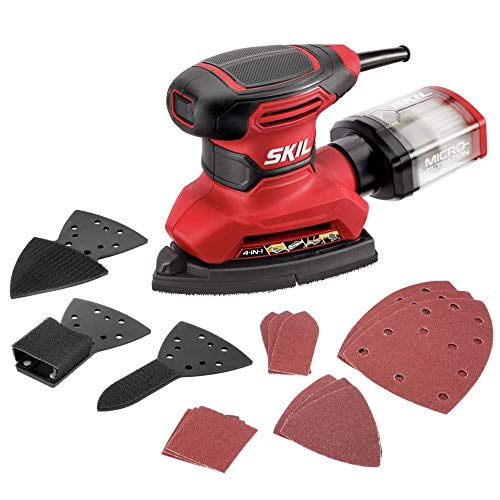 SKIL Corded Multi-Function Detail Sander with Micro-Filter DustOne Size9.84 x 5.7 x 6.69 inches2.6 poundsCheck on Amazon


What to buy
Match the attachment to the tool’s mounting pattern and sanding sheets before you order. Multi-tool pads are not universally interchangeable: some use a proprietary connection, while others fit common oscillating-tool interfaces. Check the tool and pad manufacturer’s compatibility information, and make sure replacement sheets are easy to find. A pad that fits but has no readily available abrasives is a poor bargain.
For ordinary wood sash work, look for a triangular pad roughly 3 to 4 inches across, with a pointed tip and hook-and-loop face. A perforated pad is useful only if its holes line up with your tool’s dust-extraction passages. Many multi-tools collect dust less effectively than a random-orbit sander, so do not choose a pad on the assumption that dust capture will be excellent.
Compare a triangle sanding pad for an oscillating multi-tool against a detail-sander pad and replacement sheets that match your tool. Buying the pad and abrasives as a compatible set reduces the chance of ending up with the wrong hole pattern or attachment.
Attachment options compared
| Option | Best use on a sash | Main trade-off | Typical starting grit |
|---|---|---|---|
| Triangular multi-tool pad | Small flats, corners, and narrow rails | Can leave vibration marks if pressed or held in one place | 120 |
| Hand sanding block | Flat rails, delicate profiles, and final smoothing | Slower, but gives better control | 120 or 150 |
| Small detail sander | Several flat areas on larger sashes | Less nimble in tight corners; requires another tool | 120 |
| Loose abrasive folded by hand | Curves and irregular molding | Easy to press unevenly or wear through at a fingertip | 150 |
A separate small triangular detail sander makes sense if you have multiple sashes or regularly refinish furniture. For one window, the matching multi-tool pad—or a sanding block—usually costs less and is easier to justify. The hand block is also the safer choice on thin glazing bars and profiled edges.
Choose grit and technique carefully
Start at 120 grit for sound wood with a thin coating that has already been stripped or mostly removed. Use 80 grit only for stubborn residue on broad, flat areas, and stop as soon as the coating is gone. Coarse abrasive can cut a shallow hollow surprisingly quickly, especially in soft pine. If the sash is already smooth and only needs a light key for paint, 150 or 180 grit may be enough. Do not expect sanding alone to remove thick paint evenly from shaped profiles.
Keep the pad moving with light pressure, following the grain where practical. Check the surface every few passes rather than running the tool continuously over one spot. The pointed tip is handy for a corner, but it concentrates pressure; use it briefly, then finish the corner by hand. On narrow muntins, work the face without letting the pad tip roll over the edge. That helps preserve the square lines that make sash joinery look crisp.
Finish bare wood with 150 or 180 grit unless the coating manufacturer specifies otherwise. Going much finer can burnish some woods and reduce paint adhesion. Vacuum the dust and wipe the surface as appropriate for the coating system; avoid leaving dust packed in the corners or on the glazing line.
Check paint and glazing before sanding
Older window paint may contain lead. In the United States, homes built before 1978 may be affected. Do not dry-sand suspect paint with a power tool: it can spread hazardous dust beyond the work area. Test the coating and follow applicable lead-safe procedures, including containment and appropriate respiratory protection, or hire a qualified professional. A sanding attachment is not a substitute for safe paint removal.
Also inspect the sash for loose glazing putty and cracked glass before starting. A vibrating tool can loosen fragile putty or transmit impact to the pane. Mask glass and hardware, support the sash securely, and keep the pad away from the glazing edge. If the putty is failing, repair it before sanding and painting; otherwise the finish work may have to be repeated.
Common attachment problems
If the abrasive clogs almost immediately, the coating may be soft, gummy, or still present in thick patches. Stop and use a suitable paint-removal method rather than forcing the sander through it. If sheets peel off, clean the hook-and-loop face and check that the sheet is the correct size and pattern. Excess heat from pressure and prolonged contact can weaken the backing.
For most sash refinishing, a compatible triangular multi-tool pad with 120- and 150-grit sheets is the practical buy. It handles limited flat sanding and reaches corners; a hand block remains better for fragile profiles and final touch-ups. Choose the cheaper block if this is a one-off job, and reserve a powered detail attachment for repeated work or a sash with enough flat area to make the speed worthwhile.