What's inside
As an Amazon Associate I earn from qualifying purchases. This post may contain affiliate links at no extra cost to you.
Our Top Picks
 Amana Tool 55227 Carbide Tipped 82 Degree Countersink3/8 D x 1/8 Drill D x 1/4 Inch5.75 x 3 x 1.5 inches0 poundsCheck on Amazon


What “adjustable” means for cabinet work
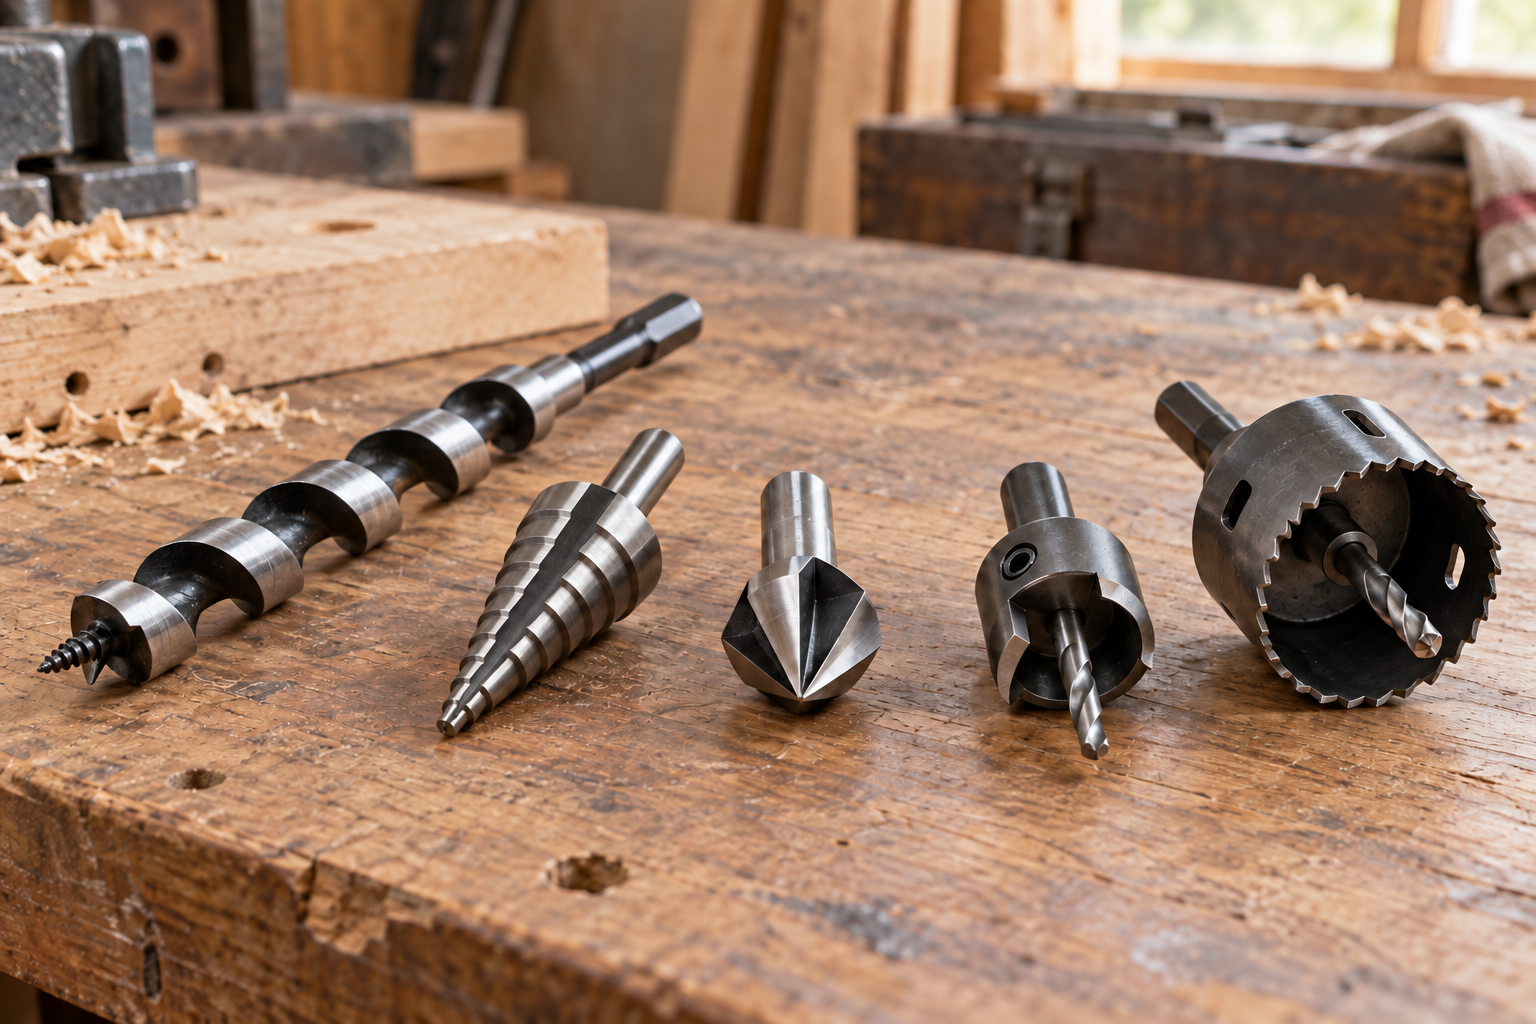
An adjustable countersink is a countersink bit paired with a movable depth stop. The cutter makes a tapered recess for the screw head; the stop limits how far the cutter enters the wood. That control helps when installing many screws flush or just below the surface, especially in face frames, drawer parts, and cabinet backs.
It does not control screw depth. A countersink prepares the hole; a drill or driver still drives the screw. For repeatable results, match the bit to the screw, set the stop against the surface, and use consistent pressure. A stop can prevent an over-deep recess, but it cannot compensate for a mismatched cutter or a wobbly drill.
As an Amazon Associate we earn from qualifying purchases at no extra cost to you.


The main buying options
| Option | Best for | Trade-off |
|---|---|---|
| Adjustable stop countersink | Repeated holes at one depth | More parts to set and keep clean |
| Fixed-depth countersink | Occasional work with one screw size | Less flexibility if material or screw changes |
| Separate countersink and pilot bit | Control over pilot diameter and recess | Two operations per hole; slower and easier to vary |
| Drill-stop collar on a countersink bit | Low-cost depth limiting | Can slip, and may mar the work without a suitable bearing face |
For a cabinet run with dozens of identical screws, a countersink bit with an adjustable depth stop is usually the most practical choice. If you only have a few holes to make, a basic countersink and a test piece may be enough. The adjustable version saves time mainly by reducing rework, not by making each hole dramatically faster.
Features that matter more than branding
Check that the cutter suits the screw head. A common flat-head screw has a conical underside, but head angles and diameters vary. If the countersink is too narrow, the head sits proud; too wide, and the head can sink below the surface or leave a broad, weak-looking rim. Test the actual screw in scrap from the same material before drilling the cabinet parts.
Look for a stop that locks securely and bears on the surface without digging in. A rotating stop collar or bearing-style stop is less likely to scuff a finished face than a rough stationary edge, though chips trapped beneath any stop can still scratch wood. A replaceable cutter is useful if you expect regular use; for a small installation, it may not justify a higher price.
For repeatable setup, use the screw head as your reference rather than choosing a depth by guesswork. Start with the head flush, then adjust slightly deeper only if the job calls for it. A recess roughly a fraction of a millimeter below the surface can be useful when a surface will be filled or covered, but an exposed cabinet face usually looks better with the head flush. There is no universal depth because screw geometry and material vary.
Set it up and drill consistently
First, confirm whether the bit drills a pilot hole as well as cuts the countersink. Some combination bits do both; others only form the recess. For hardwood, a correctly sized pilot hole matters because a screw driven without one can split a narrow rail or distort a joint. Use the screw maker’s pilot recommendation when available, and test in offcuts if the wood species or screw is unfamiliar.
Set the stop on scrap of the same thickness and species. Tighten its locking screw firmly, then drill two or three test holes. Check that the screw head sits as intended. If the cutter has a visible depth adjustment, make small changes—about a quarter turn or a millimeter at a time—rather than moving the stop a large amount. Recheck after each adjustment.
Keep the drill square to the surface and use moderate speed with steady pressure. Excessive speed can burn the recess, especially in hardwood or when the cutter is dull. Clear packed chips before they force the stop away from the surface. Once the setting is right, avoid loosening the stop during the job; periodically check a test hole, particularly after changing batteries, bits, or material.
Common failures and how to avoid them
Heads sit proud: The recess may be too shallow, the cutter may not match the screw head, or the pilot hole may be too small and preventing the screw from seating. Confirm the screw geometry before lowering the stop.
Heads bury too deeply: The stop may have slipped, the material may compress under the stop, or the drill may be tilted. Tighten the collar, drill on a flat surface, and use a lighter touch. In soft plywood veneer, even a well-set tool can crush the surface if pressed hard.
Holes vary in depth: Look for chips under the stop, a loose lock screw, inconsistent pressure, or changes in stock thickness. A stop establishes a limit only when it contacts the work evenly. It does not make uneven panels identical.
Edges chip or split: A dull cutter, an oversized recess, or drilling too close to an edge can cause damage. Use a sharp bit, maintain enough material around the screw, and test the setup before committing to a visible face.
Which one should you buy?
Choose an adjustable-stop countersink if you are installing a batch of screws and want the heads to land consistently. A stop-collar countersink for woodworking is a sensible middle ground: more repeatable than freehand depth control, without needing a dedicated jig.
For occasional assembly, the cheaper route is fine. A basic countersink bit set lets you choose a cutter for different screw sizes; use scrap and stop when the head sits flush. If you already own a suitable countersink, buying a separate adjustable tool may not improve the result enough to matter.
Whichever option you choose, prioritize a cutter that matches your screws and a stop that locks reliably. Those two details determine whether the tool makes clean, repeatable recesses. For cabinet installation, a careful test hole and a firm depth setting are worth more than extra accessories you will not use.