What's inside
As an Amazon Associate I earn from qualifying purchases. This post may contain affiliate links at no extra cost to you.
For most cabinet installation, a standard impact driver is the better first purchase. It is faster, easier to find bits for, and useful for many jobs beyond cabinets. A right-angle impact driver earns its place when you regularly need to drive screws where a straight tool physically will not fit—not simply because a cabinet space feels tight.
As an Amazon Associate we earn from qualifying purchases at no extra cost to you.


Our Top Picks



What the two tools do
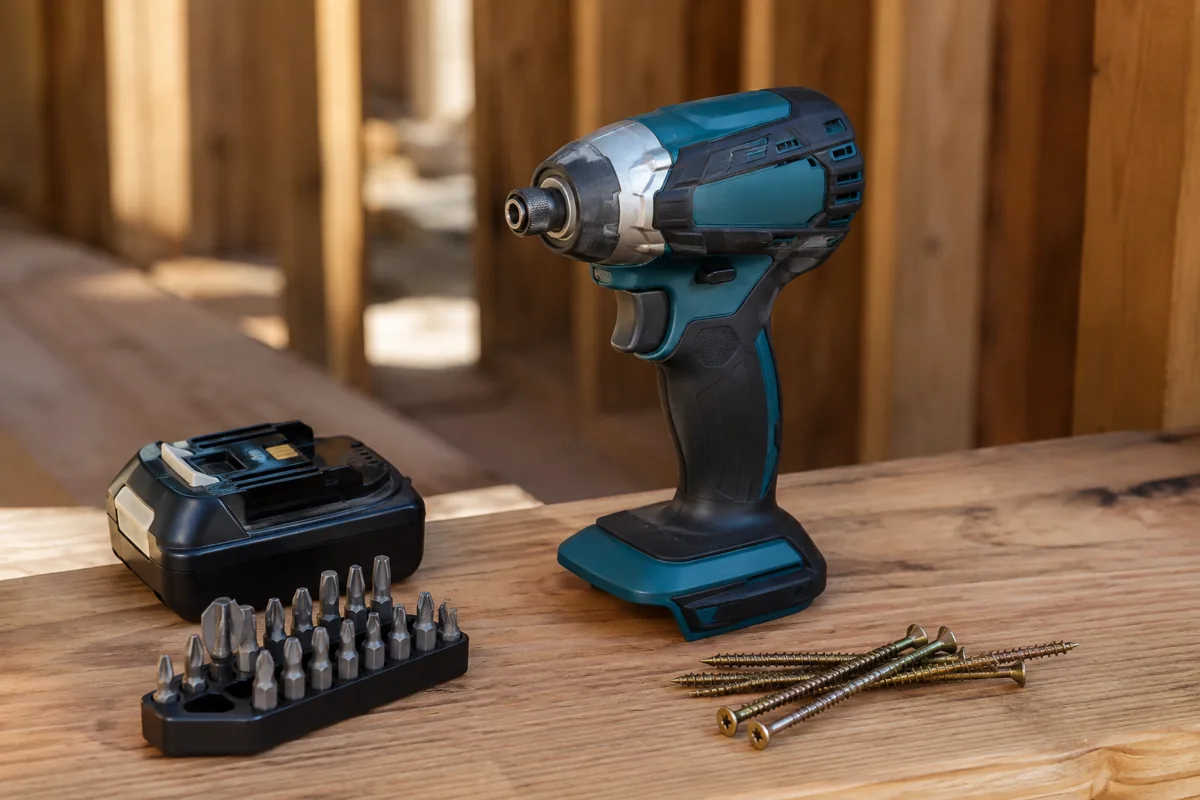
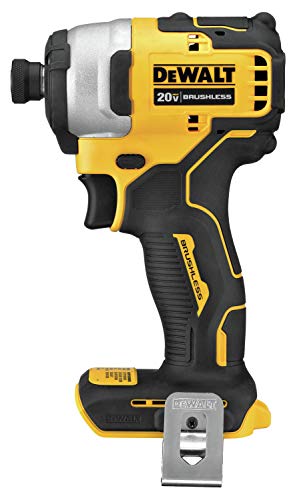
A standard impact driver holds a bit in line with the motor and battery. Its hammering action delivers rotational blows that help drive screws without forcing you to lean as hard as you would with a drill. Most accept 1/4-inch hex-shank bits and are compact enough for typical cabinet fastening.
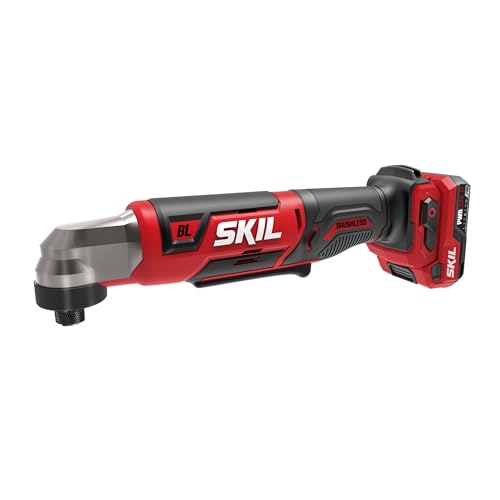
A right-angle impact driver redirects that drive through a head set roughly 90 degrees to the motor. The head can reach into narrow gaps, such as between a cabinet side and a wall, or behind a face-frame rail. That access comes with a trade-off: the head is bulkier than the bit holder on a straight driver, and the tool is often less convenient for general fastening.
What cabinet installation actually requires
Installing wall or base cabinets involves more than driving screws. You need to locate studs, level and shim the cabinets, clamp adjoining face frames, drill pilot holes, and fasten cabinets together and to the wall. A driver can speed up the last step, but it cannot make a poorly supported cabinet safe or correct a bad layout.
For wall cabinets, use suitable cabinet or structural screws driven into framing—not drywall screws. Confirm the screw length and placement for the cabinet construction and wall conditions. A common installation screw may be around 2 1/2 to 3 inches long, but the right choice depends on the cabinet back, hanging rail, wall layers, and required embedment into the stud. Follow the cabinet maker’s instructions and applicable local requirements.
When joining face frames, use a clamp to pull the frames flush before fastening. Drill a pilot hole near the frame edge to reduce splitting, and use a pan-head or washer-head screw appropriate for the joint. A powerful impact driver can still split a rail, strip a head, or pull the screw too far if you drive carelessly.
Standard vs. right-angle impact driver
| Factor | Standard impact driver | Right-angle impact driver |
|---|---|---|
| Reach | Best when there is room behind the screw for the motor and battery | Reaches screws near walls, inside narrow bays, and behind obstructions |
| Typical cabinet tasks | Wall-cabinet fastening, cabinet-to-cabinet screws, general assembly | Fastening in tight corners or beside an installed cabinet where a straight tool will not line up |
| Control | Usually easier to hold square and manage with two hands or a steady grip | Head position can make alignment awkward; access is better, but visibility may still be poor |
| Versatility | Useful for deck, framing, and household screw-driving with suitable bits | More specialized; less convenient for everyday driving |
| Cost and availability | Usually the cheaper, more common category | Often costs more and may have fewer compatible options |
Which one fits cabinet work better?
Choose a standard impact driver if you are installing a kitchen, laundry, or bathroom set and can plan access before the cabinets go up. Install accessible wall-fastening screws while the cabinet is positioned and supported, and use a straight driver for the face-frame connections. In many rooms, a compact standard driver will reach every planned fastener.
Choose a right-angle impact driver if your work often includes fastening inside narrow cabinet openings, fitting cabinets against obstructions, or repairing installed cabinetry where surrounding surfaces limit tool clearance. It can be a genuine time-saver when the alternative is removing a drawer, shifting a cabinet, or reaching a screw by hand. Search for a right-angle impact driver if those situations are part of your regular work.
Do not assume every right-angle head fits every gap. Check the tool’s head dimensions against the space around your fastener, and account for the bit and screw head. A tool that fits into the opening may still leave too little room to hold it square or see the screw. Try a cardboard clearance template or measure the actual cabinet before buying.
Avoiding damage and poor joints
Impact drivers can deliver far more force than a small cabinet screw needs. Start slowly, keep the bit seated, and stop as the head meets the material. If the tool has speed settings, use a low setting for frame screws and delicate hardware. Otherwise, pulse the trigger rather than holding it continuously. A clutch-equipped drill or screwdriver can offer more predictable shutoff for small screws and adjustment work.
The common failure modes are stripped screw heads, overdriven screws, split face frames, and screws that miss the stud. Use a fresh, correctly sized bit; drill pilots near frame edges; and verify stud locations instead of relying on the driver to pull a cabinet tight. If the fastener begins to bind, back it out and check the hole rather than forcing it until the head strips.
For small cabinet hardware—hinges, pulls, and drawer slides—a hand screwdriver or low-speed drill is often the safer choice. Impact action is unnecessary for many of these short screws and can damage a finish or component. Keep a set of quality hex-shank bits for the driver, but use the bit type that matches the fastener head.
A practical buying choice
If you own no cordless tools, a standard impact driver is generally the more useful buy for cabinet installation and future projects. Compare the bare tool with a kit that includes a battery and charger; the cheaper bare tool is a poor deal if it requires a new battery platform. Browse cordless impact driver kits and compare battery compatibility, tool length, speed controls, and warranty—not just peak torque claims.
If you already have a standard driver and expect only one awkward screw, do not buy a second tool by default. A shorter bit holder, a different installation sequence, or a manual screwdriver may solve the problem for less. A right-angle impact driver attachment can be cheaper, but it adds length at the head and may be less comfortable or capable than a dedicated tool. Check its stated compatibility and clearance before relying on it for structural cabinet screws.
Bottom line: buy the standard impact driver for general cabinet installation; add a right-angle model only when restricted access is a recurring, measured problem. For either tool, careful support, correct screws, pilot holes where needed, and controlled driving matter more than extra torque.