What's inside
As an Amazon Associate I earn from qualifying purchases. This post may contain affiliate links at no extra cost to you.
Locking pliers can hold a tube firmly, but they can also flatten thin-wall tubing in seconds. The difference is adjustment, jaw shape, and how much force you apply after the tool locks. A good clamp should stop the tube from moving without leaving a deep crease, ovaling the bore, or cutting into the surface.
Choose the right locking plier
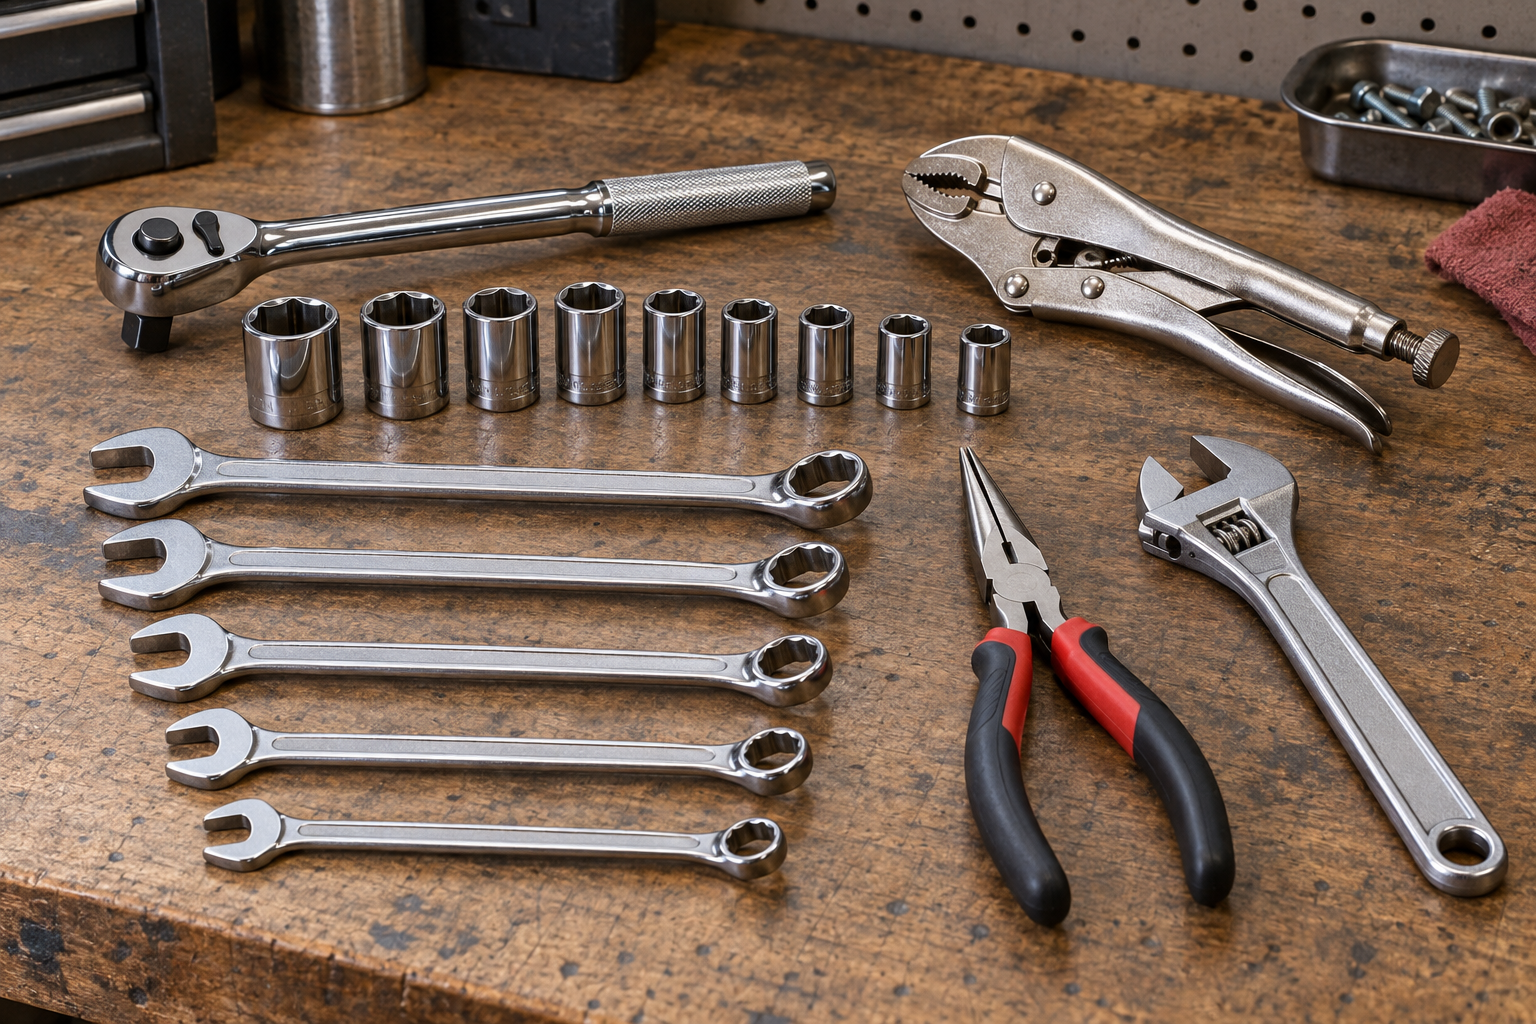
Standard curved-jaw locking pliers are useful for round steel pipe, threaded fittings, and parts that tolerate some marking. They are a poor choice for soft copper, aluminum, plastic, brake line, and thin-wall stainless tubing unless you protect the tube and limit the load.
For tubing, broad jaws spread the load better than narrow, pointed, or heavily serrated jaws. A dedicated wide-jaw locking plier is usually safer than a small general-purpose pair. Chain-style locking pliers are better when the tube is large or an awkward shape, because the chain wraps around more of the workpiece instead of concentrating pressure at two small contact points.
If the tube must remain round, consider a clamp designed for that job rather than treating locking pliers as a universal solution. A rubber-lined tubing clamp holds with much less crushing force, though it cannot replace locking pliers when you need a temporary wrenching surface or a very rigid grip.
Inspect and protect the tube
Before clamping, wipe away oil, grit, and chips. Dirt between the jaw and tube creates small high-pressure points that dent the surface. Check the tube wall and material as well. A 1/2-inch tube with a 0.049-inch wall can tolerate far less clamping pressure than 1/2-inch tubing with a 0.120-inch wall.
Use sacrificial jaw covers when the surface matters. Short pieces of rubber sheet, leather, polyurethane, or soft copper can prevent teeth from gouging the tube. Avoid thick, squishy material if precise positioning matters; it can make the tool feel tight while the tube still slips. A layer roughly 1/16 to 1/8 inch thick is a useful starting point.
Do not use plastic or thin rubber as a substitute for proper support when cutting or bending tubing. The tube can still collapse underneath the pad. For thin tubing, a close-fitting internal mandrel, tube insert, or correctly sized clamp is the more reliable solution.
Adjust the screw before locking
Open the pliers and turn the adjustment screw at the handle end counterclockwise to increase the jaw opening. Place the jaws over the protected tube, then turn the screw clockwise until the jaws just contact both sides.
Now remove the tool and make a small final adjustment. For thin-wall tubing, start with only 1/8 turn tighter than light contact. Refit the pliers and squeeze the handles until the locking mechanism snaps over center. The handles should require firm hand pressure, but not a two-handed shove or a hammer blow.
If the tool locks before the jaws firmly touch, the screw is too loose. If the handles will not close without excessive force, it is too tight. Do not compensate by forcing the handles. That can produce a sudden load spike and crush the tube before you notice it.
| Tube and task | Starting setup | Better tool choice | Main risk |
|---|---|---|---|
| Thick-wall steel pipe | Standard contact, modest final tightening | Curved-jaw locking pliers | Surface marks and slipping on oil |
| Thin-wall copper or aluminum | Jaw covers, light over-center tension | Wide-jaw pliers or lined clamp | Ovaling and permanent dents |
| Plastic tubing | Use a broad, soft interface; avoid serrated teeth | Rubber-lined clamp | Cutting, kinking, and blocked flow |
| Tube that must stay round | Support internally or clamp over a sleeve | Dedicated tubing fixture | Hidden bore restriction |
Test for secure clamping
After locking the pliers, try to rotate the tube by hand and pull it lengthwise. Use the same direction and force the job will create. If it moves, adjust the screw by small increments—about 1/16 turn at a time—rather than making a large turn.
Look at the tube on both sides of the jaws. A shiny compressed band, new flat spot, or visible jaw impression means the load is already too high. Unlock the pliers and inspect the cross-section if the tube carries fluid, air, or wiring. A tube can look acceptable outside while its internal passage has narrowed substantially.
For repeatable work, mark the adjustment screw with a paint pen after finding a safe setting. This helps when several identical tubes need clamping. It is still worth testing the first piece from each batch because wall thickness and hardness can vary.
Avoid common failure modes
Do not clamp directly over a flare, bead, weld seam, threaded area, or damaged section unless the tool is specifically designed for it. Uneven surfaces concentrate force and can permanently distort the joint. Keep the jaws square to the tube. Angled jaws tend to walk along the surface and can twist or kink thin material.
Do not extend the handle with a pipe for extra leverage. Locking pliers already multiply hand force, and the adjustment screw does not provide a precise torque limit. If the tube slips under reasonable hand pressure, improve the jaw coverage, clean the surfaces, add a suitable sleeve, or choose a different clamp.
For plumbing repairs, a rubber-jaw locking plier can be a sensible middle ground: cheaper and more versatile than a specialty fixture, with less marking than bare steel teeth. It still should not be trusted as a permanent pressure-rated support.
When cheaper pliers are enough
Inexpensive locking pliers are fine for temporary work on thick-wall steel, rough fabrication, or parts that will be painted afterward. Their usual weaknesses are rough adjustment threads, inconsistent jaw alignment, and weaker teeth. Those problems matter more when clamping thin tubing or when you need the same setting repeatedly.
Spend more on wide, smoothly machined jaws or a dedicated lined clamp when the tube is soft, visible, expensive, or part of a fluid system. The cheapest tool is not cheap if it creates a leak, restricts flow, or forces you to replace a formed tube. For occasional rough work, however, careful adjustment and a proper protective sleeve often deliver the same practical result without buying premium pliers.