What's inside
As an Amazon Associate I earn from qualifying purchases. This post may contain affiliate links at no extra cost to you.
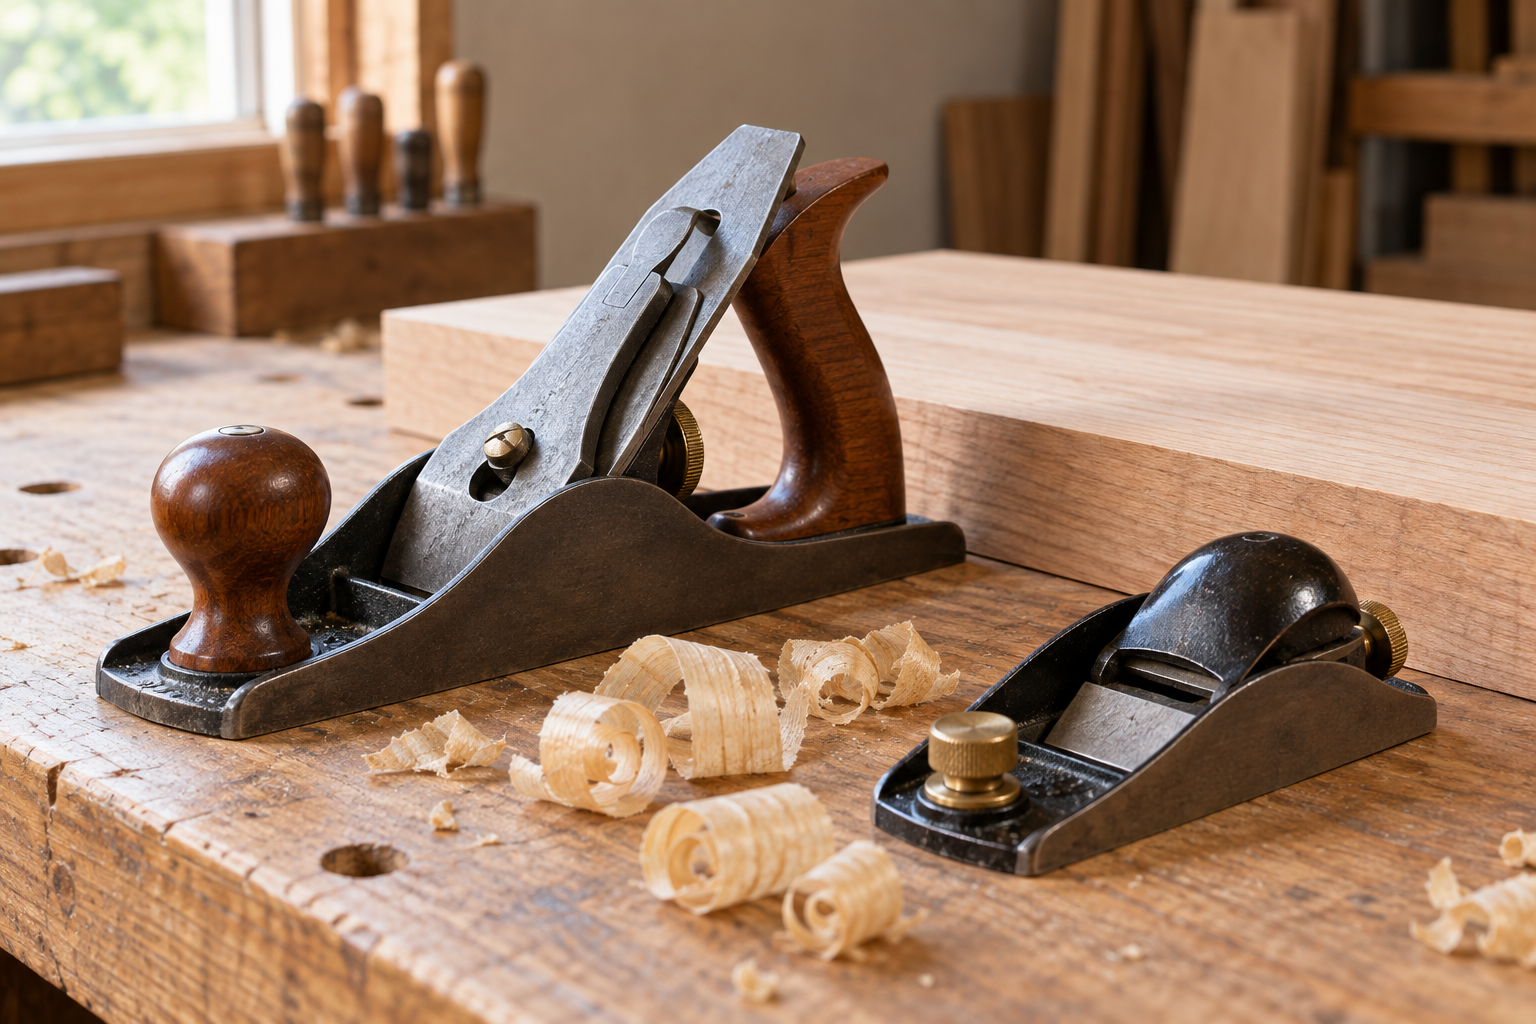
Maple is a useful test for a hand plane because it is hard, dense, and often prone to tearout. A plane that behaves well in pine can leave short, ragged fibers in figured or reversing maple. The mouth opening—the gap between the cutting edge and the front of the plane’s sole—matters, but it is only one part of the setup. A sharp iron, a tight cap-iron setting, a low cutting angle, and a controlled cut all affect the result.
Our Top Picks

What the Mouth Controls
The mouth supports the wood fibers immediately ahead of the blade. A smaller opening gives those fibers less room to lift before they are cut, which reduces tearout. It also limits the maximum shaving thickness the plane can take without clogging.
For fine smoothing cuts in ordinary, straight-grained maple, set the mouth opening around 0.5 to 0.75 mm (0.020 to 0.030 inch). On figured maple or areas where the grain reverses, a setting closer to 0.25 to 0.5 mm (0.010 to 0.020 inch) gives better support. These are practical starting points, not universal measurements. The correct setting is the smallest opening that passes your intended shaving without plugging.
A mouth that is too open can allow tearout even with a sharp blade. A mouth that is too tight will clog with shavings, especially if you try to remove more than a whisper of material. Do not use a smoothing plane with a fine mouth as a stock-removal tool.
Choose the Right Plane
For most maple smoothing, a standard-angle smoothing plane with a well-sharpened iron is a sensible choice. A low-angle plane can cut cleanly when its blade is honed with a higher bevel angle, but it gives you less adjustment range if the grain becomes difficult. A high-angle or bevel-up plane can be excellent for figured maple, though its effective cutting angle depends directly on the bevel you grind.
| Plane setup | Best use in maple | Strength | Limitation |
|---|---|---|---|
| Standard-angle smoothing plane | Final passes on mostly straight grain | Fine control and strong mouth adjustment | May need a higher cutting angle for severe figure |
| Low-angle bevel-up plane | End grain and general-purpose work | Easy blade changes and good versatility | Blade bevel determines cutting angle and durability |
| High-angle setup | Reversing or curly maple | Reduces tearout without relying only on a tiny mouth | Requires more push and removes less material |
| Scrub or jack plane | Initial flattening only | Removes material quickly | Too aggressive for final maple surfaces |
If you are buying rather than tuning an inherited plane, prioritize a rigid sole, reliable lateral or blade alignment, and a mouth that can be adjusted precisely. An adjustable-mouth smoothing hand plane is convenient when moving between rougher and finer work. However, an adjustable mouth does not compensate for a dull iron or poor blade alignment.
Set the Mouth Before Sharpening Tests
Remove the blade or retract it fully before making adjustments. On a plane with a movable front sole, loosen the locking hardware, shift the toe until the opening looks narrow and even from side to side, then tighten the hardware firmly. Do not force the adjuster against a locked mechanism; that can damage the threads or distort the sole.
Set the blade so its edge is just visible through the mouth. Sight along the sole, then advance the iron in tiny increments. The cutting edge should project evenly from left to right. If one corner projects farther, the plane will leave a deeper track on that side and may chatter as you correct it.
For a first test, aim for a shaving about 0.1 to 0.2 mm thick. If the plane stalls or the mouth fills after a short pass, retract the blade slightly or open the mouth by roughly 0.1 mm. If the shaving is easy to produce but the surface shows torn pockets, reduce the opening and check the cutting angle.
Sharpen and Set the Cap Iron
Maple exposes a weak edge quickly. Hone a primary bevel around 25 to 30 degrees, with a small secondary bevel of about 1 to 2 degrees. The exact angles vary by blade steel and plane type, but the edge should shave hair cleanly and leave no visible flat spots under magnification.
For a standard plane, the cap iron is especially useful against tearout. Set its leading edge straight and polished, then position it roughly 0.5 to 1 mm behind the cutting edge for difficult maple. That close setting curls the shaving early and helps prevent the blade from prying up fibers. It requires a clean, sharp cap-iron edge; a gap or burr can pack with shavings.
A cap iron set farther back—around 2 to 3 mm—is easier to use and is adequate for straight-grained maple. The trade-off is less tearout control. If you frequently work figured stock, a replacement hand-plane cap iron can be worthwhile if the original will not seat flat or has a poorly formed leading edge.
Test, Read the Surface, and Correct
Plane a test board from the same maple, preferably near the finished workpiece. Work in both directions and inspect the surface under raking light. Long, shiny torn areas indicate that the blade is lifting fibers. Short, fuzzy patches can also result from a dull edge or a cut taken against reversing grain.
Make only one change at a time. First sharpen the blade, then try a lighter cut. If tearout remains, close the mouth by a small amount. Next, move the cap iron closer or increase the effective cutting angle. On a bevel-up plane, a 50- to 55-degree effective angle is often more useful on figured maple than an extremely tight mouth alone.
Keep the plane moving at a steady pace and use both hands. A skewed pass can reduce resistance, but it also changes the direction of the cut and may create uneven tracks. For narrow boards, plane with the grain where possible. For reversing figure, short overlapping passes and a very light cut are safer than trying to force a long shaving.
When the Cheaper Option Is Fine
You do not need an expensive plane to set a fine mouth in maple. A sound used plane with a flat sole, a blade that can be sharpened, and an intact adjustment mechanism can perform very well. Spending more is justified when you want faster setup, a stiffer body, finer mouth adjustment, or a blade and cap iron that arrive flat and ready to use.
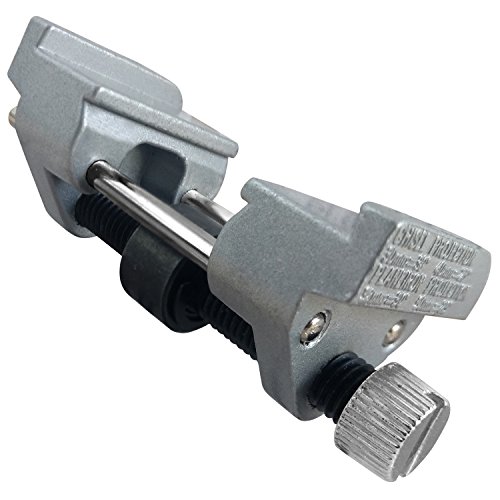
A fixed-mouth plane is also perfectly serviceable if its opening already measures about 0.5 mm and you mainly make final passes. Choose an hand-plane sharpening guide before upgrading the plane if inconsistent bevels are your main problem. In maple, a repeatable sharp edge usually produces a larger improvement than a premium body with a badly set blade.