What's inside
As an Amazon Associate I earn from qualifying purchases. This post may contain affiliate links at no extra cost to you.
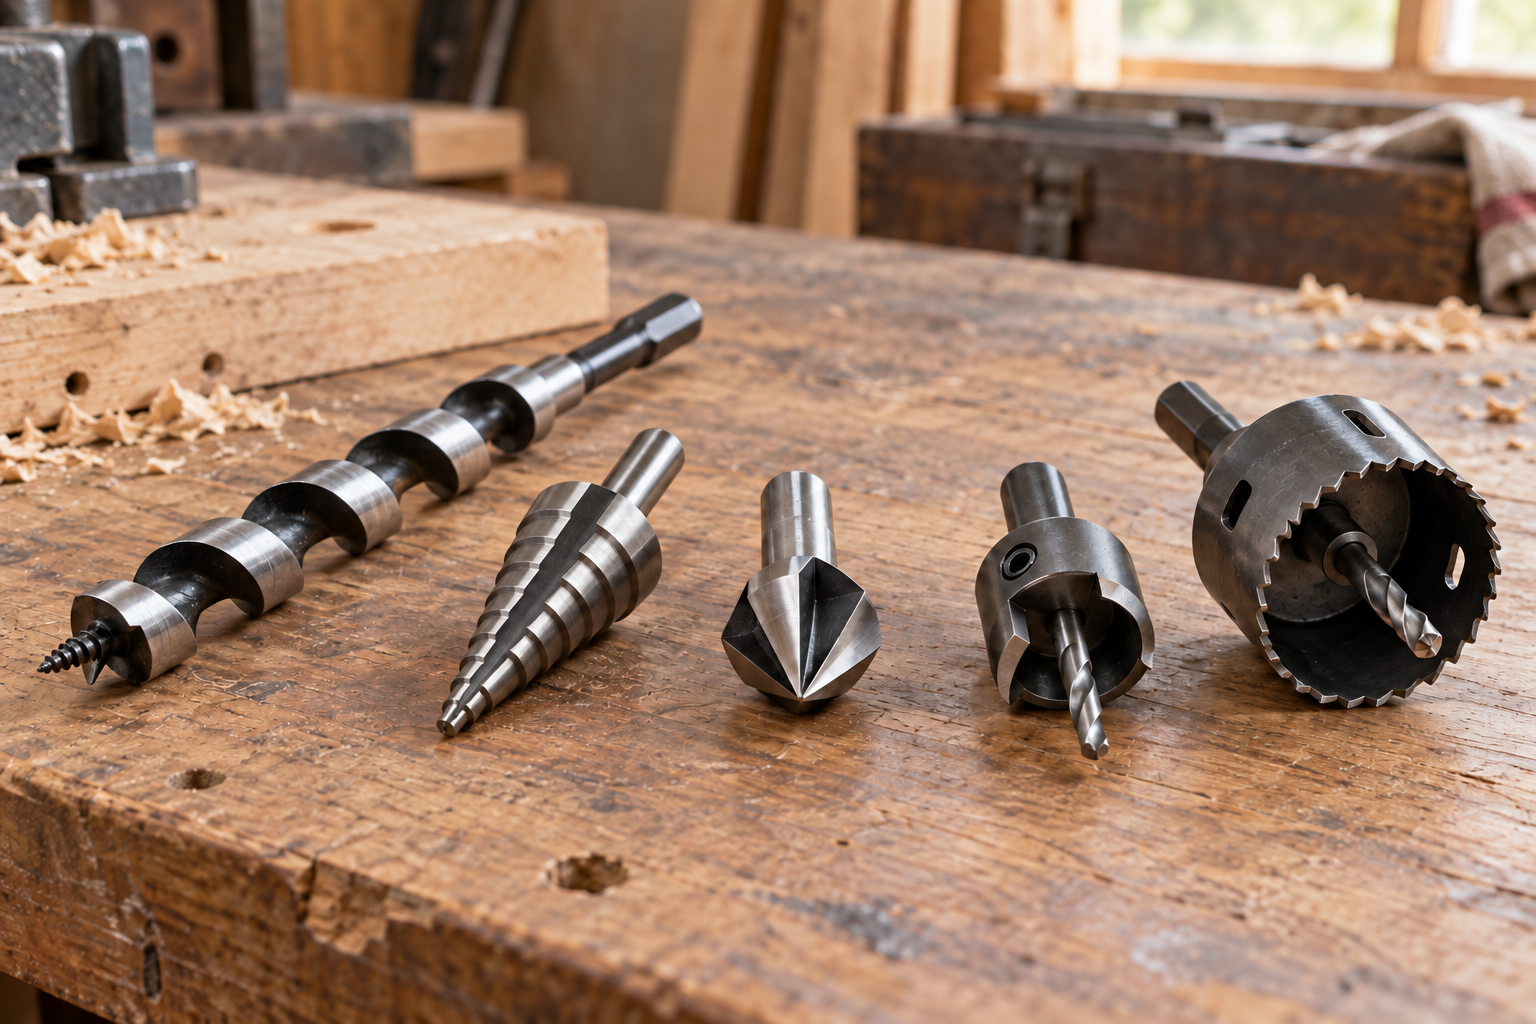
For flush screws in hardwood cabinetry, a countersink bit needs to cut a clean, centered recess without chattering or tearing the face grain. The best choice for most cabinet work is a sharp, single-flute or three-flute countersink with a 82-degree included angle, sized to the screw head and used in a drill press or a steady hand drill. A stop collar or depth stop matters as much as the bit: a countersink that is only a little too deep can leave a screw head below the surface, while one that is too shallow leaves it proud.
As an Amazon Associate we earn from qualifying purchases at no extra cost to you.


Our Top Picks
 DEWALT Countersink Drill Bit Set for Wood1/4, 3/8, 1/2, 5/8, 3/4 Inch5.2 x 4.6 x 1 inchesCheck on Amazon


What to buy for cabinet work
For hardwood such as maple, cherry, or oak, choose a countersink made from high-speed steel (HSS) or cobalt-bearing HSS, with a pilot hole sized for the screw. A single-flute cutter removes material smoothly and is easy to sharpen; a multi-flute design can cut faster but may grab more readily if the workpiece or drill wanders. For occasional hinges, drawer hardware, or face-frame screws, a basic HSS bit is usually enough. For repeated work or dense hardwood, a better-finished HSS or cobalt bit is worth considering because it tends to stay sharp longer.
Start with a single-flute 82-degree countersink bit if you want a controlled cut and a simple, versatile option. Check that the bit is intended for the screw-head angle you have: many North American flat-head wood screws use an 82-degree head, while some metric screws use 90 degrees. The wrong angle can make the screw bear on a narrow ring instead of seating evenly.
Countersink options compared
| Type | Best use | Trade-off |
|---|---|---|
| Basic HSS countersink | Occasional screws in softwood or moderate hardwood | Lowest cost; can dull or chatter sooner in dense stock |
| Single-flute HSS or cobalt | Controlled, clean recesses in cabinet hardwood | Slower than some multi-flute cutters, but less prone to grabbing |
| Three- or six-flute countersink | Repeat work with a steady drill or drill press | Can cut quickly, but may chatter if alignment or feed is poor |
| Combination pilot-and-countersink bit | Repeated screw installation where one setup saves time | Convenient, but pilot size and countersink depth may not suit every screw |
A combination bit is useful when you are installing many identical screws, especially on cabinet backs or face frames. For varied hardware or visible work, separate pilot and countersink tools give better control over hole size and recess depth. If you choose a combination bit, match the pilot to the screw’s root diameter and test the countersink on scrap before drilling the finished piece. Browse wood countersink bits with pilots for a set that covers common screw sizes.
Match the bit to the screw
The countersink diameter should be just large enough for the flat head to sit flush, not so wide that it leaves a broad crater around the screw. Compare the screw head’s widest diameter with the bit’s cutting diameter, then test on a cutoff of the same species and thickness. For a typical No. 8 flat-head screw, the head is often around 0.31 inches across, but dimensions vary by brand and screw type; measure the actual screw rather than relying on the nominal size.
Drill the pilot hole first. In hardwood, a pilot that is too small raises the risk of splitting, snapped screws, and a countersink that tears as the screw pulls into the wood. A pilot that is too large reduces holding power. Follow the screw maker’s guidance when available, or test the screw in scrap. Keep the pilot centered: an off-center countersink is especially visible on a cabinet face and can leave uneven support beneath the head.
Cut a clean, flush recess
Clamp the work securely and mark the hole with an awl or a center punch suited to wood. Drill the pilot hole perpendicular to the surface. Then countersink with light pressure and a moderate speed, clearing chips frequently. A drill press makes it easier to hold a consistent angle and depth, but a hand drill works well if you brace it and avoid leaning into the bit. Hardwood does not benefit from forcing the cutter; excessive pressure can burn the wood, dull the cutting edges, or make the bit chatter.
Set a depth stop, or make a test recess and check it with the screw. The head should finish flush with the surface, not buried. Countersink in small increments near the target depth, then stop and test. If the screw sits proud, remove a little more material. If it is already below the surface, the hole is too deep; filling it may be possible, but on a visible cabinet face a patched recess can remain noticeable.
For a cleaner rim in brittle or figured wood, drill the countersink before final assembly and use a sharp bit. A dull cutter often leaves fuzz or a chipped edge even when the screw seats properly. If tear-out persists, try a slower feed, clamp a sacrificial backing board where the hole exits, and check that the bit is not wobbling in the chuck. A countersink is not a substitute for a pilot hole, and driving a screw into an undrilled