What's inside
As an Amazon Associate I earn from qualifying purchases. This post may contain affiliate links at no extra cost to you.
A pliers wrench can grip a hex fitting without the bulk of an adjustable wrench, but it is not automatically safe for polished, plated, or painted surfaces. The tool’s smooth jaws reduce marking; they do not eliminate it. Dirt, excessive clamping force, a skewed grip, or sliding under load can still leave dents and bright scratches.
The safest approach is to treat the wrench as a controlled clamp rather than a tool you simply squeeze harder. Choose the right size, clean both contact surfaces, keep the jaws square to the work, and use only enough force to prevent slipping.
Choose the Right Pliers Wrench
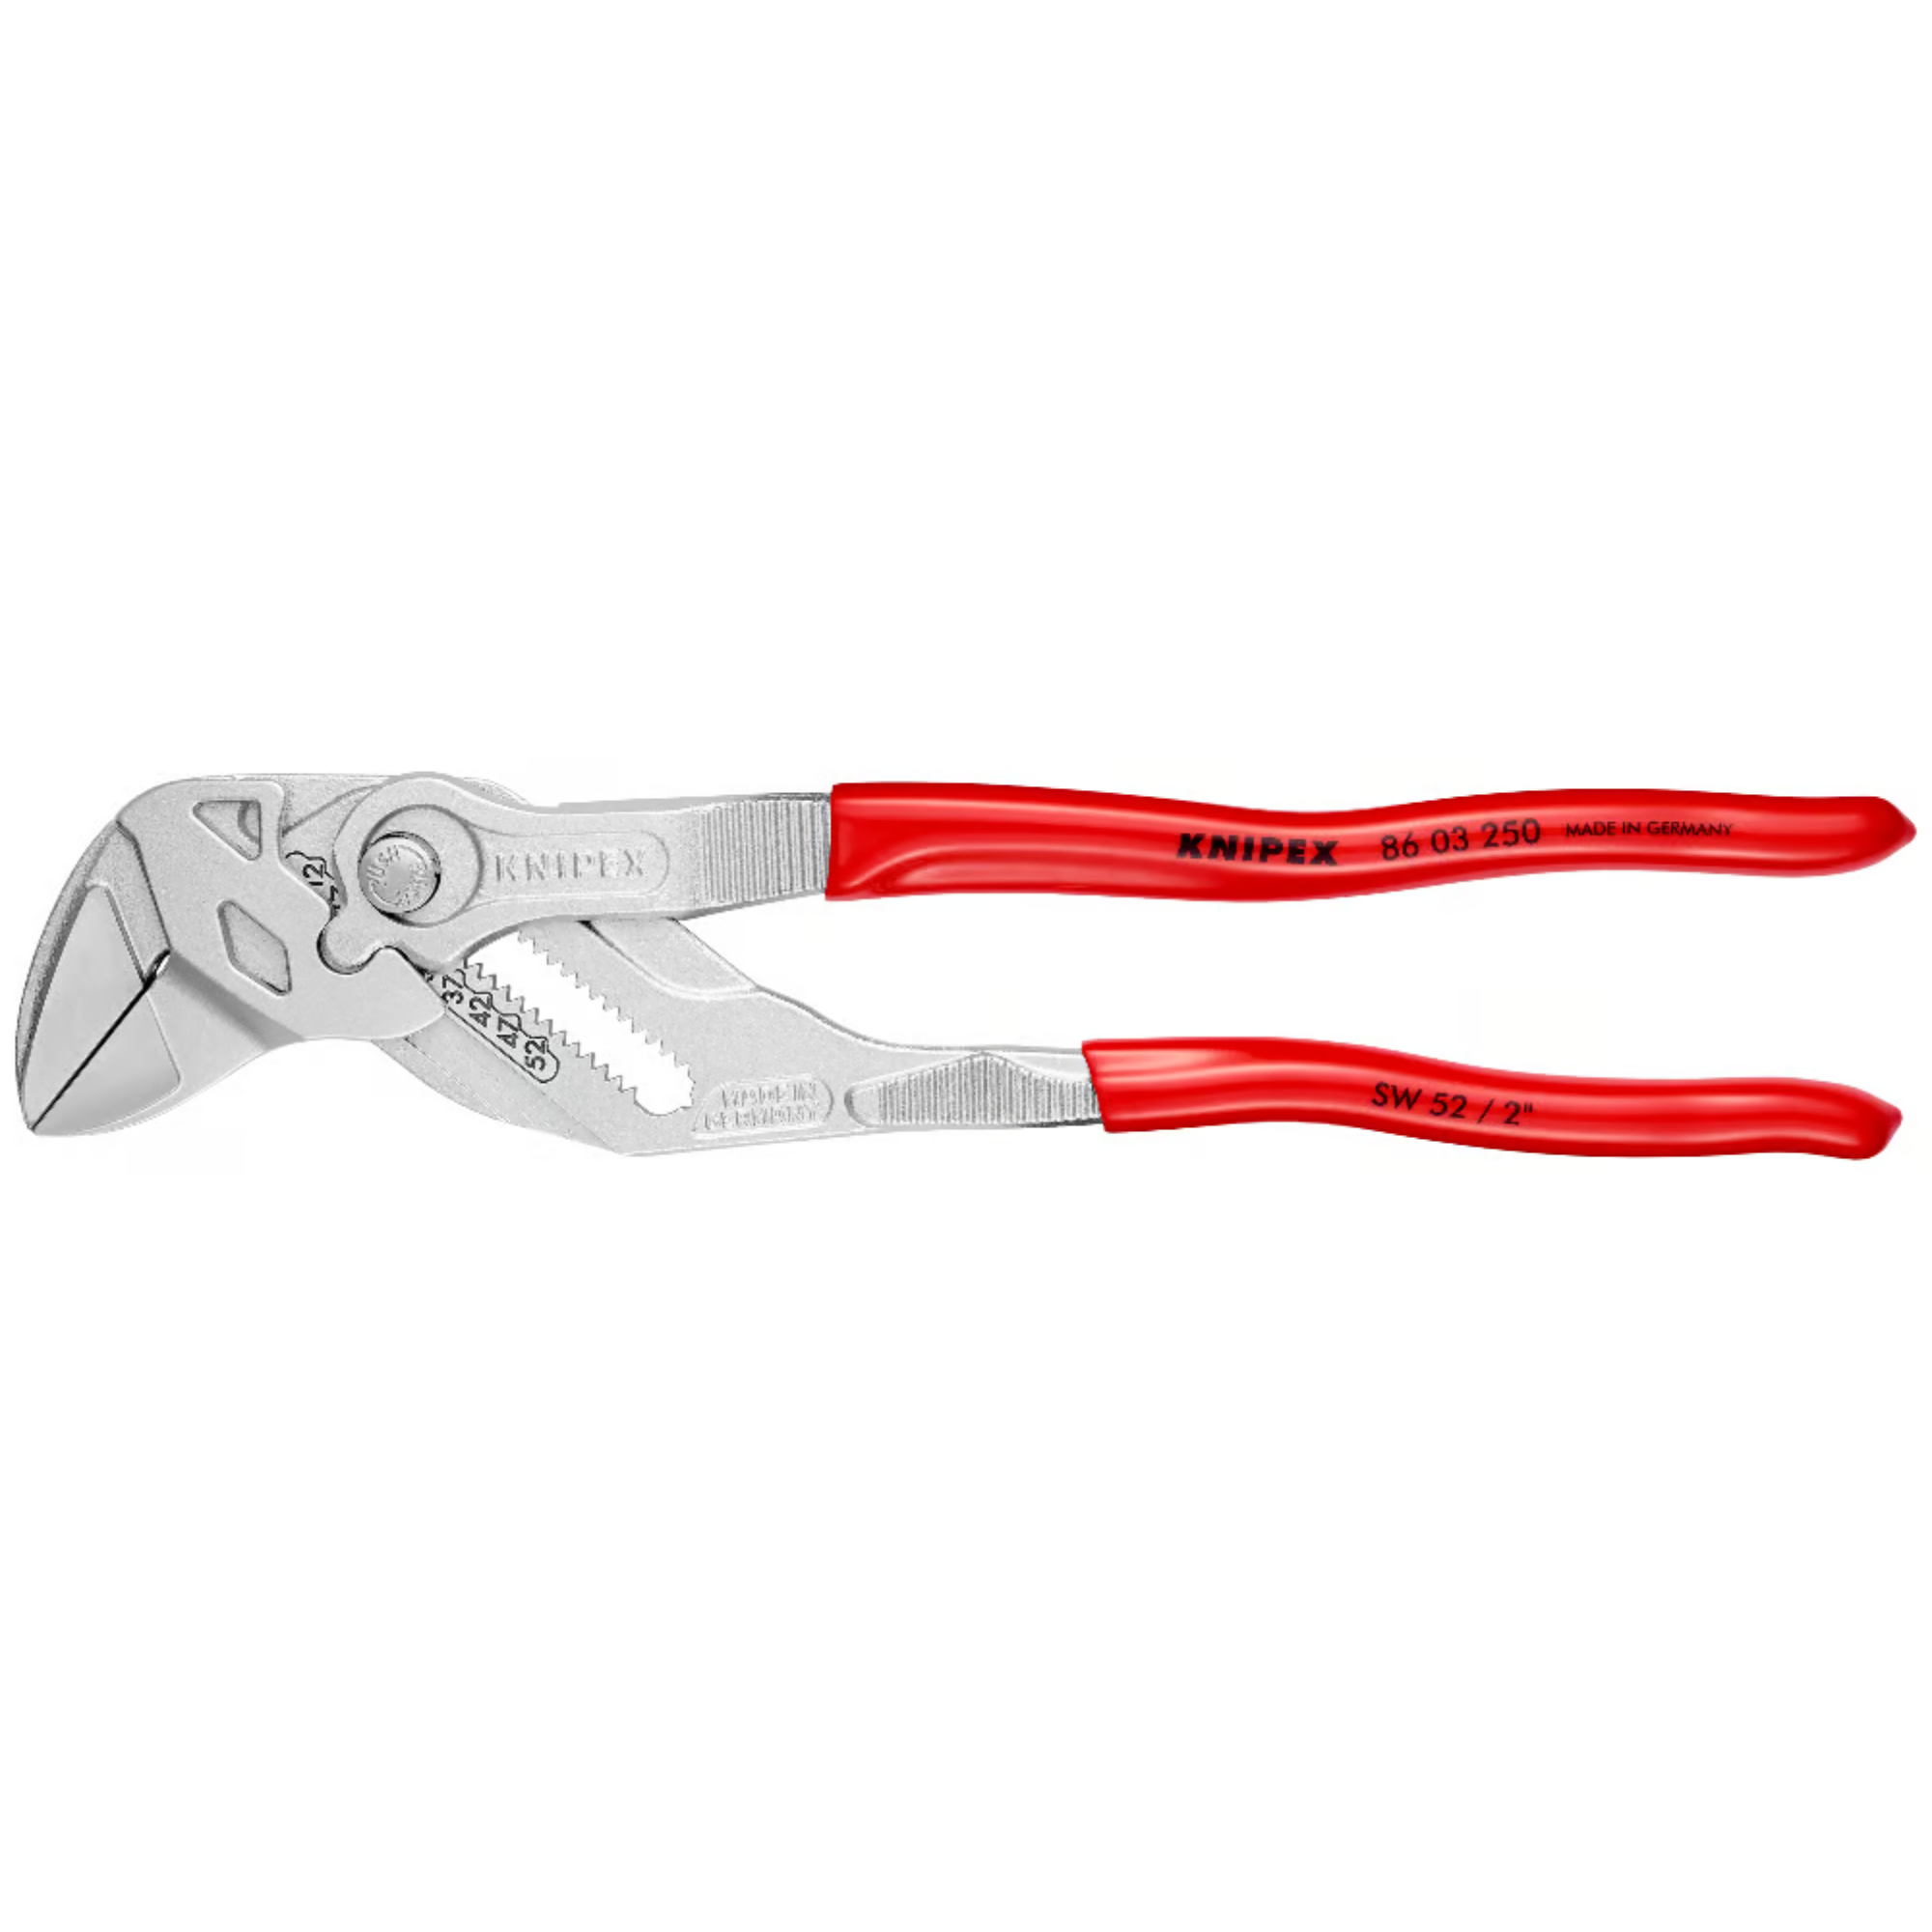
A pliers wrench has one fixed jaw and one parallel-moving jaw. Unlike ordinary tongue-and-groove pliers, the jaws stay parallel as they close. That spreads the load across the flats of a nut or fitting instead of concentrating it on two sharp points.
For finished surfaces, choose a model with smooth, flat jaws and a size range that lets the jaws contact the fitting across most of their width. A wrench that is too large may still grip, but its jaws can sit near the corners and twist the finish. A wrench that is too small encourages an angled grip or forces you to work near the tool’s maximum opening.
If you are buying specifically for trim, plumbing fixtures, bicycles, automotive fittings, or chrome hardware, compare smooth-jaw pliers wrenches rather than serrated pump pliers. A cheaper smooth-jaw tool is often sufficient for occasional household work, provided the jaws close evenly and the hinge has little side play.
| Job condition | Best approach | Main trade-off |
|---|---|---|
| Unfinished steel or hidden plumbing | Standard smooth-jaw pliers wrench | Fast and secure, but still needs clean contact |
| Chrome, painted, anodized, or polished hardware | Smooth jaws with thin protective covers or tape | More protection, less room and grip |
| Very soft brass, aluminum, or plastic | Protective covers and light hand pressure | Lower marking risk, but greater chance of slipping |
| High-torque seized fastener | Correct socket or six-point wrench | Better torque control, but may require more access |
Clean the Tool and Workpiece
Most unexplained marks come from grit. A single steel chip trapped between a jaw and a chrome fitting can act like sandpaper under pressure. Wipe the jaws with a clean rag, then clean the fitting itself. For greasy parts, use a solvent that is safe for the surrounding paint, plastic, rubber, and finish.
Inspect the jaw faces with a fingertip. A burr, dent, or embedded metal shaving can mark a surface even when the tool is otherwise designed not to. Lightly dress a small burr with a fine abrasive stone, but do not round over the flat jaw faces. If the jaws are visibly damaged or no longer meet evenly, replace the tool.
Do not put oily tape or a dirty cloth between the jaws and the work. The layer can compress and let the wrench slide. A clean, thin protective material is safer than a thick or loose wrap.
Add a Thin Protective Barrier
For delicate finishes, use purpose-made protective pliers wrench jaw covers. Soft plastic covers distribute pressure and isolate the finish from the metal jaws. They work especially well on chrome plumbing fittings, powder-coated parts, and polished aluminum.
Check that the covers fit tightly and do not obstruct the wrench’s parallel movement. Replace them when they split, harden, or become packed with grit. Thin leather can work in a pinch, but it is more likely to shift. Painter’s tape is useful as a temporary barrier for light-duty work, not as a solution for a seized fastener.
Every barrier reduces the tool’s direct grip. That creates a trade-off: more protection can mean more slipping. If the fitting requires substantial force, stop and use a better-fitting socket or a dedicated non-marring tool instead of increasing hand pressure.
Position the Jaws Correctly
Open the wrench wider than the fitting, place it fully over the flats, and close it until the jaws touch. The jaw faces should be parallel to the fitting and centered on its flats. Avoid gripping the very tip of the jaws, where the contact area is smaller and leverage can twist the tool.
Keep the wrench square to the work while turning. A sideways angle creates a camming action that pushes one jaw toward an edge. That can leave a crescent-shaped dent or a bright scrape. If access is tight, reposition the tool rather than allowing it to cock sideways.
Use the handle position that gives you a straight pull. Pulling steadily is safer than jerking, and pushing with the palm is usually easier to control than wrapping several fingers around the handle and squeezing unpredictably. Keep your free hand clear of nearby sharp edges and pinch points.
Control Clamping Pressure
Squeeze the handles only until the fitting cannot move inside the jaws. More pressure does not necessarily create more useful torque; it mainly increases the chance of crushing soft material or embossing the finish. On brass, copper, aluminum, and plastic, start with very light pressure and test the fitting with a small movement.
For a normal hand-tight connection, a pliers wrench may be all you need. For a larger fitting or a fastener requiring significant torque, use a six-point socket or a properly sized box wrench. If the manufacturer specifies torque, use a torque wrench with the appropriate socket. A pliers wrench is excellent for holding, loosening, and installing many fittings, but it is not a substitute for calibrated torque control.
Test Before Final Tightening
When the finish matters, test the setup on an unseen area or on a spare fitting first. Make one small turn, then inspect the contact points under bright light. Look for jaw impressions, scratches, flaking paint, or a polished strip where the surface has been rubbed.
If the tool slips, do not simply squeeze harder. Reclean the parts, improve the alignment, use a smaller wrench, or add a correctly fitted protective cover. If the fitting is seized, apply an appropriate penetrating product where it will not damage nearby materials and allow time for it to work. Repeated slipping causes more damage than a slower, better-supported setup.
For occasional repairs, an inexpensive smooth-jaw pliers wrench and a clean protective cover are usually enough. If you work regularly on finished hardware, buying non-marring plumbing tools can be cheaper than replacing one scratched faucet or coated fitting.