What's inside
As an Amazon Associate I earn from qualifying purchases. This post may contain affiliate links at no extra cost to you.
Our Top Picks
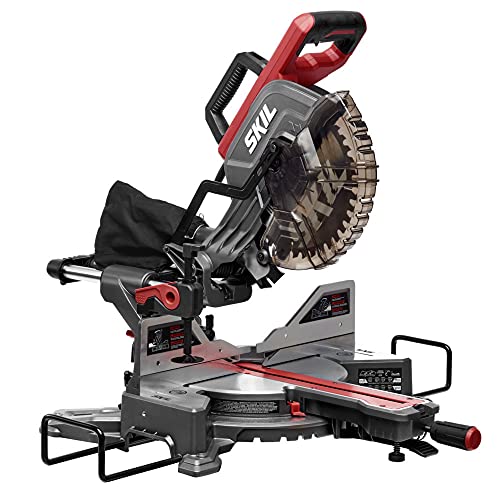 SKIL 10" Dual Bevel Sliding Compound Miter Saw-MS6305-0010''35.43 x 22.44 x 14.17 inches39.4 poundsCheck on Amazon


What a sliding T-bevel transfers
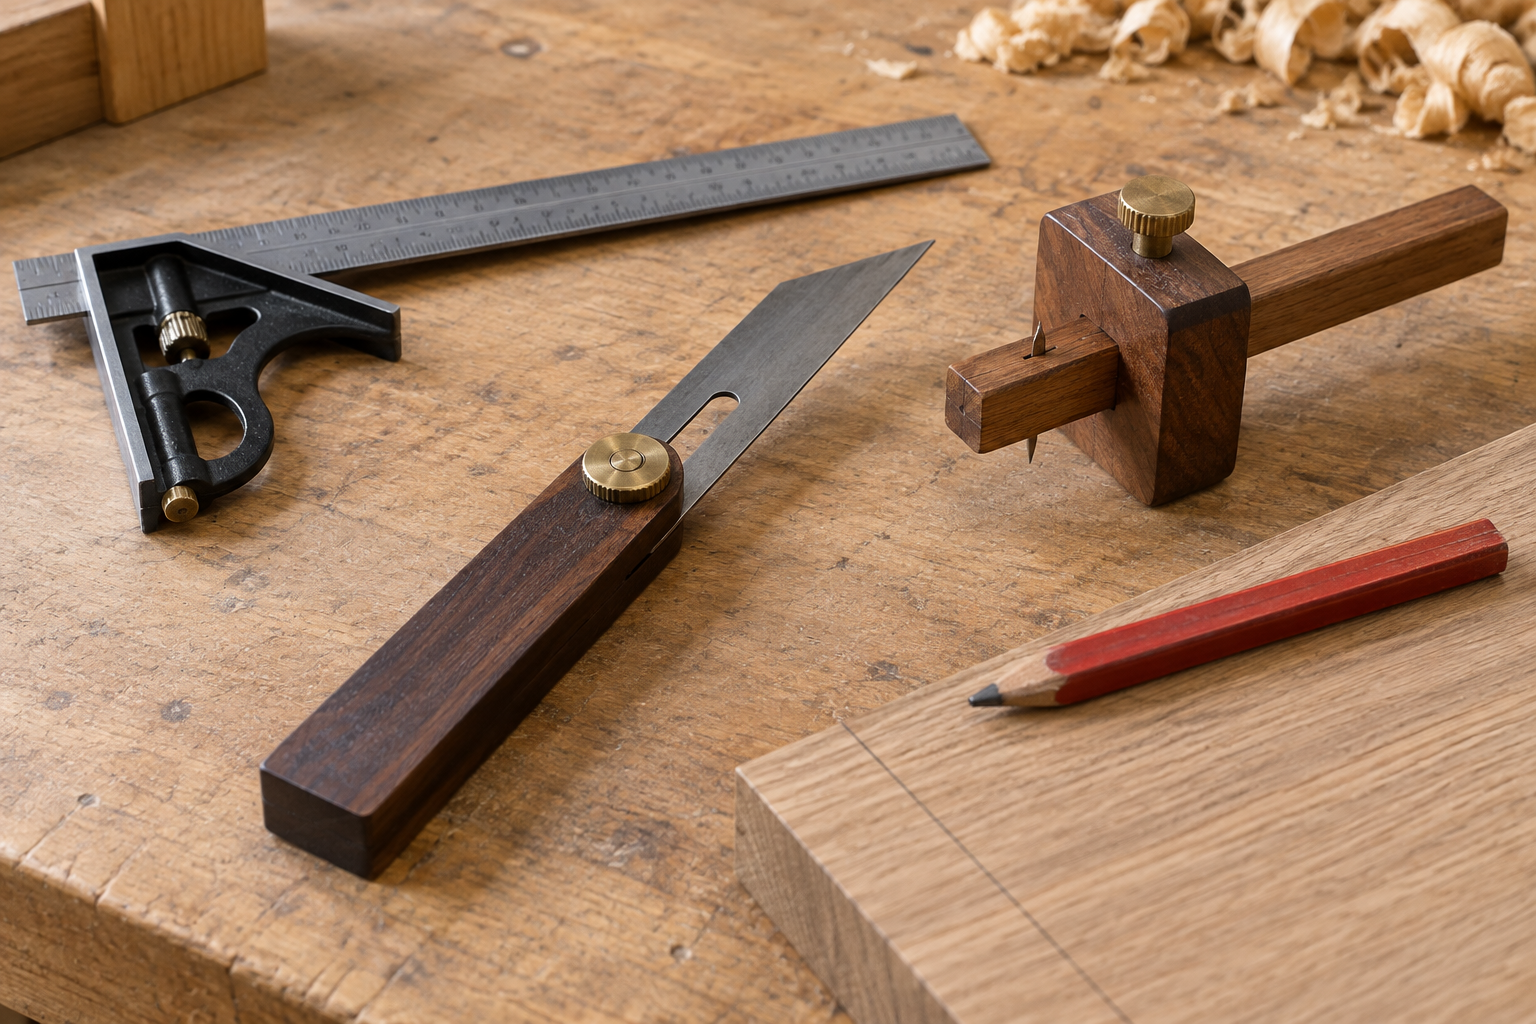
A sliding T-bevel copies an angle; it does not measure or calculate it. Its stock rests against one surface, while its blade swings to match the other. You then lock the blade and use the bevel as a physical reference at a saw, on a workpiece, or against a second part.
This makes it useful for corners that are not exactly 90 degrees, such as old walls, stair parts, trim returns, and fitted cabinets. The trade-off is that a bevel can only transfer the angle as accurately as you set and lock it. It cannot tell you whether the corner is 87 degrees or 93 degrees, and it will not compensate for a saw that is out of square.
Choose a bevel that holds its setting
For occasional trim work, an inexpensive metal or plastic bevel can be adequate if its blade moves smoothly and locks without shifting. The important check is not the price or finish: set an angle, tighten the lock, and see whether moderate finger pressure moves the blade. If it does, the tool is a poor choice for repeat cuts.
A metal-bodied sliding T-bevel is a sensible buy for frequent work. A longer blade is easier to register against large surfaces, while a compact one is easier to use in tight corners. Check that the stock is straight, the blade has no burrs, and the locking screw is easy to reach when the tool is against a wall.
For repeated production cuts, consider pairing the bevel with an angle-measuring bevel protractor. It gives a numerical reading, which helps when you need to reproduce an angle after moving the tool or compare several corners. It costs more and adds another reading step; for a one-off fit, direct transfer is usually quicker.
Transfer the angle in four steps
1. Clean the contact surfaces. Remove grit, dried paint, and debris where the bevel stock and blade will sit. A small chip under the stock can tilt the tool enough to leave a visible gap in narrow trim.
2. Seat the stock firmly. Place the stock against one face of the corner and swing the blade until it lies flat against the other. Keep both edges in contact along as much of their length as possible. Do not force the blade into a bowed wall or compress soft material; you want to copy the surfaces, not distort them.
3. Lock without moving the blade. Hold the blade in position with one hand while tightening the screw with the other. Check both contacts again after tightening. On a loose or worn bevel, the blade can rotate as the lock engages. If it shifts, reset it rather than trying to correct the cut by eye.
4. Mark and cut a test piece. Put the bevel against the stock of the saw or miter box and set the blade to match. Transfer the line to the workpiece, marking which side is waste. Make a test cut in scrap of the same width and thickness. For trim, the test is more useful than trusting the tool alone: a long piece can expose a small error that is hard to see on a short offcut.
Pick a cutting setup for the job
The bevel transfers the angle, but the saw determines how cleanly and repeatably you cut it. A hand saw can be accurate for a single fit; a powered saw is more efficient for several matching pieces, provided its angle setting is checked.
| Setup | Best for | Main trade-off |
|---|---|---|
| Hand saw and miter box | One or two cuts, small trim, low cost | Slow; the blade can wander, especially on wide stock |
| Compound miter saw | Repeated trim or framing cuts | Fast, but scale alignment and fence support affect accuracy |
| Track or circular saw with guide | Wide panels and cabinet parts | Needs a stable guide and careful blade positioning |
A basic hand saw and miter box is fine when you have a few cuts and can test-fit each one. For long or wide stock, a supported saw setup is easier to control. If you are choosing a power saw for regular trim work, a sliding compound miter saw handles wider boards than many non-sliding saws, but takes more space and still needs calibration.
Common errors and how to catch them
Wrong reference face: A bevel copies the angle between the exact surfaces it touches. If the stock rests on a baseboard instead of the wall, or on the front of a molding rather than its back, the transferred angle may not suit the joint. Mark the reference faces before carrying the tool to the saw.
Confusing inside and outside corners: The copied opening can look reversed when you turn the bevel around. Before cutting valuable stock, place the tool on the workpiece in its intended orientation and draw the cut line. A quick pencil mark prevents a mirrored, unusable piece.
Assuming the saw scale is exact: If you use the bevel to set a miter-saw fence or table, make a test cut and check the joint. A small gap at one edge may come from the saw’s zero setting, a bevel that moved, or a workpiece that was not held flat. Check one variable at a time instead of changing the bevel and saw together.
Forcing a perfect joint on uneven material: Old plaster, twisted trim, and bowed boards may not offer a single consistent angle. Copy the section where the joint will land, then dry-fit the parts. If the gap varies along the joint, the problem may be surface shape rather than the bevel setting.
When a numeric reading is worth it
For a one-off corner, direct transfer is usually the simplest method. A numeric angle becomes useful when you must repeat the setting, compare several corners, or record a cut for later. Even then, verify the result with a test piece: the measured corner angle and the saw’s miter setting are not always the same number, particularly when the joint involves compound angles or the workpiece is held at a tilt.
Buy the simpler bevel if you mainly fit parts by trial and test cut. Spend more on a tighter locking mechanism or a measuring tool only when repeatability saves time. In either case, clean contact, a secure lock, and a scrap test matter more than a precise-looking scale.