What's inside
As an Amazon Associate I earn from qualifying purchases. This post may contain affiliate links at no extra cost to you.
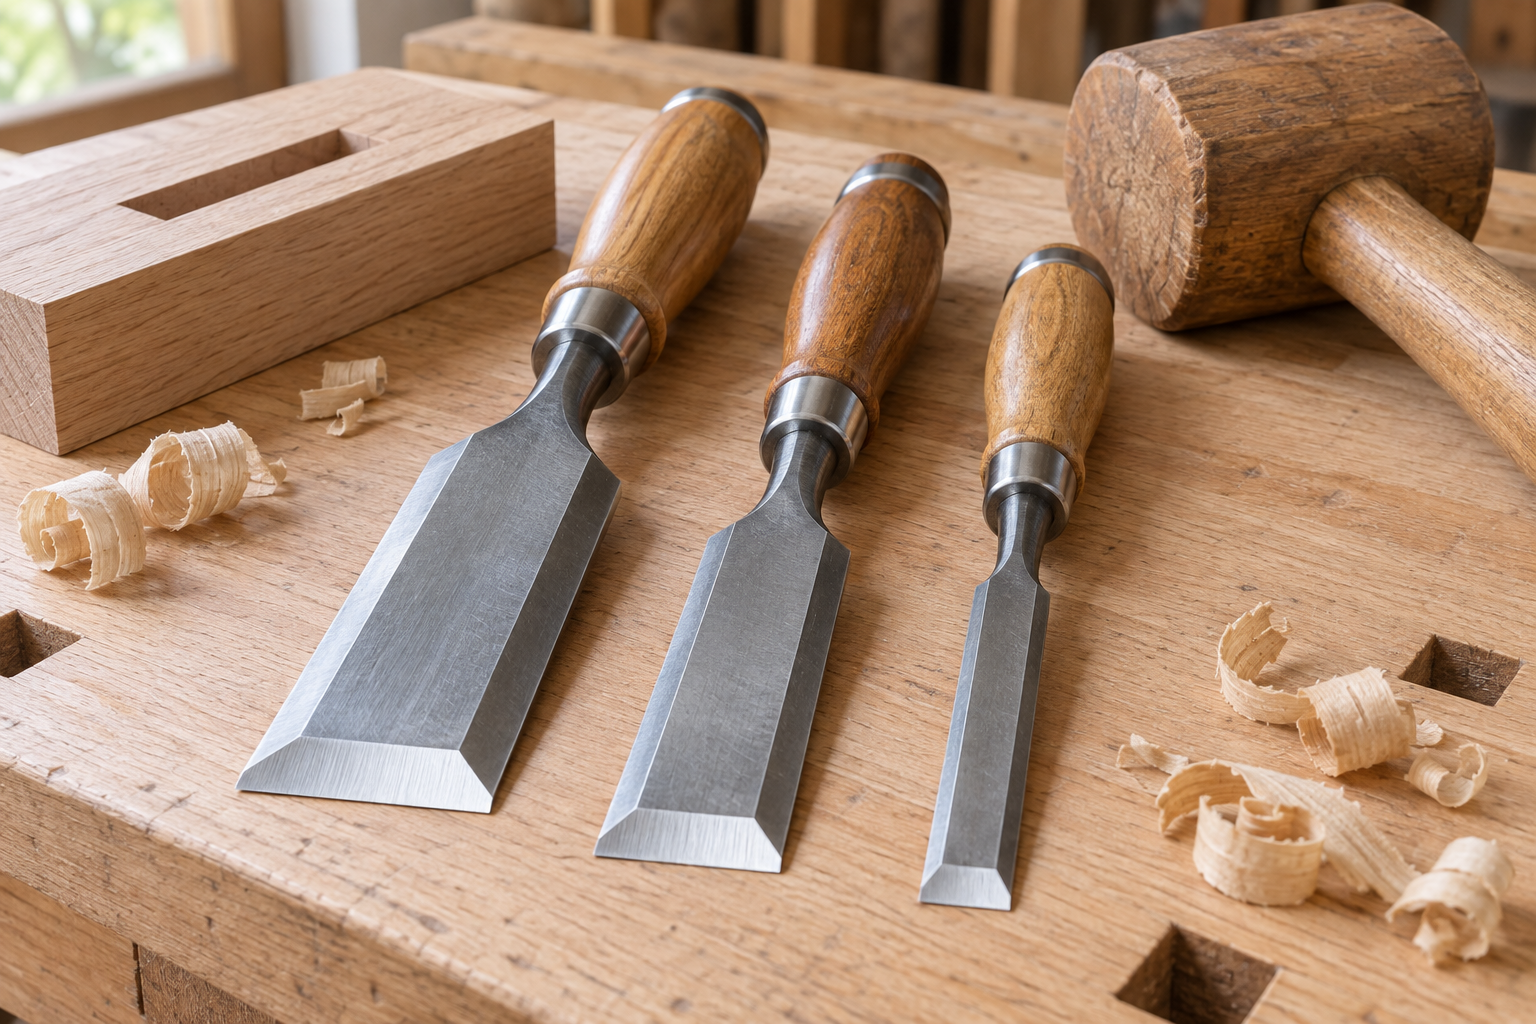
Choosing a chisel bevel angle for hardwood paring is a durability-versus-control decision. A low angle cuts with less resistance and leaves a cleaner surface, but its thin edge rolls or chips sooner. A steeper bevel survives harder, knotty stock better, though it takes more effort and is less pleasant for delicate trimming.
For most hardwood paring, start with a 25-degree primary bevel and a small 27- to 30-degree microbevel. That combination is a practical middle ground: low enough for controlled paring, but strong enough for maple, oak, ash, walnut, and similar woods. Adjust from there based on the work and the chisel steel.
Our Top Picks
 Narex Premium 5 Piece Set Paring Chisels w/Hornbeam1/4", 1/2", 3/4", 1", 1 1/4"6.37 x 13.5 x 1.5 inches1.63 PoundsCheck on Amazon
What the Bevel Angle Controls
The bevel angle is the angle between the back of the chisel and the sloped face leading to the cutting edge. A smaller angle leaves a thinner wedge of steel behind the edge. It enters wood easily, but the edge has less support. A larger angle creates a stronger wedge, but the chisel pushes more wood aside.
On a bevel-edge chisel, the cutting action also depends on how you hold the tool. For paring, the bevel usually faces upward or downward depending on the cut and the desired control. Keep the chisel flat against a reference surface when possible, and use hand pressure rather than a mallet. The angle you grind is only part of the cutting geometry; the angle at which you hold the tool changes the effective cutting angle.
Do not confuse bevel angle with edge angle. A 25-degree bevel is not necessarily a 25-degree cutting angle. A chisel with a flat back can cut at approximately its bevel angle when the bevel is facing up, while lifting the handle increases the effective angle.
Recommended Angles by Task
| Use | Primary bevel | Microbevel | Best reason |
|---|---|---|---|
| Fine paring in straight-grained hardwood | 20–25° | 25–27° | Low cutting resistance and precise control |
| General hardwood paring | 25° | 27–30° | Good balance of sharpness and edge life |
| Hard maple, dense exotics, or intermittent grain | 25–27° | 30�� | More support against rolling and small chips |
| Paring near knots, end grain, or occasional light chopping | 27–30° | 30–35° | Durability when the cut is not perfectly predictable |
A 20-degree edge is excellent for light, controlled trimming in clean grain, but it is not a universal hardwood setting. It can fold over surprisingly quickly when paring across end grain or when the chisel encounters a hard streak. At the other extreme, a 35-degree edge is robust but feels more like a small carving wedge than a nimble paring tool.
Use a Primary Bevel and Microbevel
Grinding the entire bevel to the final angle is slow and removes unnecessary steel during sharpening. Instead, grind a primary bevel around 25 degrees, then hone a narrow microbevel at a slightly higher angle. The microbevel may be only 0.5 to 1 mm wide. It is the part that does the cutting, so it can be refreshed quickly on a fine stone.
For a general hardwood chisel, hone the microbevel at about 27 or 30 degrees. If the edge rolls after only a few paring cuts, increase the microbevel by 2 or 3 degrees. If the edge holds but the chisel feels stubborn in fine trimming, reduce it slightly. Do not immediately regrind the whole bevel; that solves a small problem by creating a large one.
Flatten the back near the edge as well. You do not need to polish the entire back mirror-bright, but the first 10 to 20 mm should be flat enough to meet the microbevel cleanly. A hollow or rounded back leaves a weak, ragged edge even when the bevel angle is correct.
Choose the Chisel for the Work
A dedicated paring chisel is typically longer and thinner than a bench chisel. That extra length gives better hand control and makes it easier to register the blade against a reference surface. For hardwood furniture work, a useful set includes widths around 6, 12, 18, and 25 mm. A very cheap set can work if the backs are reasonably flat and the steel responds predictably to sharpening.
If you are buying specifically for delicate hardwood trimming, compare paring chisel sets rather than buying heavy framing or socket chisels. The cheaper option is fine for occasional work; spending more mainly buys better factory grinding, straighter blades, and steel that holds an edge longer. It does not make poor technique disappear.
For mixed work, a standard bevel-edge bench chisel set is usually the better purchase. You can hone one or two chisels to 25 degrees for paring and leave the rest at 30 degrees for chopping and general joinery.
Recognize the Failure Modes
Rolled edge: The edge reflects light as a thin bright line and no longer shaves cleanly. This usually means the angle is too low for the wood, the steel is soft, or you applied sideways pressure. Raise the microbevel to 30 degrees and make lighter passes.
Chipped edge: Small crescent-shaped pieces break out, often in brittle or highly hardened steel. The angle may be too low, or the stone may leave a thin wire edge. Increase the angle modestly and remove the burr completely. Avoid twisting the chisel in the cut.
Bruised or torn surface: The edge may be sharp but the grain direction is wrong. Hardwood can look polished in one direction and tear badly in the other. Pare downhill with the grain, take cuts of roughly 0.5 to 1 mm, and use a steeper effective cutting angle for difficult grain.
Chisel will not start: The edge may be dull, or you may be lifting the handle too aggressively. A very thick 30-degree edge can also wedge instead of slice. Hone a fresh microbevel, lower the handle, and let the sharp edge—not force—start the cut.
A Practical Starting Setting
For one hardwood paring chisel, grind a 25-degree primary bevel, hone a 28- to 30-degree microbevel, and polish it on a fine stone or strop. Test it on the actual wood, not a soft pine offcut. Make several short cuts across both straight and end grain, then inspect the edge under a bright light.
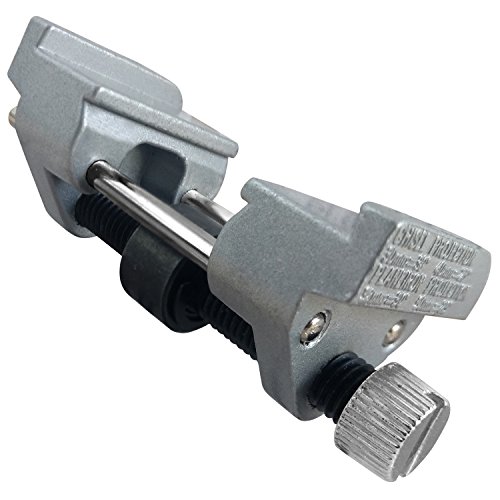
If the edge remains crisp after 10 to 15 minutes of controlled paring, keep that setting. If it rolls, raise the microbevel. If it cuts cleanly but feels unnecessarily resistant, lower the microbevel by 2 degrees. For repeatable results, a chisel sharpening guide is worthwhile, especially while establishing the initial bevel. Once the angle is stable, freehand honing is faster and fully adequate.