What's inside
As an Amazon Associate I earn from qualifying purchases. This post may contain affiliate links at no extra cost to you.
Picture frames expose every weakness in a miter saw setup. A cut that is only half a degree off can leave a visible gap, and four slightly different lengths can make an otherwise accurate frame look twisted. The saw itself matters, but repeatability comes mostly from controlling the reference edge, cut direction, stop position, and measuring method.
Our Top Picks
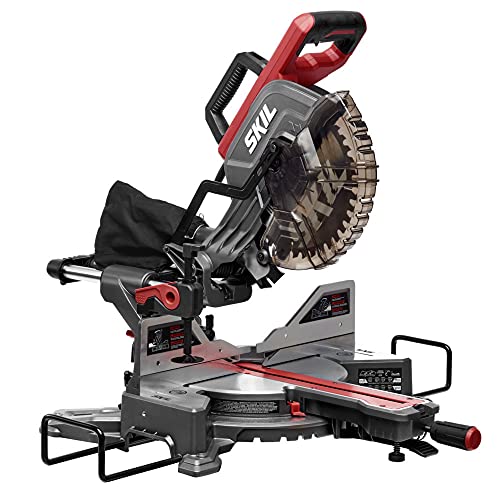 SKIL 10" Dual Bevel Sliding Compound Miter Saw-MS6305-0010''35.43 x 22.44 x 14.17 inches39.4 poundsCheck on Amazon
Choose the Right Saw and Blade
A 10-inch or 12-inch compound miter saw can cut frame stock, but a sliding saw is not automatically better. For narrow molding, a non-sliding saw usually has less potential for head deflection and is easier to align. A slider is useful when the molding is wide or when you also cut shelves, trim, and other large workpieces.
Use a sharp, fine-tooth blade. For painted or softwood molding, a 60-tooth blade is a sensible minimum. A 80-tooth blade generally leaves a cleaner edge on hardwood, veneer, and thin molding, but it cuts more slowly and costs more. Avoid using a general-purpose 24-tooth blade for finished frame joints unless you plan to sand every cut.
If you are buying a saw primarily for small trim and frames, compare 10-inch non-sliding miter saws with sliders rather than assuming the larger saw is more accurate. A basic saw is fine if its fence is straight, the table locks securely, and the miter scale can be adjusted.
Inspect and Calibrate the Saw
Unplug the saw before checking it. Lower the head and hold a reliable square against the blade, not the teeth. Carbide teeth can be slightly wider or shaped unevenly; use the blade plate or a known-straight reference. Check the blade at several positions by rotating it by hand. If the gap changes, the blade may be dirty, bent, or not seated correctly.
Next, check the fence. Place a straightedge across both fence halves and look for a gap. A fence that bows forward can change the cut angle as the molding moves from one side to the other. Clean sawdust from the joint between the fence and table, then tighten the fence bolts evenly.
Do not trust the printed miter scale. Cut two pieces from scrap at 45 degrees, flip one piece over, and bring the cuts together. If the joint forms a V-shaped gap, adjust the miter setting in small increments. The two-piece test is more useful than simply setting the pointer to the 45-degree mark.
Set Up a Repeatable Stop
Measure the frame opening along the inside edge of the molding. The inside edge is the short point of each miter. A frame cut by outside dimensions will usually be too large because the molding’s width and the miters change the overall measurement.
Clamp a stop block to the fence or to an auxiliary fence. Position the stop so the short point of the first test piece matches your required length. For repeated frames, a stop is much more reliable than marking every piece with a pencil.
Use a stop that contacts a straight section of the molding. If the molding has a bevel, bead, or irregular profile, make a small plywood or MDF cradle that supports the stock consistently. A stop touching only a decorative ridge can shift the part by several millimeters.
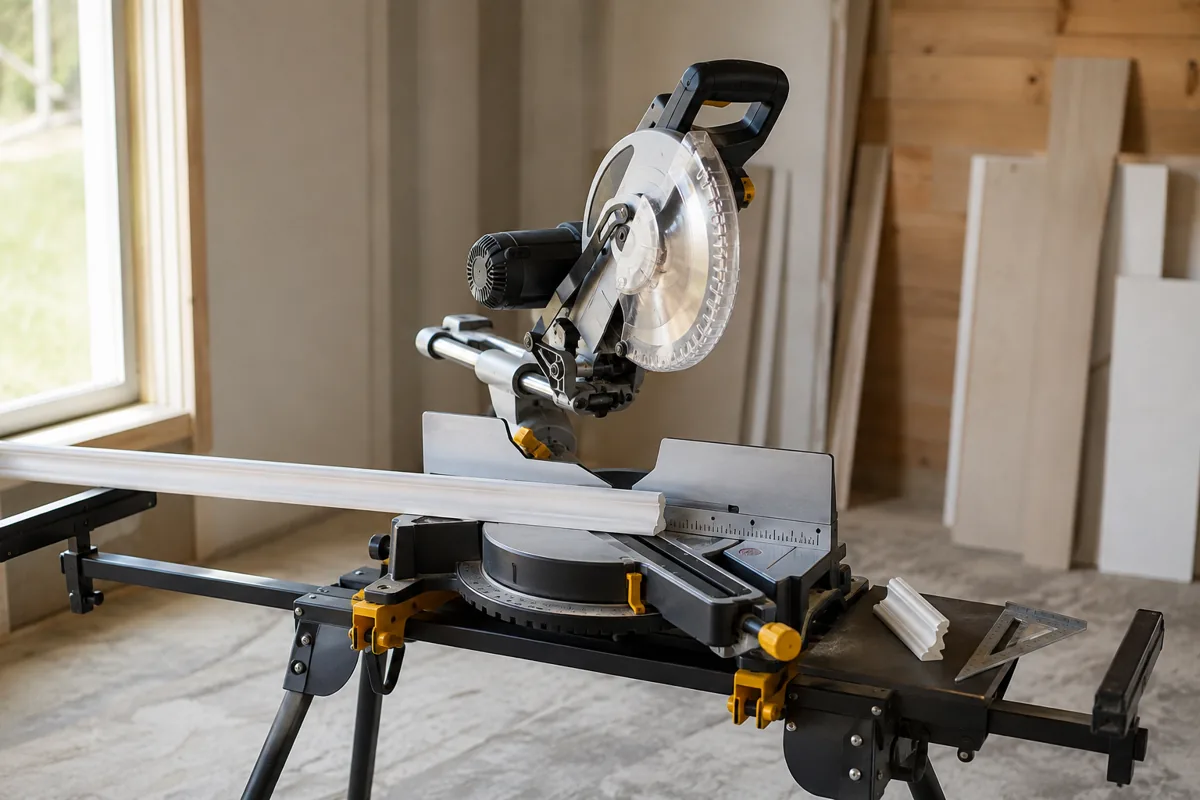
For long stock, support the material on both sides with an extension table or a pair of stands. Keep the support surfaces level with the saw table. If the molding tips downward as it reaches the stop, the short point can move and the resulting corners will not match.
Cut the Four Pieces
Mark the inside edge and the waste side of each piece. Cut one end, then place that freshly cut end against the stop for the second cut whenever the design allows. This reduces the number of measurements and keeps the critical inside length tied to the same reference.
For four identical frames, cut all four left-hand ends first, then all four right-hand ends. Keep the finished pieces in order and mark their backs lightly. Cutting in batches reduces setup changes, but it also multiplies an error, so test the first pair before continuing.
When cutting a piece with a stop, keep the molding firmly against the fence and table. Clamp it if the profile permits. Never put your hand near the blade path, and do not use the stop as a substitute for holding the workpiece. A loose offcut can become a projectile, especially when it is trapped between the blade and stop.
Check the Joints Before Assembly
Dry-assemble the four pieces on a flat surface. The inside corners should meet without forcing, and the outside corners should not show a stepped edge. Measure the diagonals from opposite inside corners. A rectangular frame is square when the diagonals match; a difference of 1/16 inch is visible on a small frame, while larger frames may need tighter control.
| Problem | Likely cause | Correction |
|---|---|---|
| Gap at every miter | Saw is not cutting a true 45 degrees, or the stock is not against the fence | Run a two-piece angle test and improve support |
| Only one corner has a gap | One piece is the wrong length or a cut was made from the wrong reference edge | Check inside-point measurements and piece orientation |
| Frame is not square | Opposing pieces differ in length, or the miters are not complementary | Match opposing lengths and recheck both cut settings |
| Jagged or chipped cuts | Dull or coarse blade, unsupported veneer, or feed rate too fast | Use a finer blade and support the molding firmly |
Improve Accuracy with Accessories
An auxiliary fence is one of the cheapest useful upgrades. A straight plywood fence screwed to the existing fence supports narrow molding and reduces the chance that a thin piece will slip under the factory fence. Cut the blade slot with the saw itself, then mark the centerline and 45-degree reference points on the new fence.
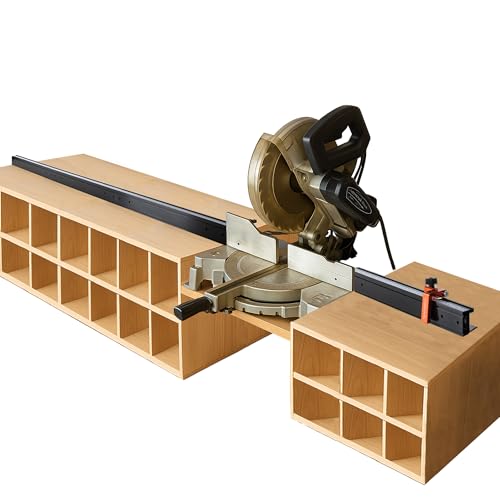
A dedicated miter saw stop block system is convenient for repeated production, especially when the stop must be removed and reset often. For occasional frames, a clamped scrap block works nearly as well and costs much less. Add a measuring tape or rule only if its zero point is easy to reference; many built-in saw scales are too coarse for fine frame work.
For hardwood or delicate molding, consider a fine-tooth miter saw blade. The cheaper 60-tooth blade is sufficient for most painted pine and poplar, so do not expect an 80-tooth blade to fix a misaligned saw. Blade sharpness and workpiece support have a larger effect than tooth count alone.
Make the Final Adjustment
If the dry fit shows a small, consistent gap, correct the saw rather than filling the joint immediately. A stop block can make every piece the same length, but it cannot compensate for an incorrect angle. Make a test cut on scrap, change the miter setting by a fraction of a degree, and test again.
Once the four corners close, label the stop position and record the molding profile, inside length, and saw setting. That small record turns the next frame from a trial-and-error job into a repeatable setup. Keep the test pieces with the saw; they are useful for verifying the calibration after changing blades.