What's inside
As an Amazon Associate I earn from qualifying purchases. This post may contain affiliate links at no extra cost to you.
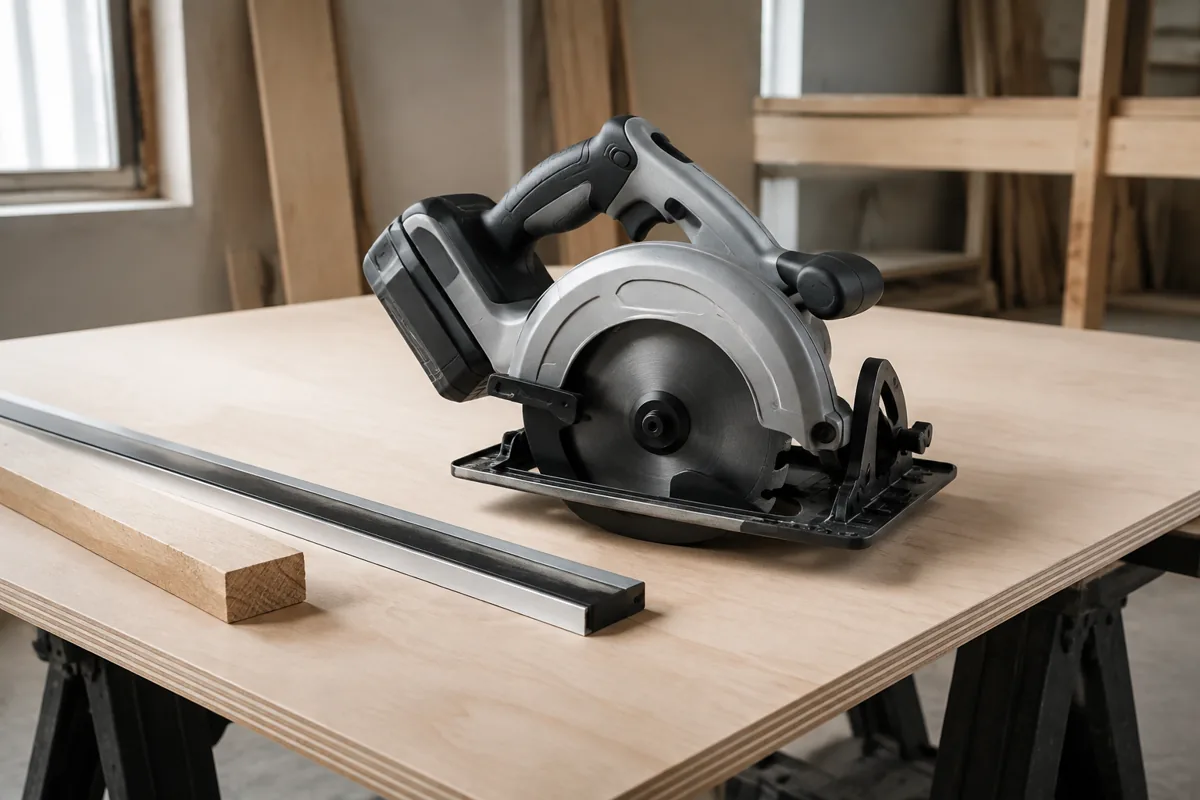
A circular saw cuts cleanly when the blade is deep enough to clear the workpiece—but not so deep that excess teeth are buried in the material. Set the depth incorrectly and you can get splintering, a wandering cut, slower work, or an increased chance of kickback.
For most crosscuts, set the blade to extend about 1/8 to 1/4 inch below the bottom of the material. On a 3/4-inch board, that means roughly 7/8 to 1 inch of total blade exposure. This small amount of extra depth is usually enough to complete the cut without forcing unnecessary blade into the work.
Our Top Picks

Why Circular Saw Depth Matters
A blade set too shallow may not cut all the way through, especially if the saw tilts slightly during the cut or the board is not perfectly flat. The result can be a thin uncut web on the underside, requiring a second pass that may not follow the first cut accurately.
A blade set too deep creates different problems. More teeth are engaged in the wood at once, which increases resistance and can make the saw harder to control. It also increases the amount of blade exposed below the workpiece. If the board is resting on a sawhorse or sheet of foam, that extra exposure can contact the support, a clamp, or another hidden object.
Deep settings can also produce rougher cuts in some materials. The blade has more opportunity to deflect, and the larger exposed section can catch if the saw is lifted or twisted before the blade stops.
How Much Blade Should Extend Below the Work?
| Material thickness | Typical blade exposure below material | Practical depth setting |
|---|---|---|
| 1/2 inch | 1/8 inch | About 5/8 inch total |
| 3/4 inch | 1/8 to 1/4 inch | About 7/8 to 1 inch total |
| 1-1/2 inch lumber | 1/8 to 1/4 inch | About 1-5/8 to 1-3/4 inches total |
| Two stacked layers | 1/8 to 1/4 inch below both layers | Measure the combined thickness |
These are starting points, not rigid rules. Thin plywood may benefit from the minimum possible exposure to reduce splintering. Thick framing lumber gives you more tolerance, but there is still no advantage to burying half the blade in the workpiece.
How to Set the Depth Correctly
First, unplug the saw or remove its battery. Never adjust the depth while the trigger can be activated. Place the saw on the edge of the material with the shoe flat against the top surface. The blade should be aligned with the edge, but it does not need to be running.
Release the depth-adjustment lever or knob. On most saws, moving the shoe relative to the motor changes the cutting depth. Look at the blade from the side and adjust it until the lowest tooth sits approximately 1/8 to 1/4 inch below the bottom face of the board.
Check the measurement at the point where the cut will begin. If the material is warped, a gap under the shoe can make the apparent depth different from the actual depth during the cut. Tighten the adjustment firmly, but do not force a plastic lever or over-tighten a threaded knob.
Before cutting expensive stock, make a short test cut in scrap of the same thickness. Confirm that the blade cuts through completely and that the support below the workpiece remains untouched. This test is especially worthwhile when using an unfamiliar saw or an aftermarket blade.
Support the Workpiece for a Safe Crosscut
Depth is only one part of a clean crosscut. Support the material so the offcut cannot fall, pinch the blade, or twist upward as the cut finishes. For a long board, support both sides of the cut and keep the offcut supported until the blade has cleared it.
When cutting sheet goods, use a sacrificial surface such as rigid foam insulation or a properly arranged cutting table. Set the blade only deep enough to enter that sacrificial layer. A blade set several inches deep can hit a hidden sawhorse, floor, or electrical cord.
Do not hold a short workpiece in your hand while cutting it. Clamp it to a stable surface, keeping clamps clear of the saw’s shoe and cutting path. The work should not move when you start the cut.
Depth Settings for Cleaner Cuts
Correct depth will not compensate for a dull or unsuitable blade. A general-purpose framing blade is quick and useful for construction lumber, but it can leave a rougher edge in plywood or finished boards. A blade with more teeth generally cuts more cleanly, though it feeds more slowly and can load up if pushed too hard.
For delicate plywood, place the good face down when using a standard blade because the blade’s upward tooth movement tends to splinter the top surface. If the saw is designed for a particular blade orientation or you are using a specialized finish blade, follow the blade markings instead. A fine-tooth circular saw finish blade is often a better purchase than trying to solve every splintering problem by changing depth.
For the cleanest result, score the cut line with a knife, apply painter’s tape, or use a track-compatible saw system. These methods address surface tear-out directly; reducing blade depth too far does not.
Common Depth-Setting Mistakes
Setting depth from the top of the blade guard: The guard is not a reliable reference. Set depth with the shoe on the actual workpiece and judge the lowest tooth below the material.
Ignoring the shoe angle: If you make a bevel crosscut, the blade travels through more material than it does at 90 degrees. Set the saw at the required bevel angle, place the shoe on the workpiece, and then check exposure below the bottom face.
Cutting a stack without measuring it: If two boards are stacked, set depth for their combined thickness. A setting suitable for one board may leave the lower board partially uncut, while an oversized setting may strike the support below.
Letting the saw leave the cut while spinning: Keep the shoe flat and wait for the blade to stop before lifting the saw. The exposed lower teeth can catch the edge of the workpiece if you pull out too early.
Choosing a Saw and Accessories
For occasional straight crosscuts, a basic corded or cordless circular saw is usually sufficient. Paying more can buy smoother depth adjustments, a stiffer shoe, better sight lines, and more consistent blade alignment. Those features matter when you make many cuts or work with sheet goods, but they do not replace careful setup.
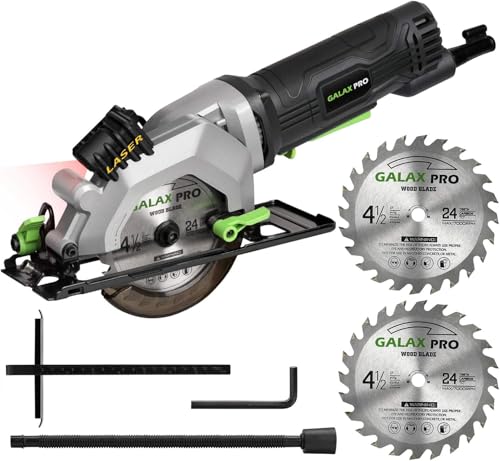
A circular saw guide rail can improve straightness and reduce the need to wrestle a long saw against a pencil line. For occasional framing work, a straight board clamped as a fence is often the cheaper option. If you want a compact setup for trim or small stock, a compact circular saw may be easier to control, but it generally has less cutting depth and power than a full-size saw.
Before every crosscut, verify the depth, support the work, check the blade, and make sure the shoe will remain flat. Those few checks prevent the most common problems without requiring an expensive saw.